Some swamp terrain pieces

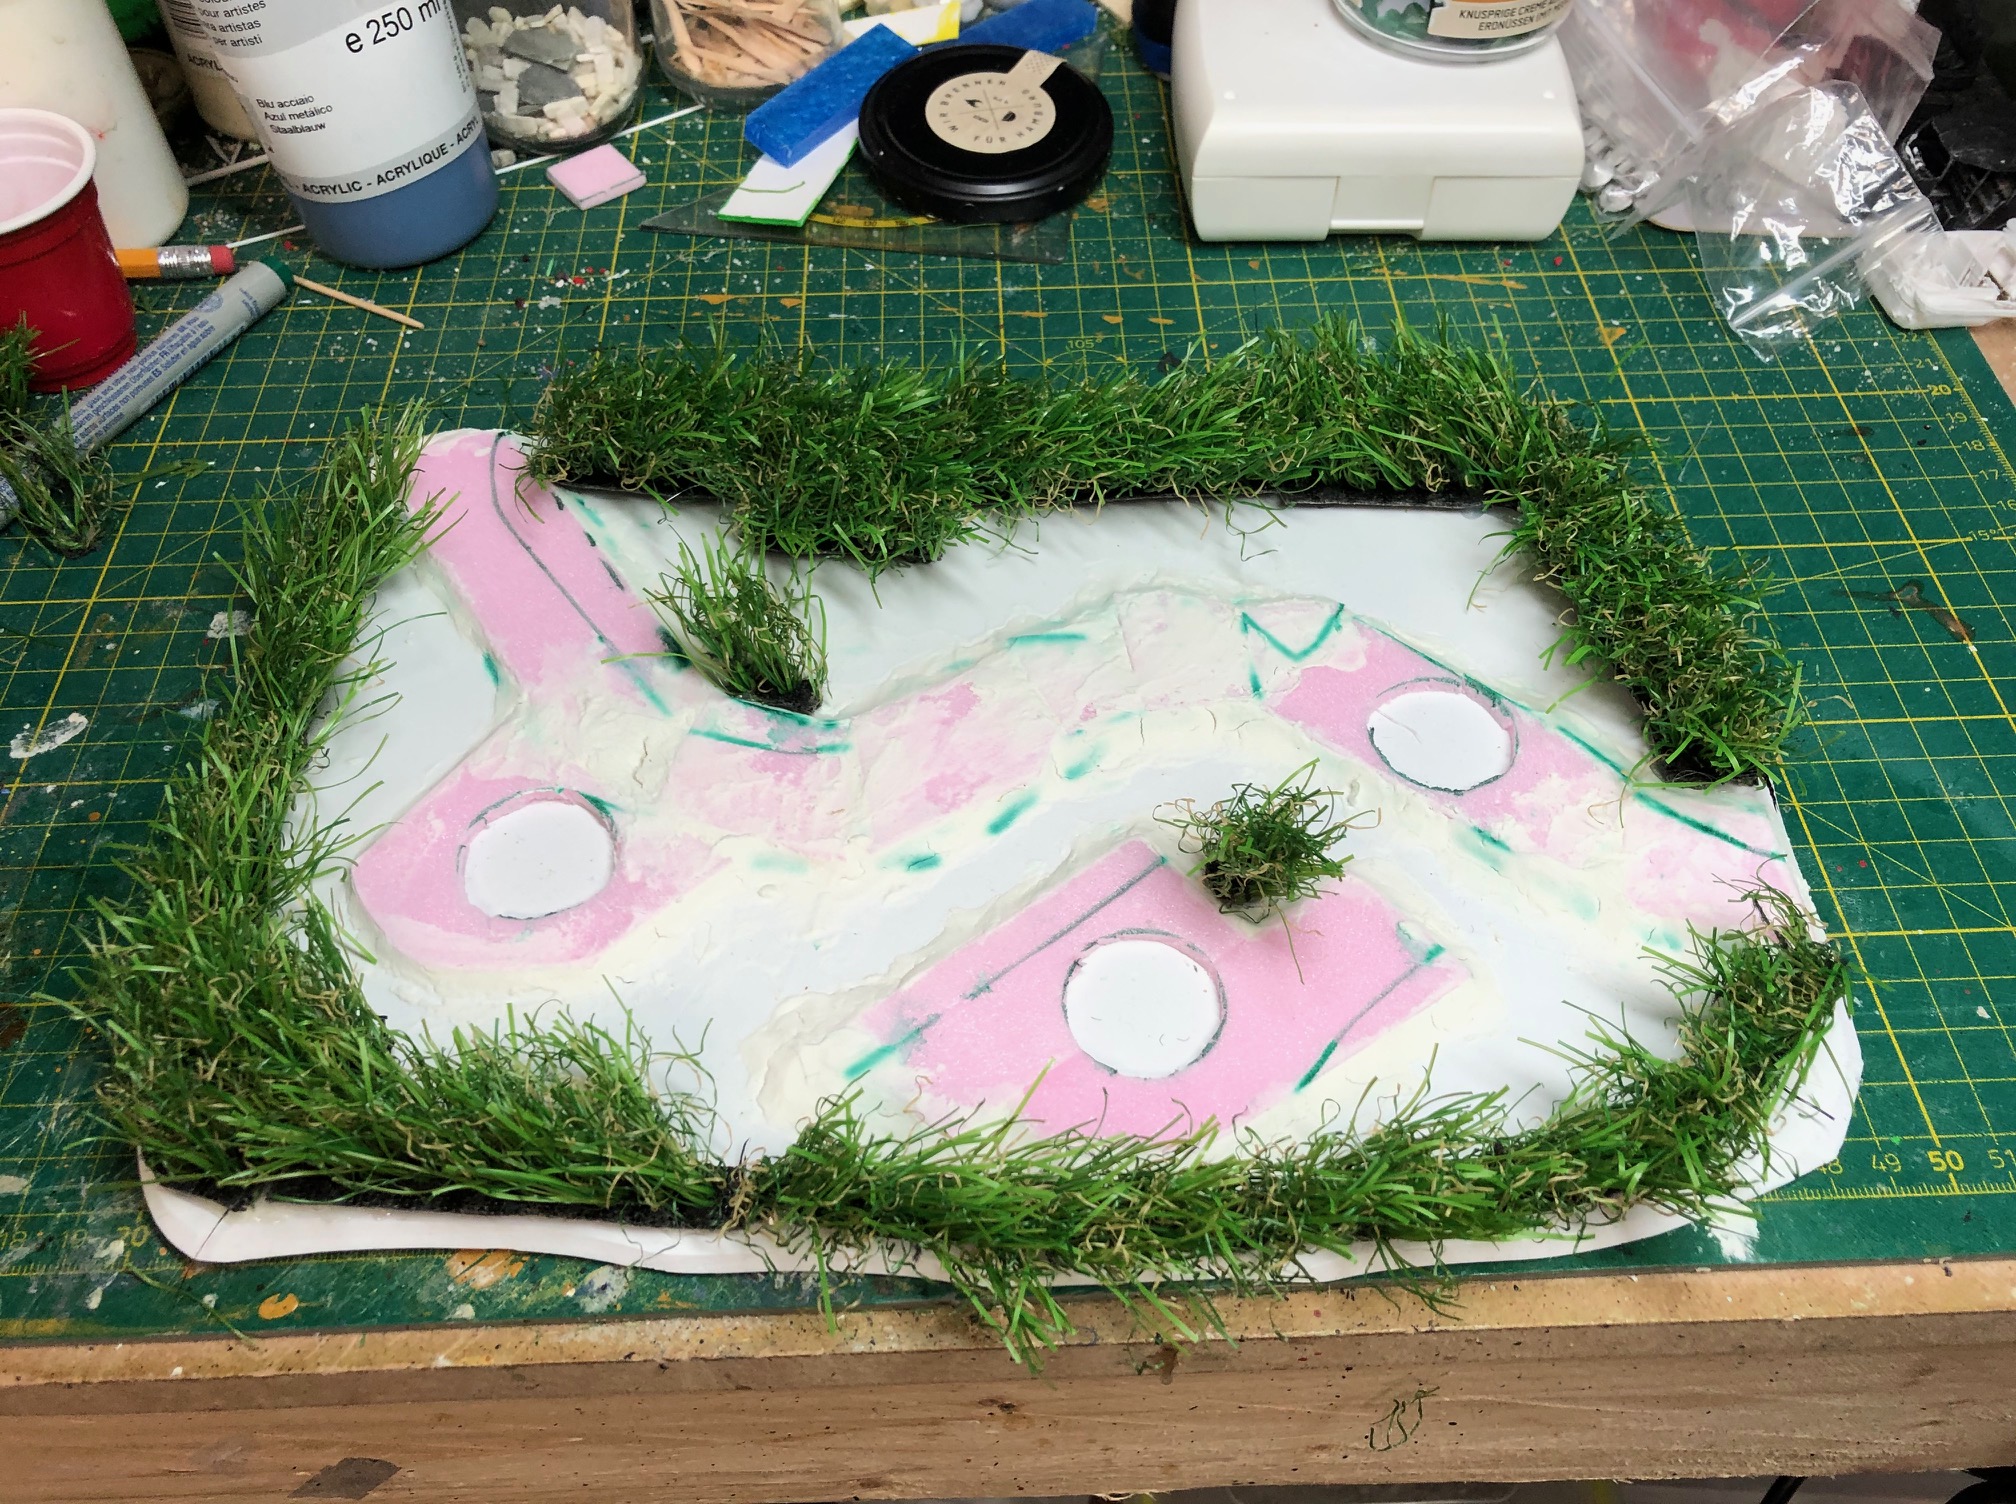
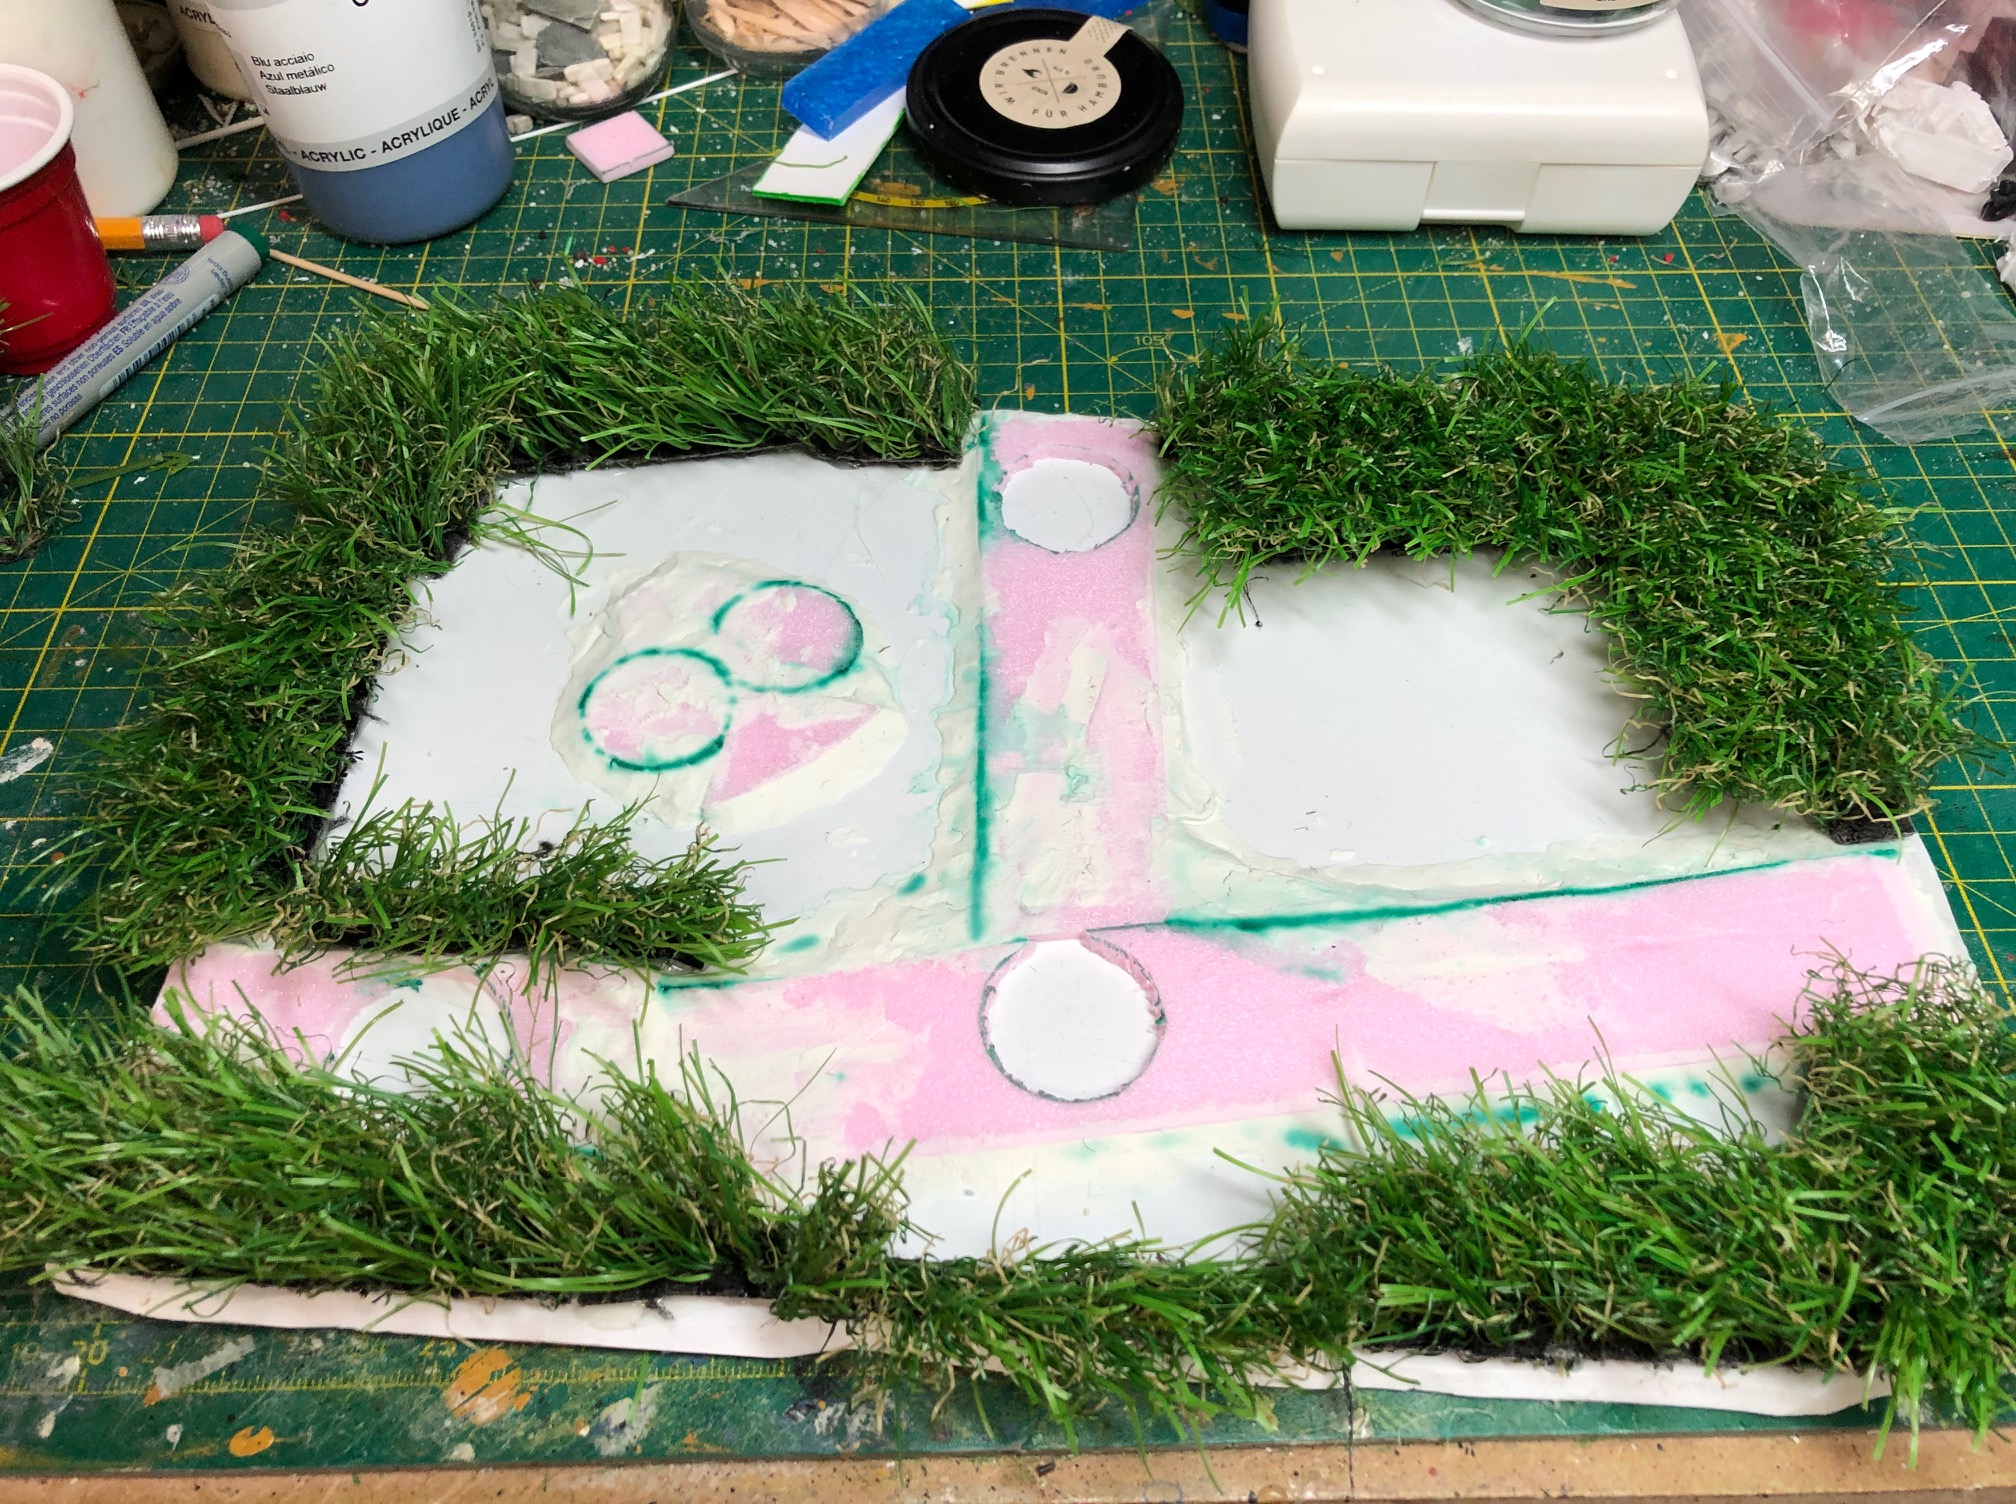
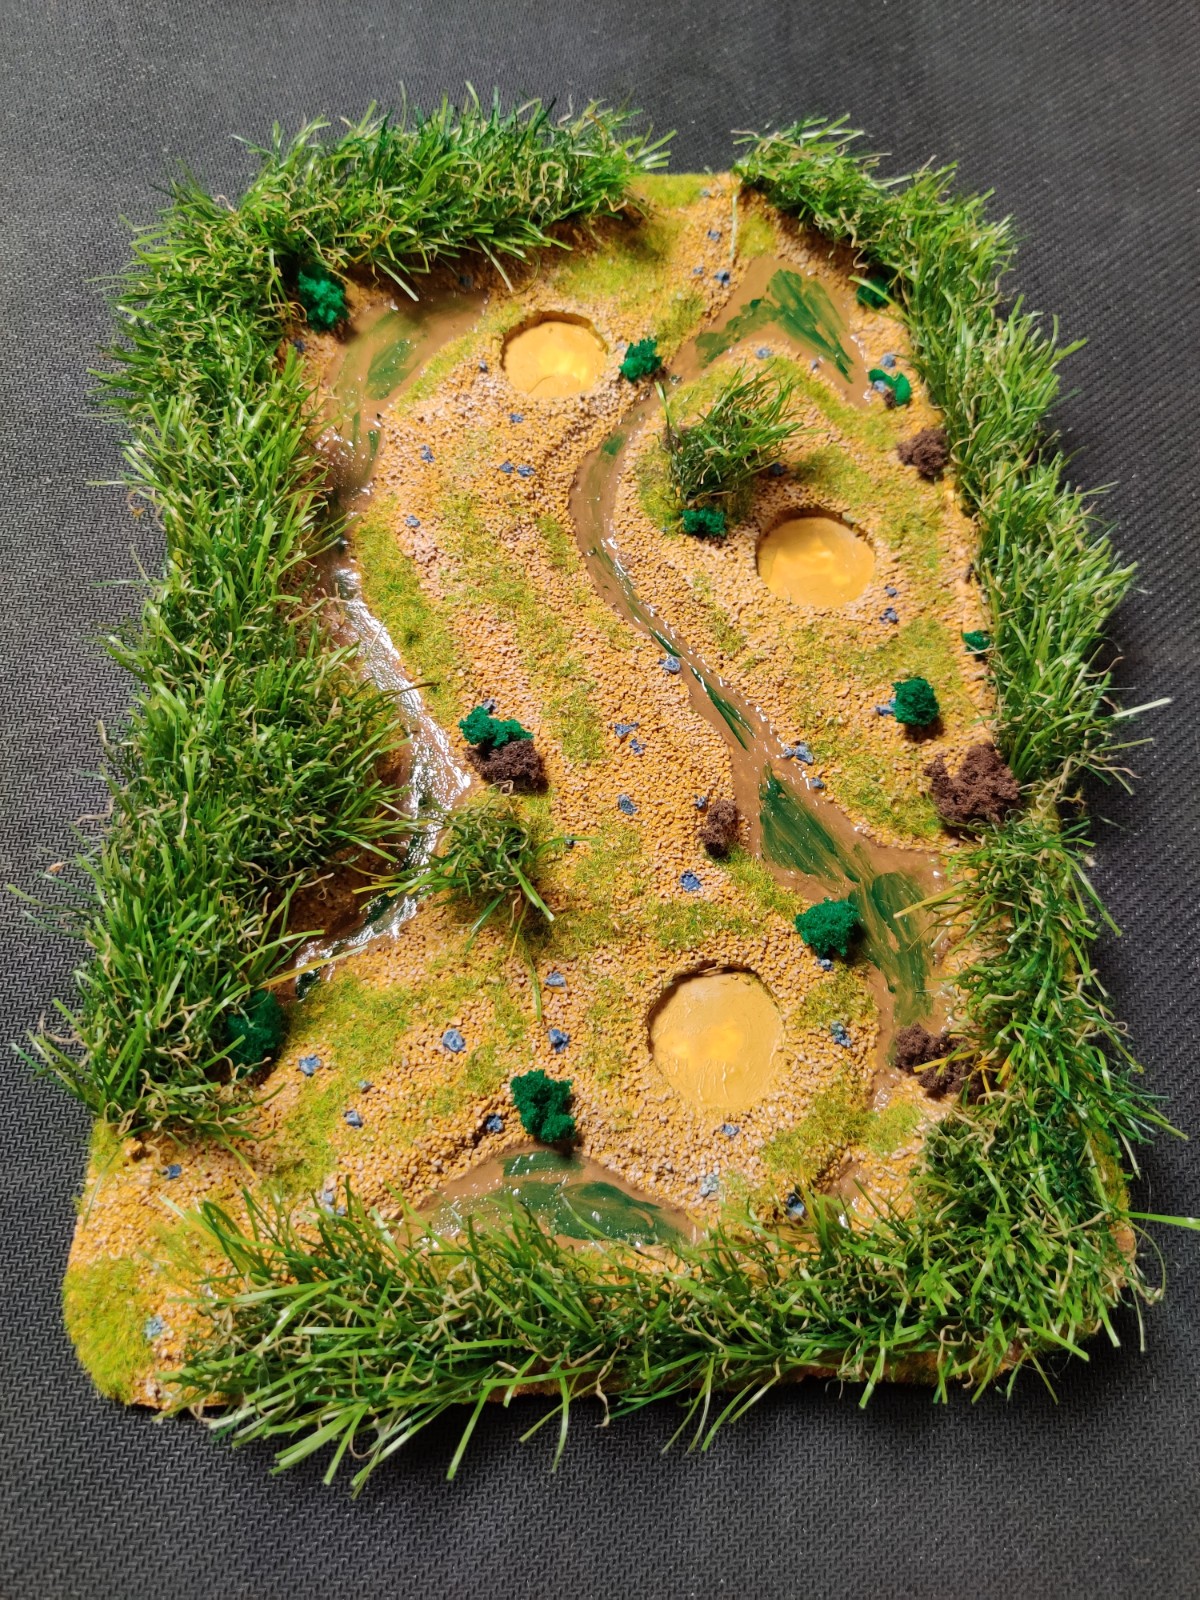
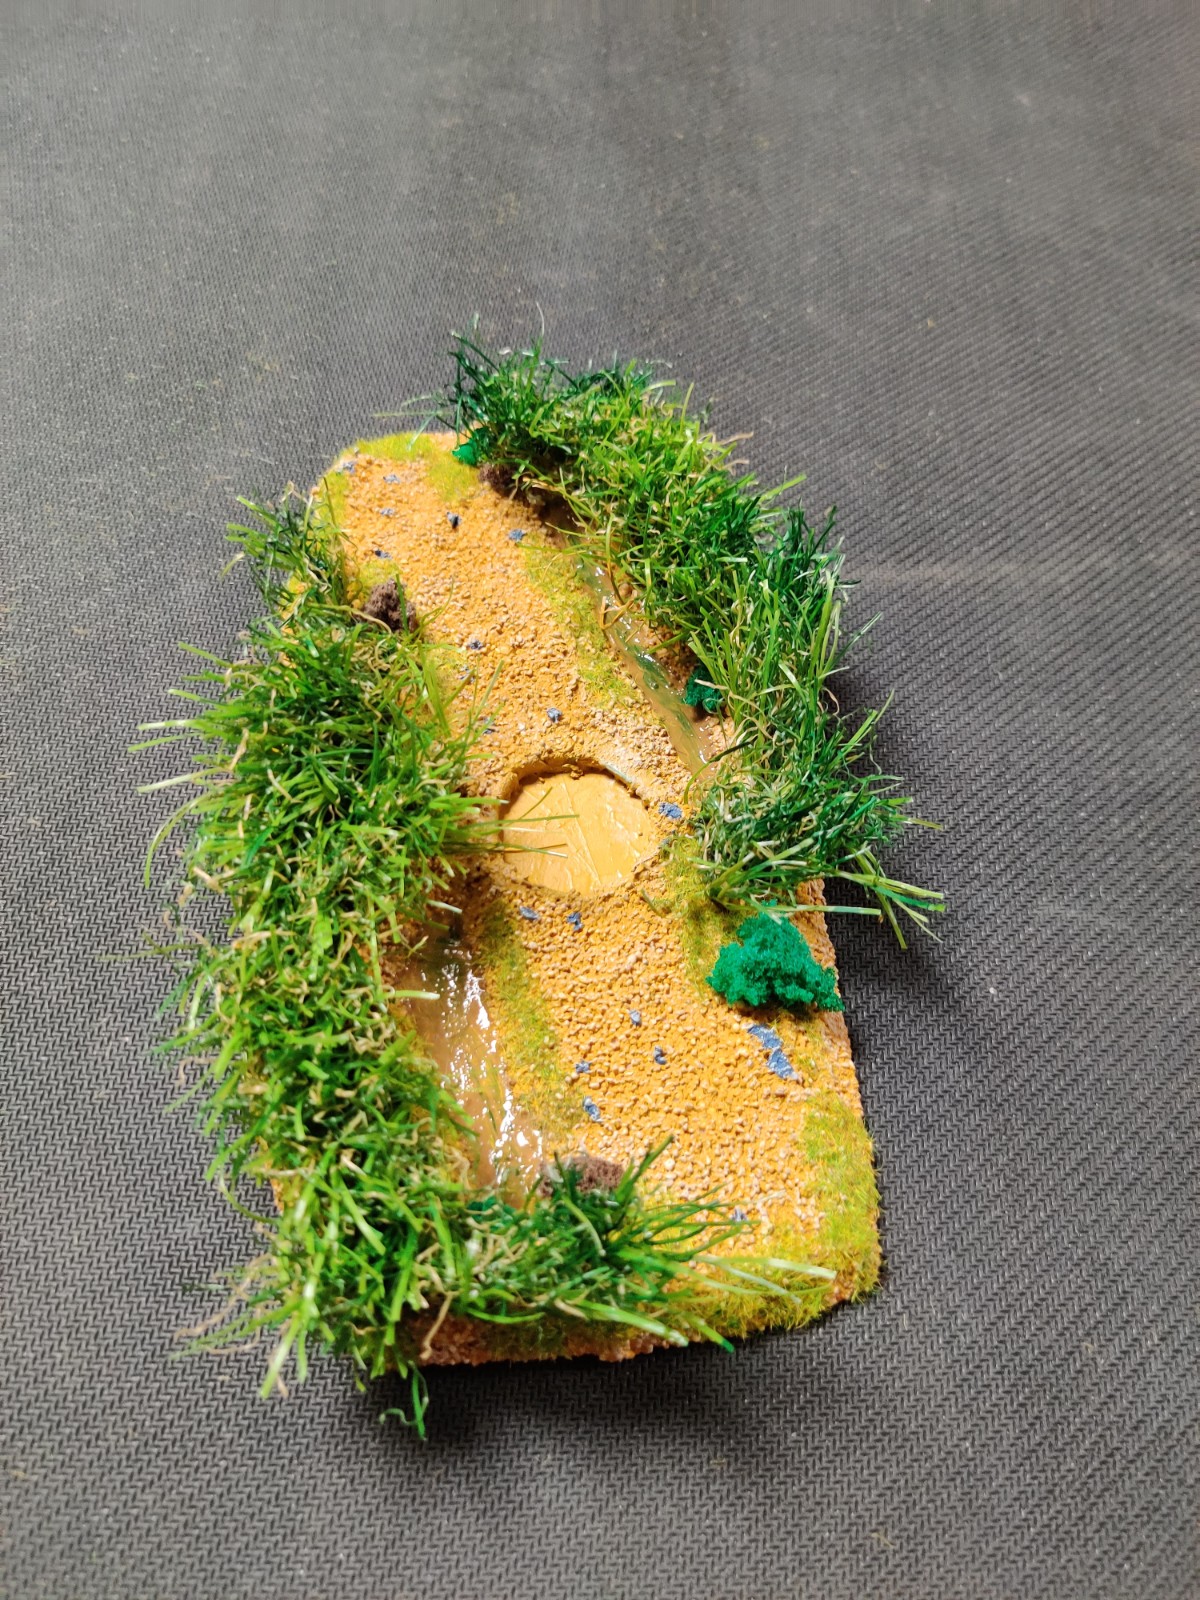
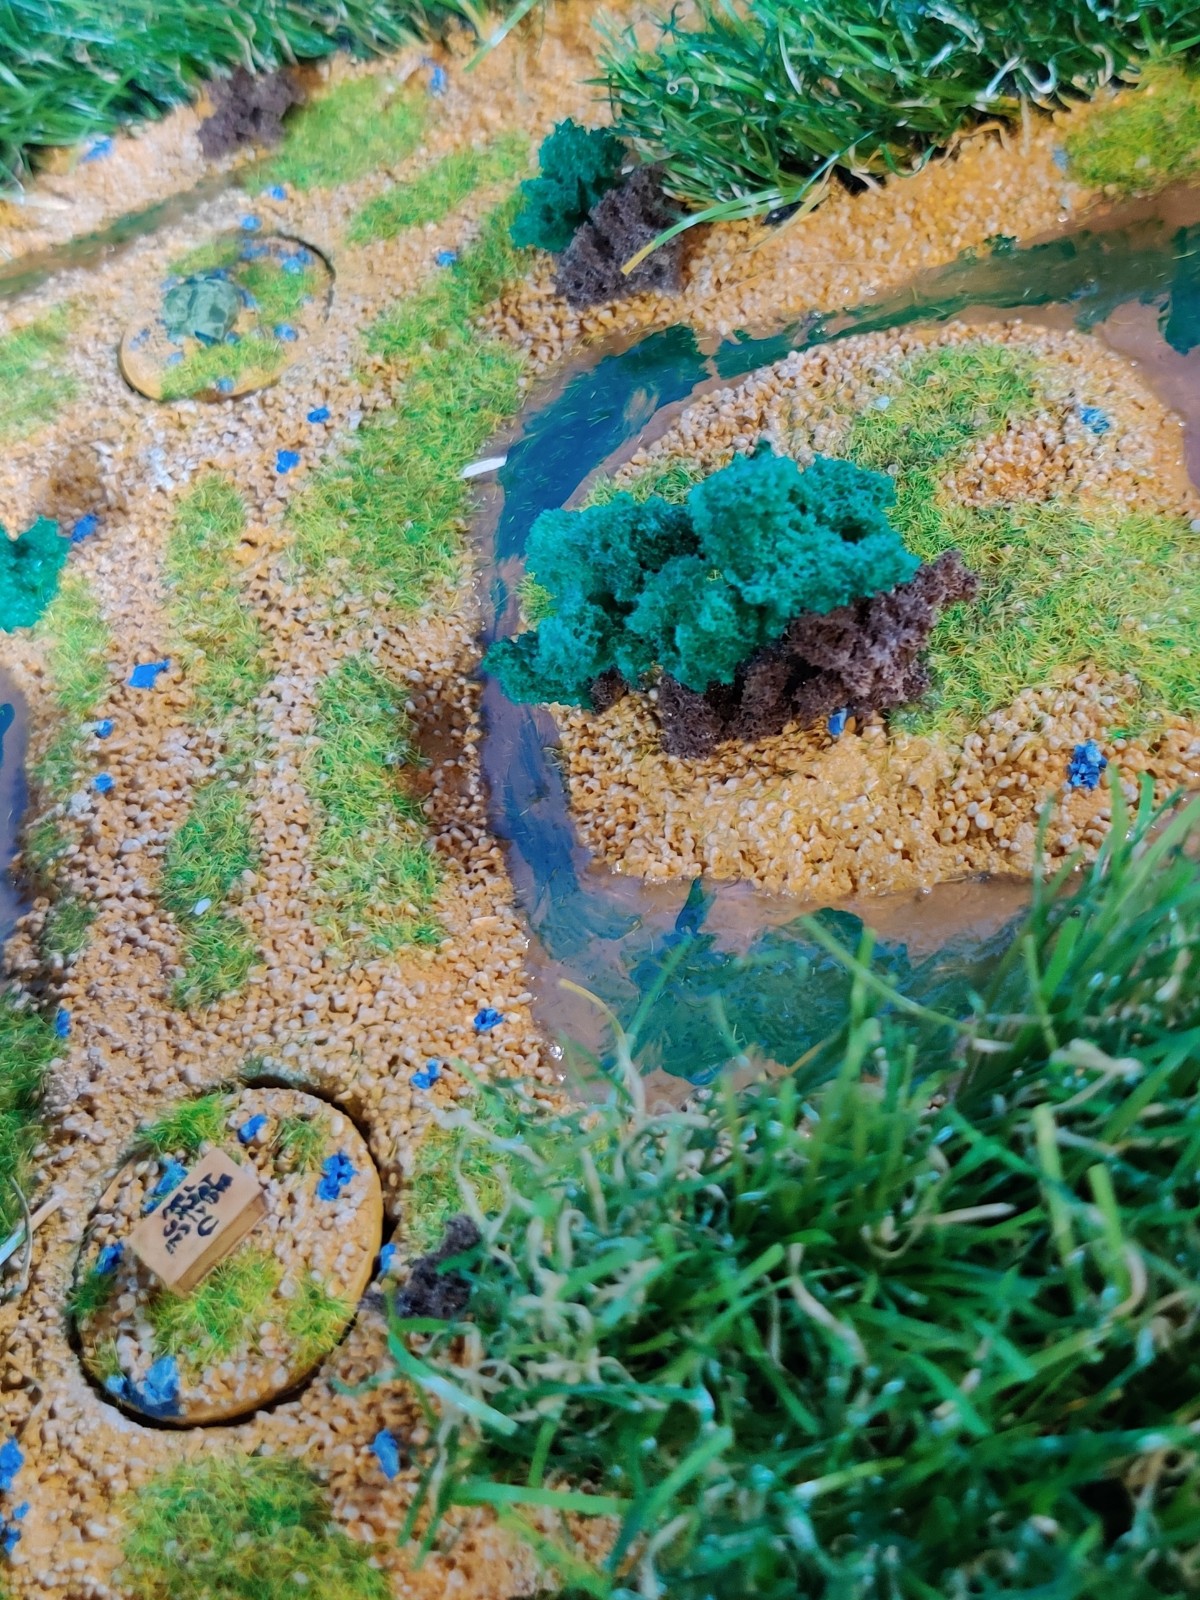
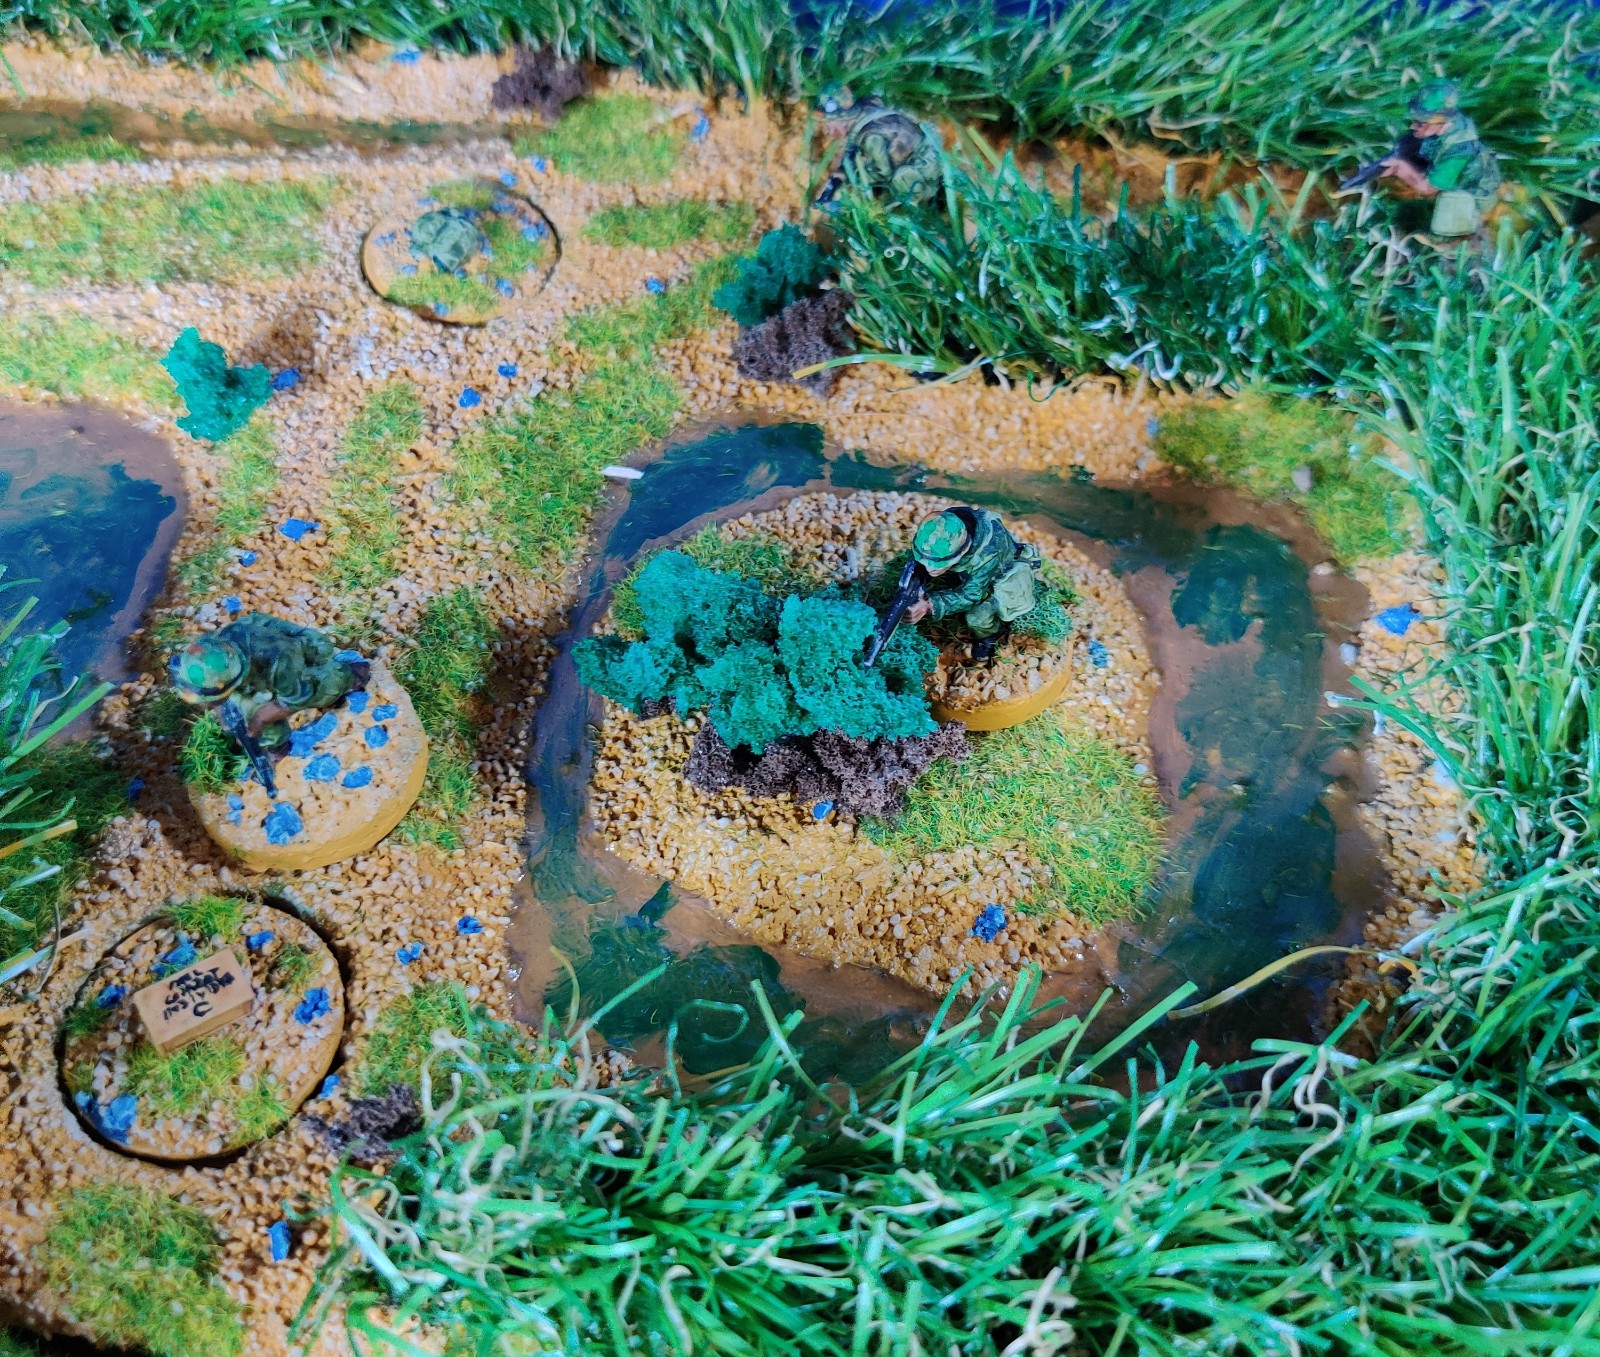
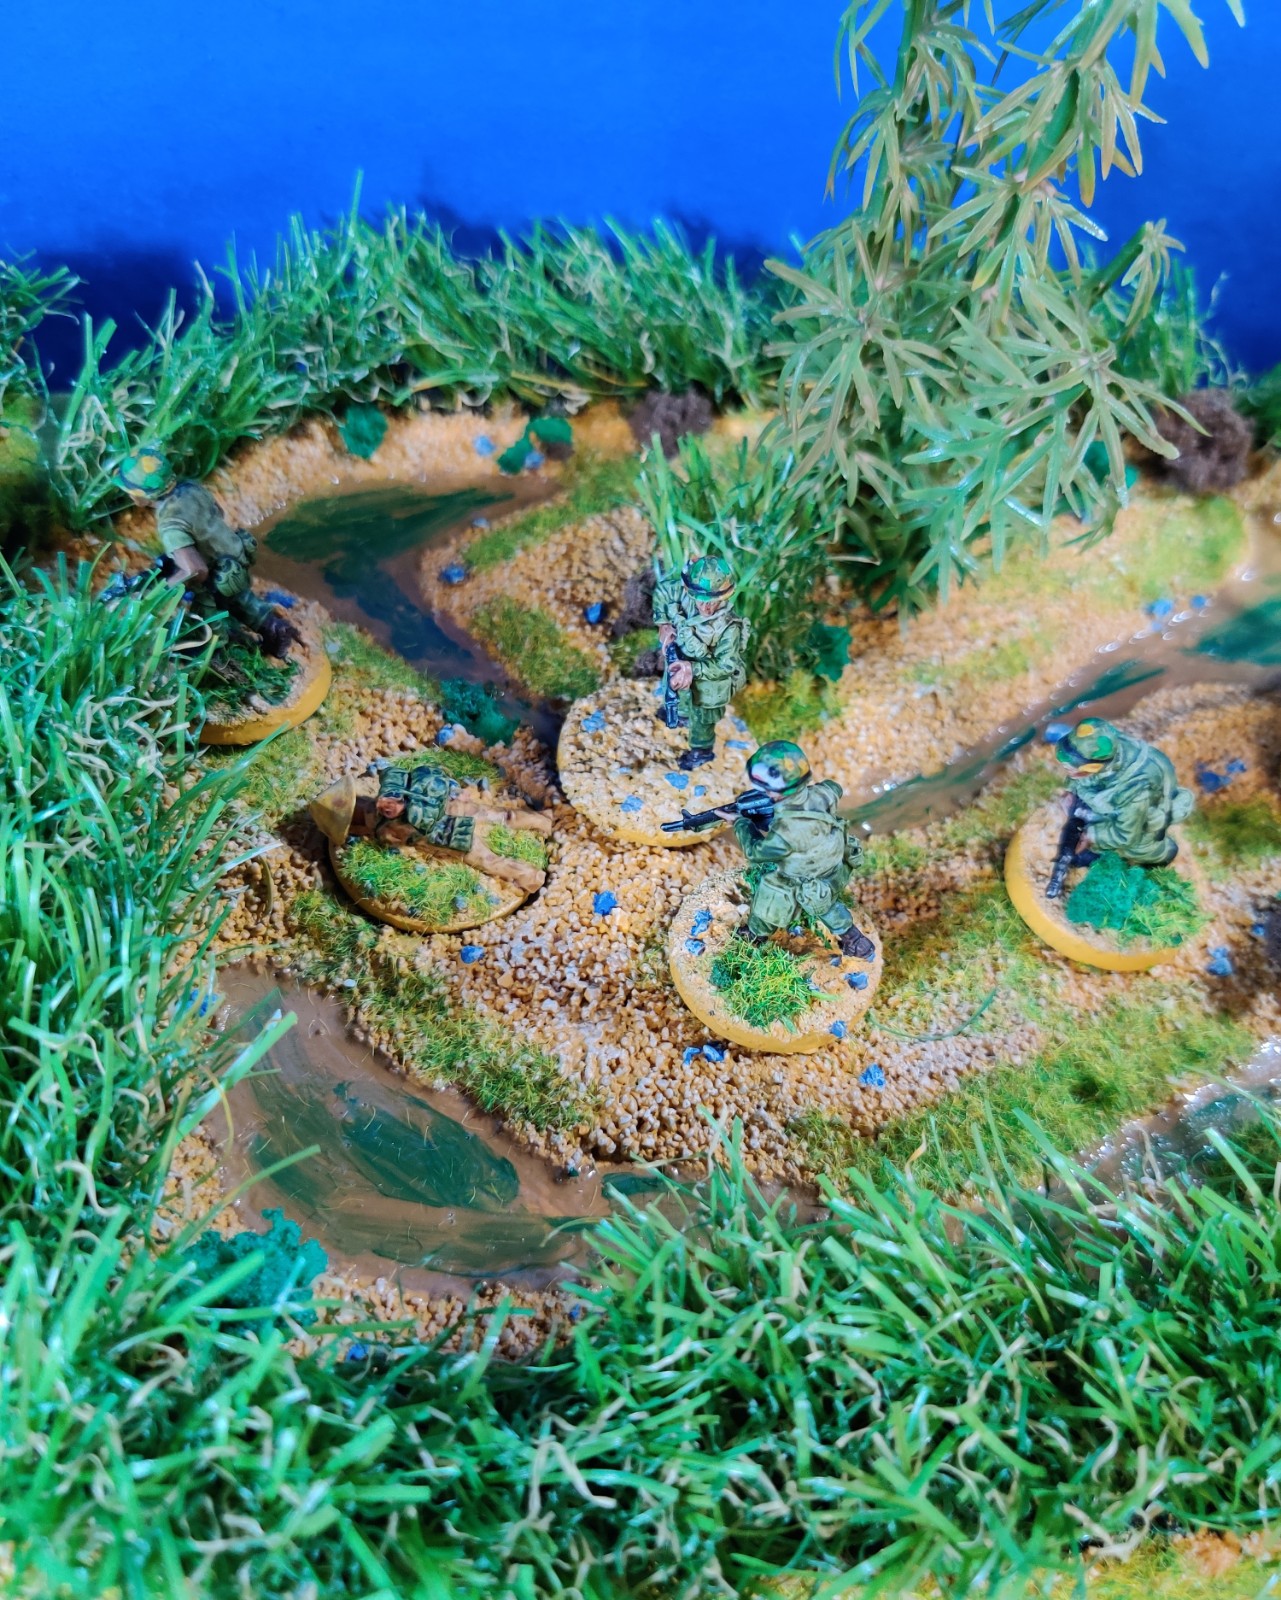
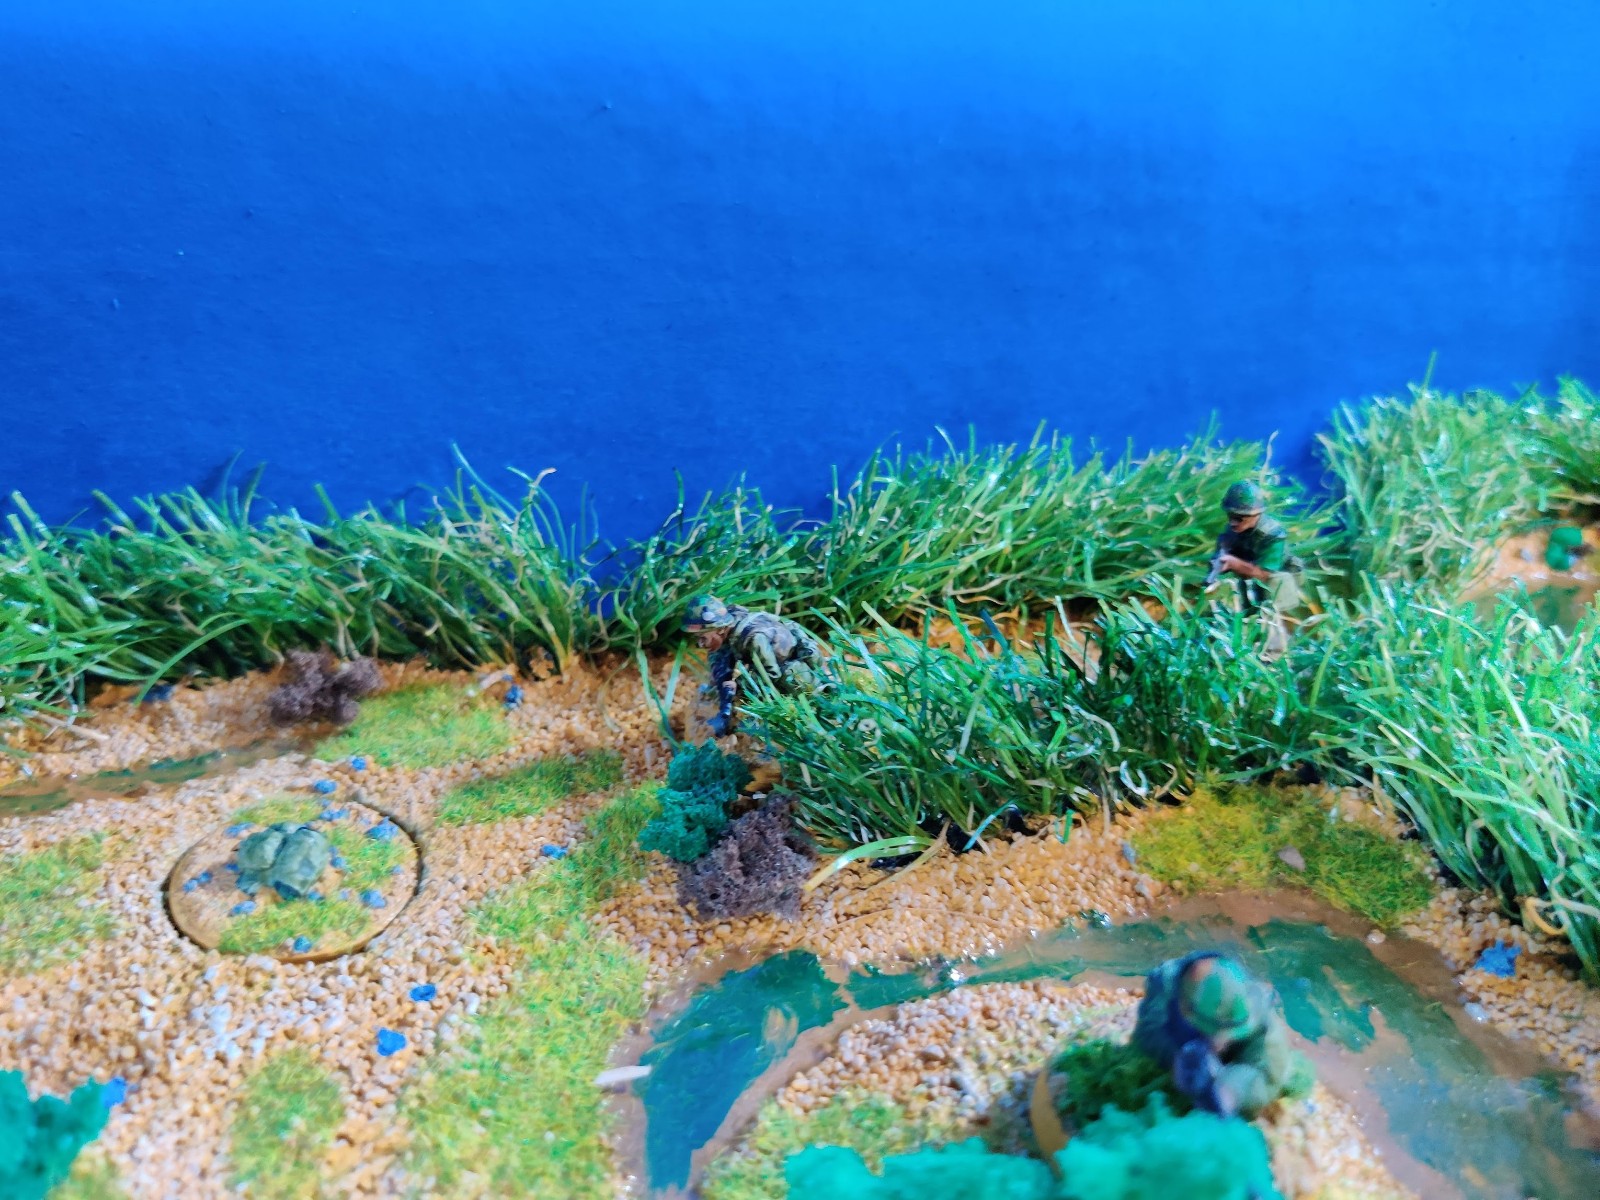
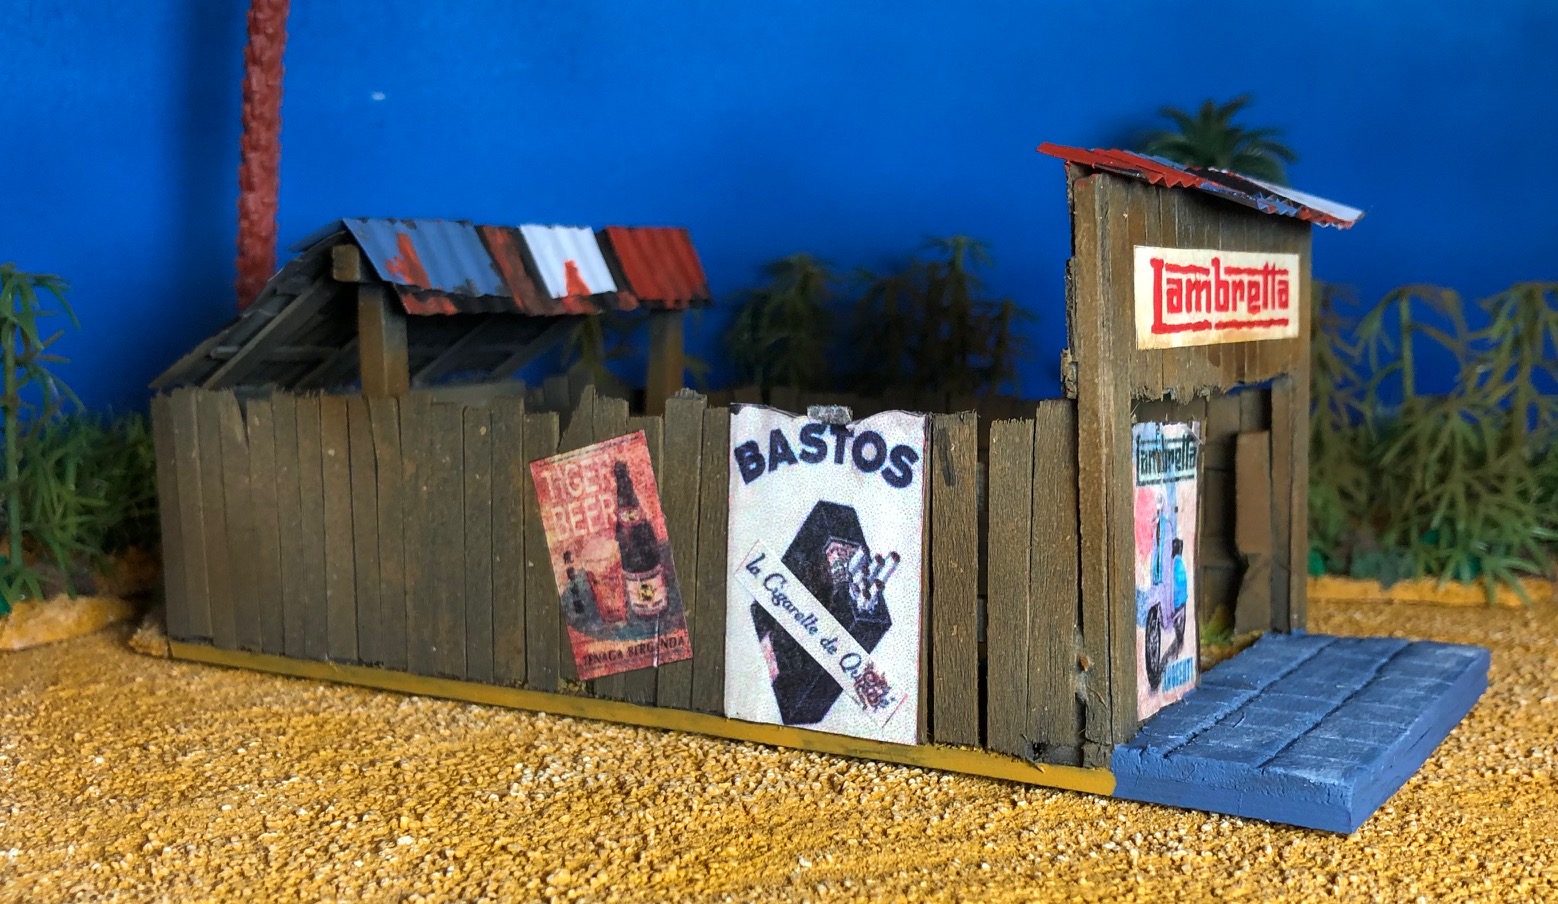
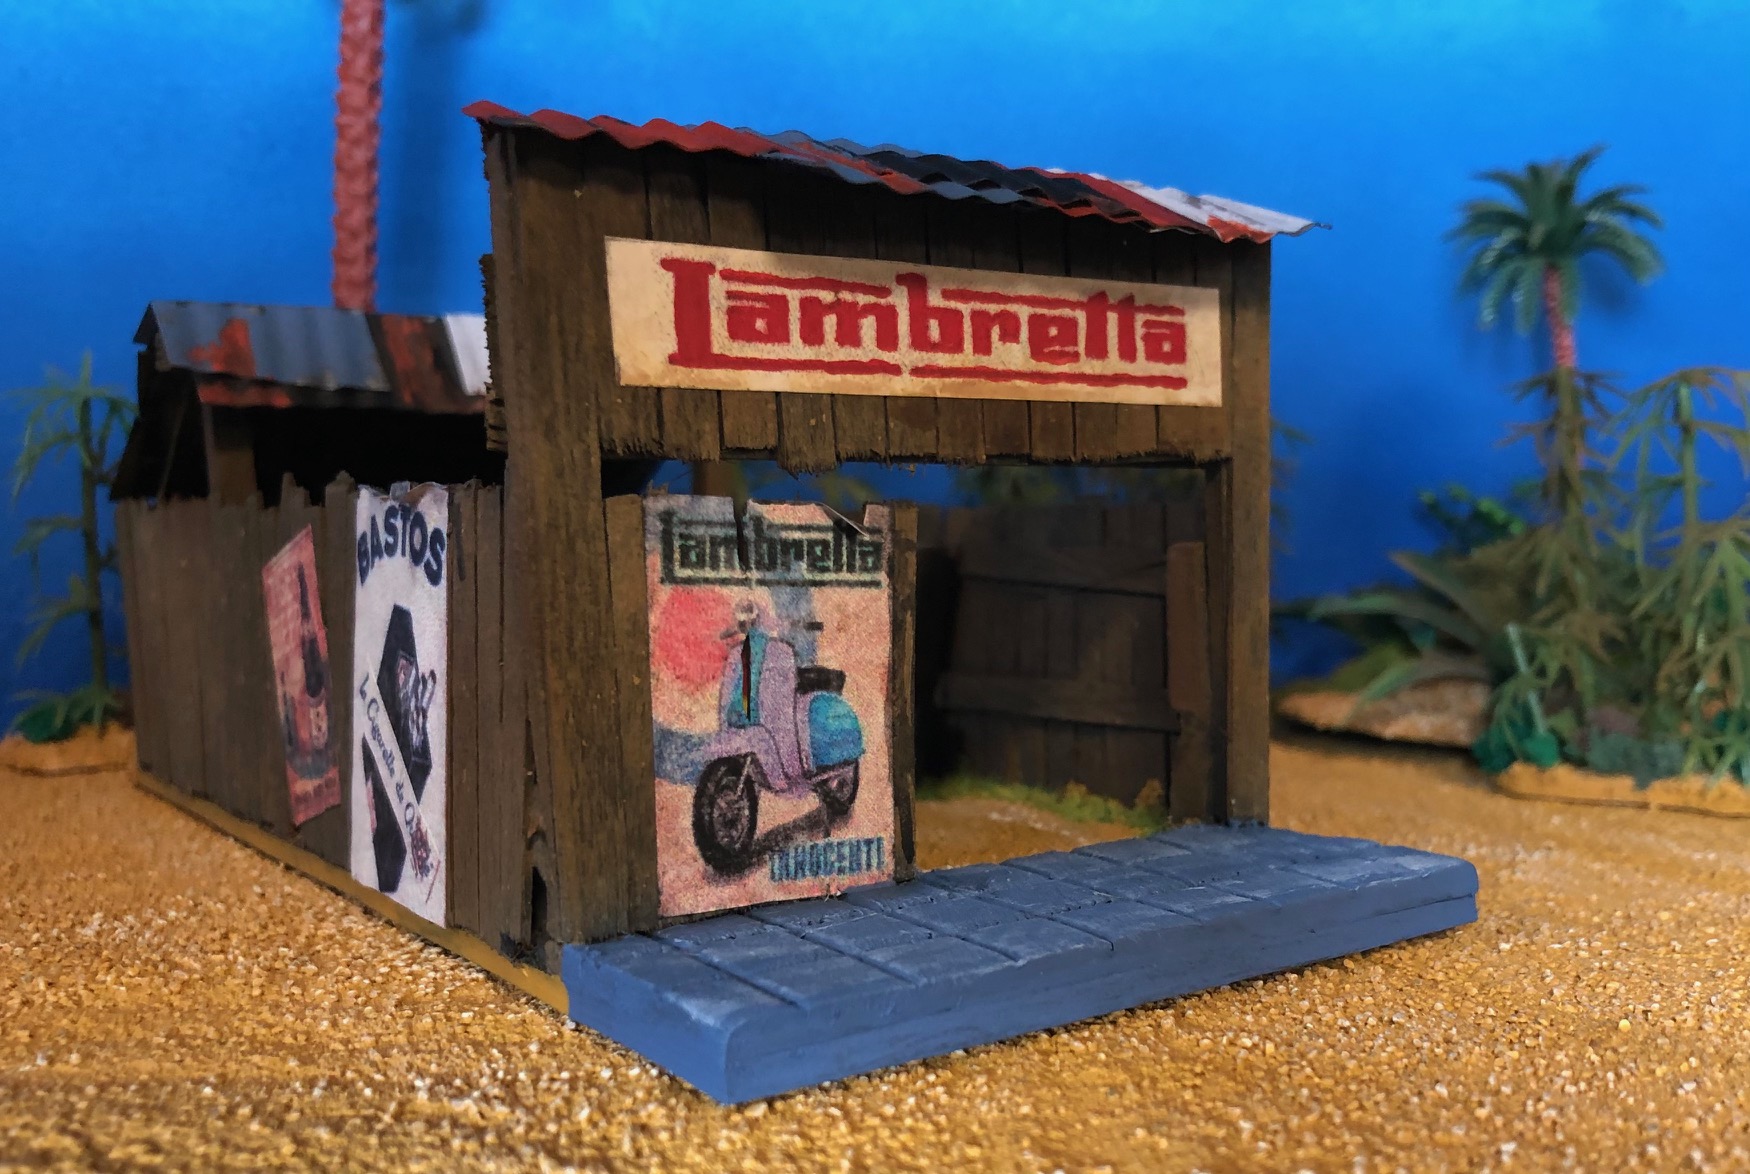
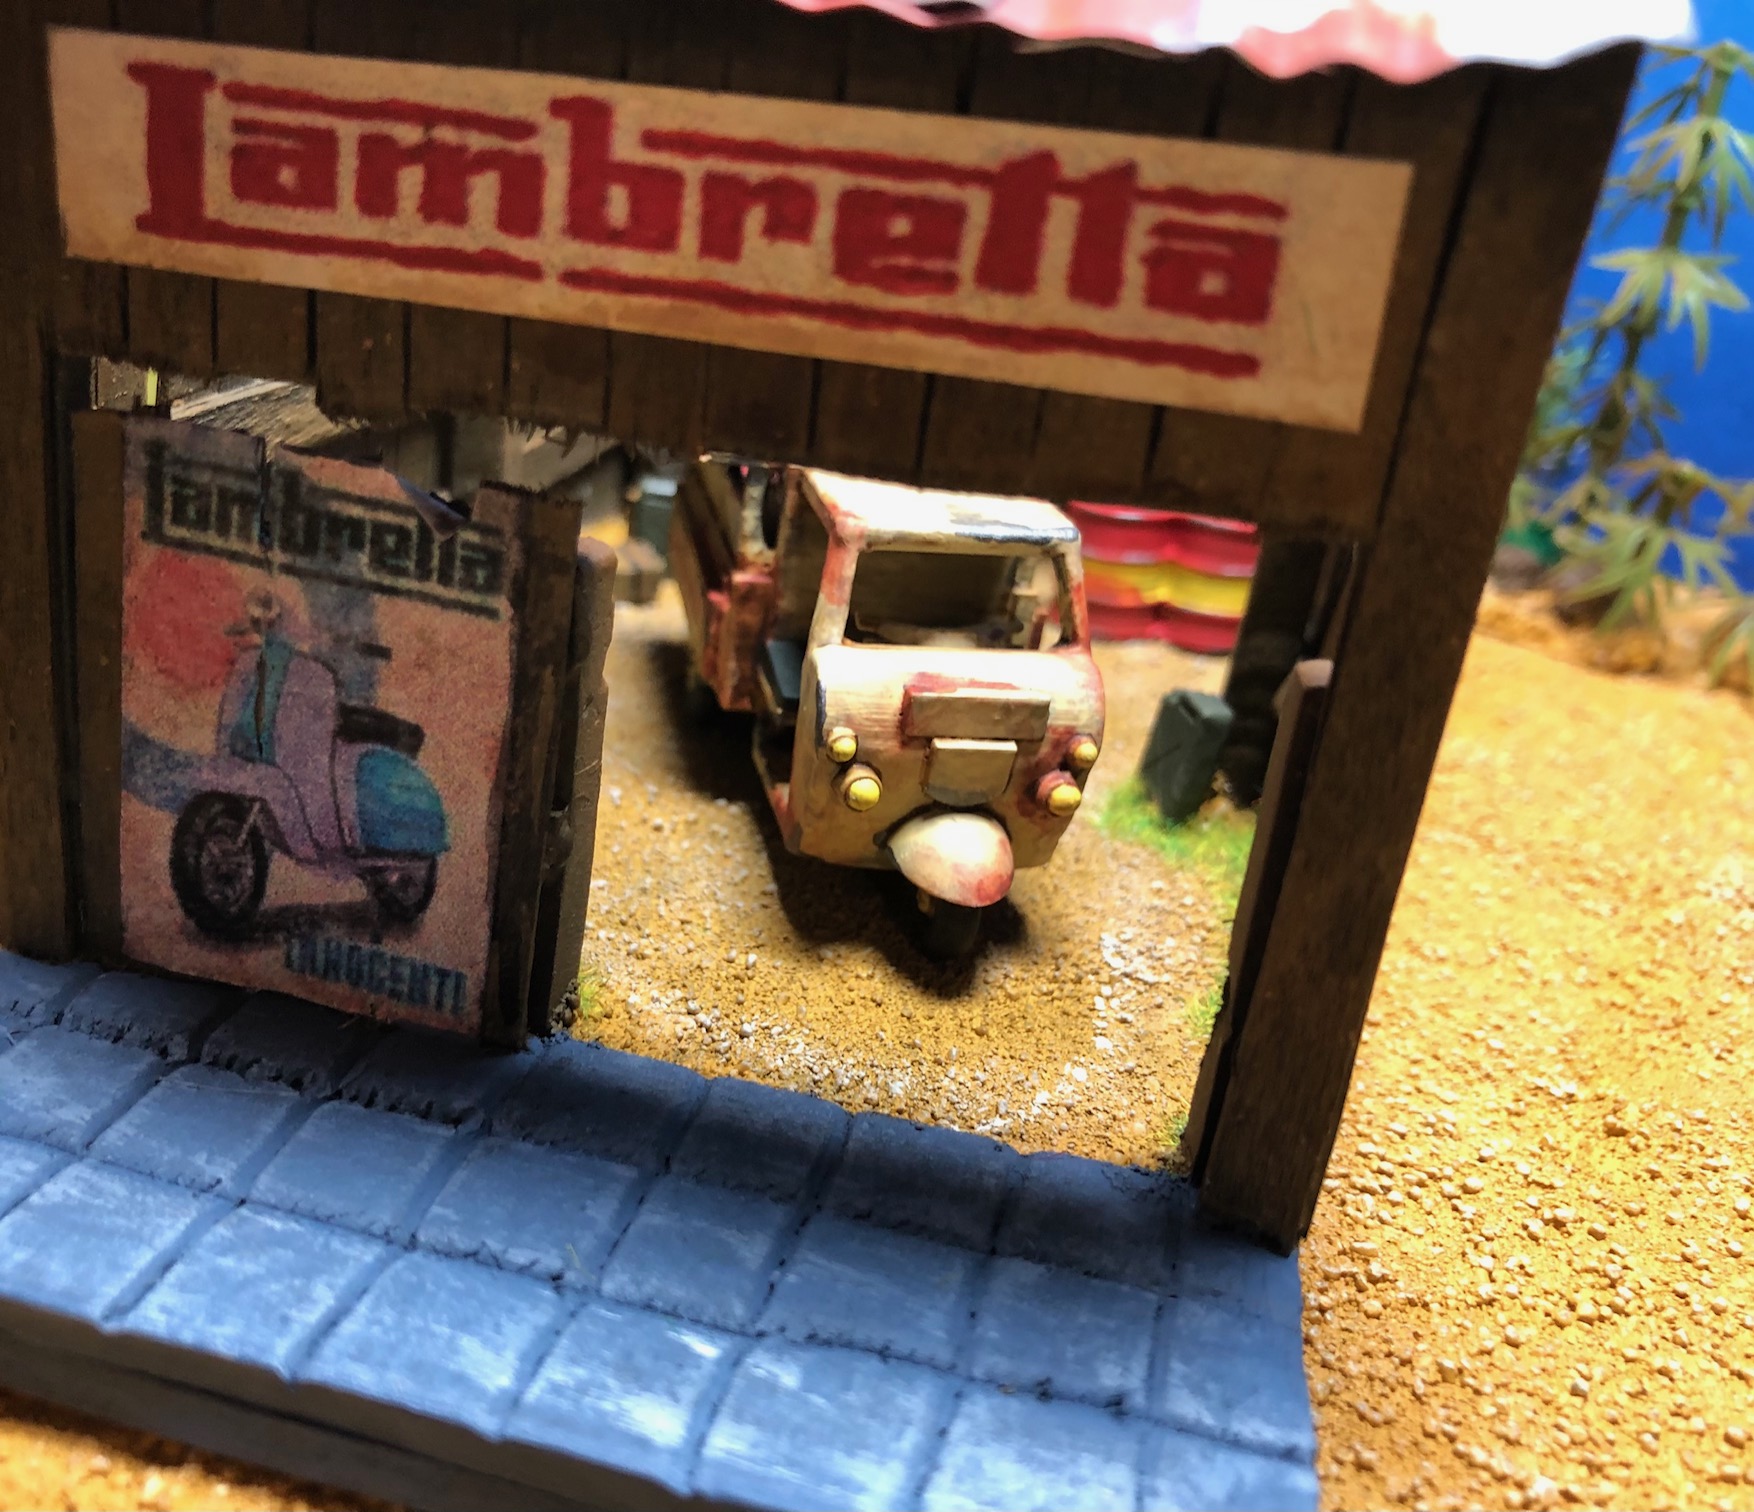
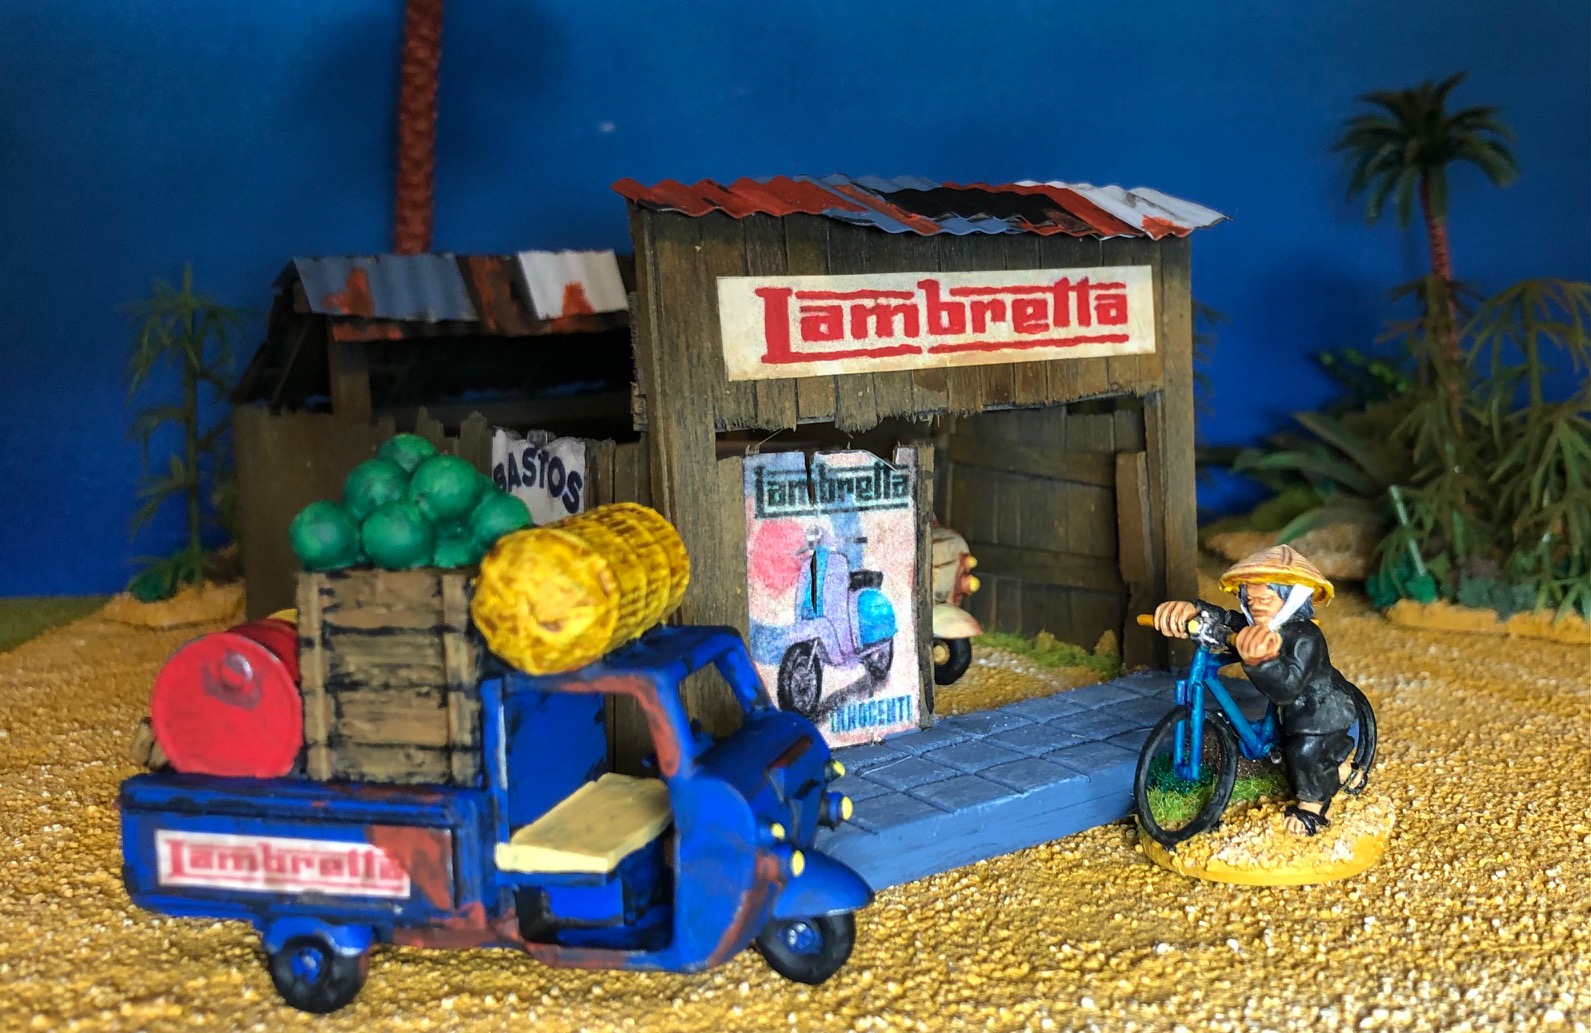
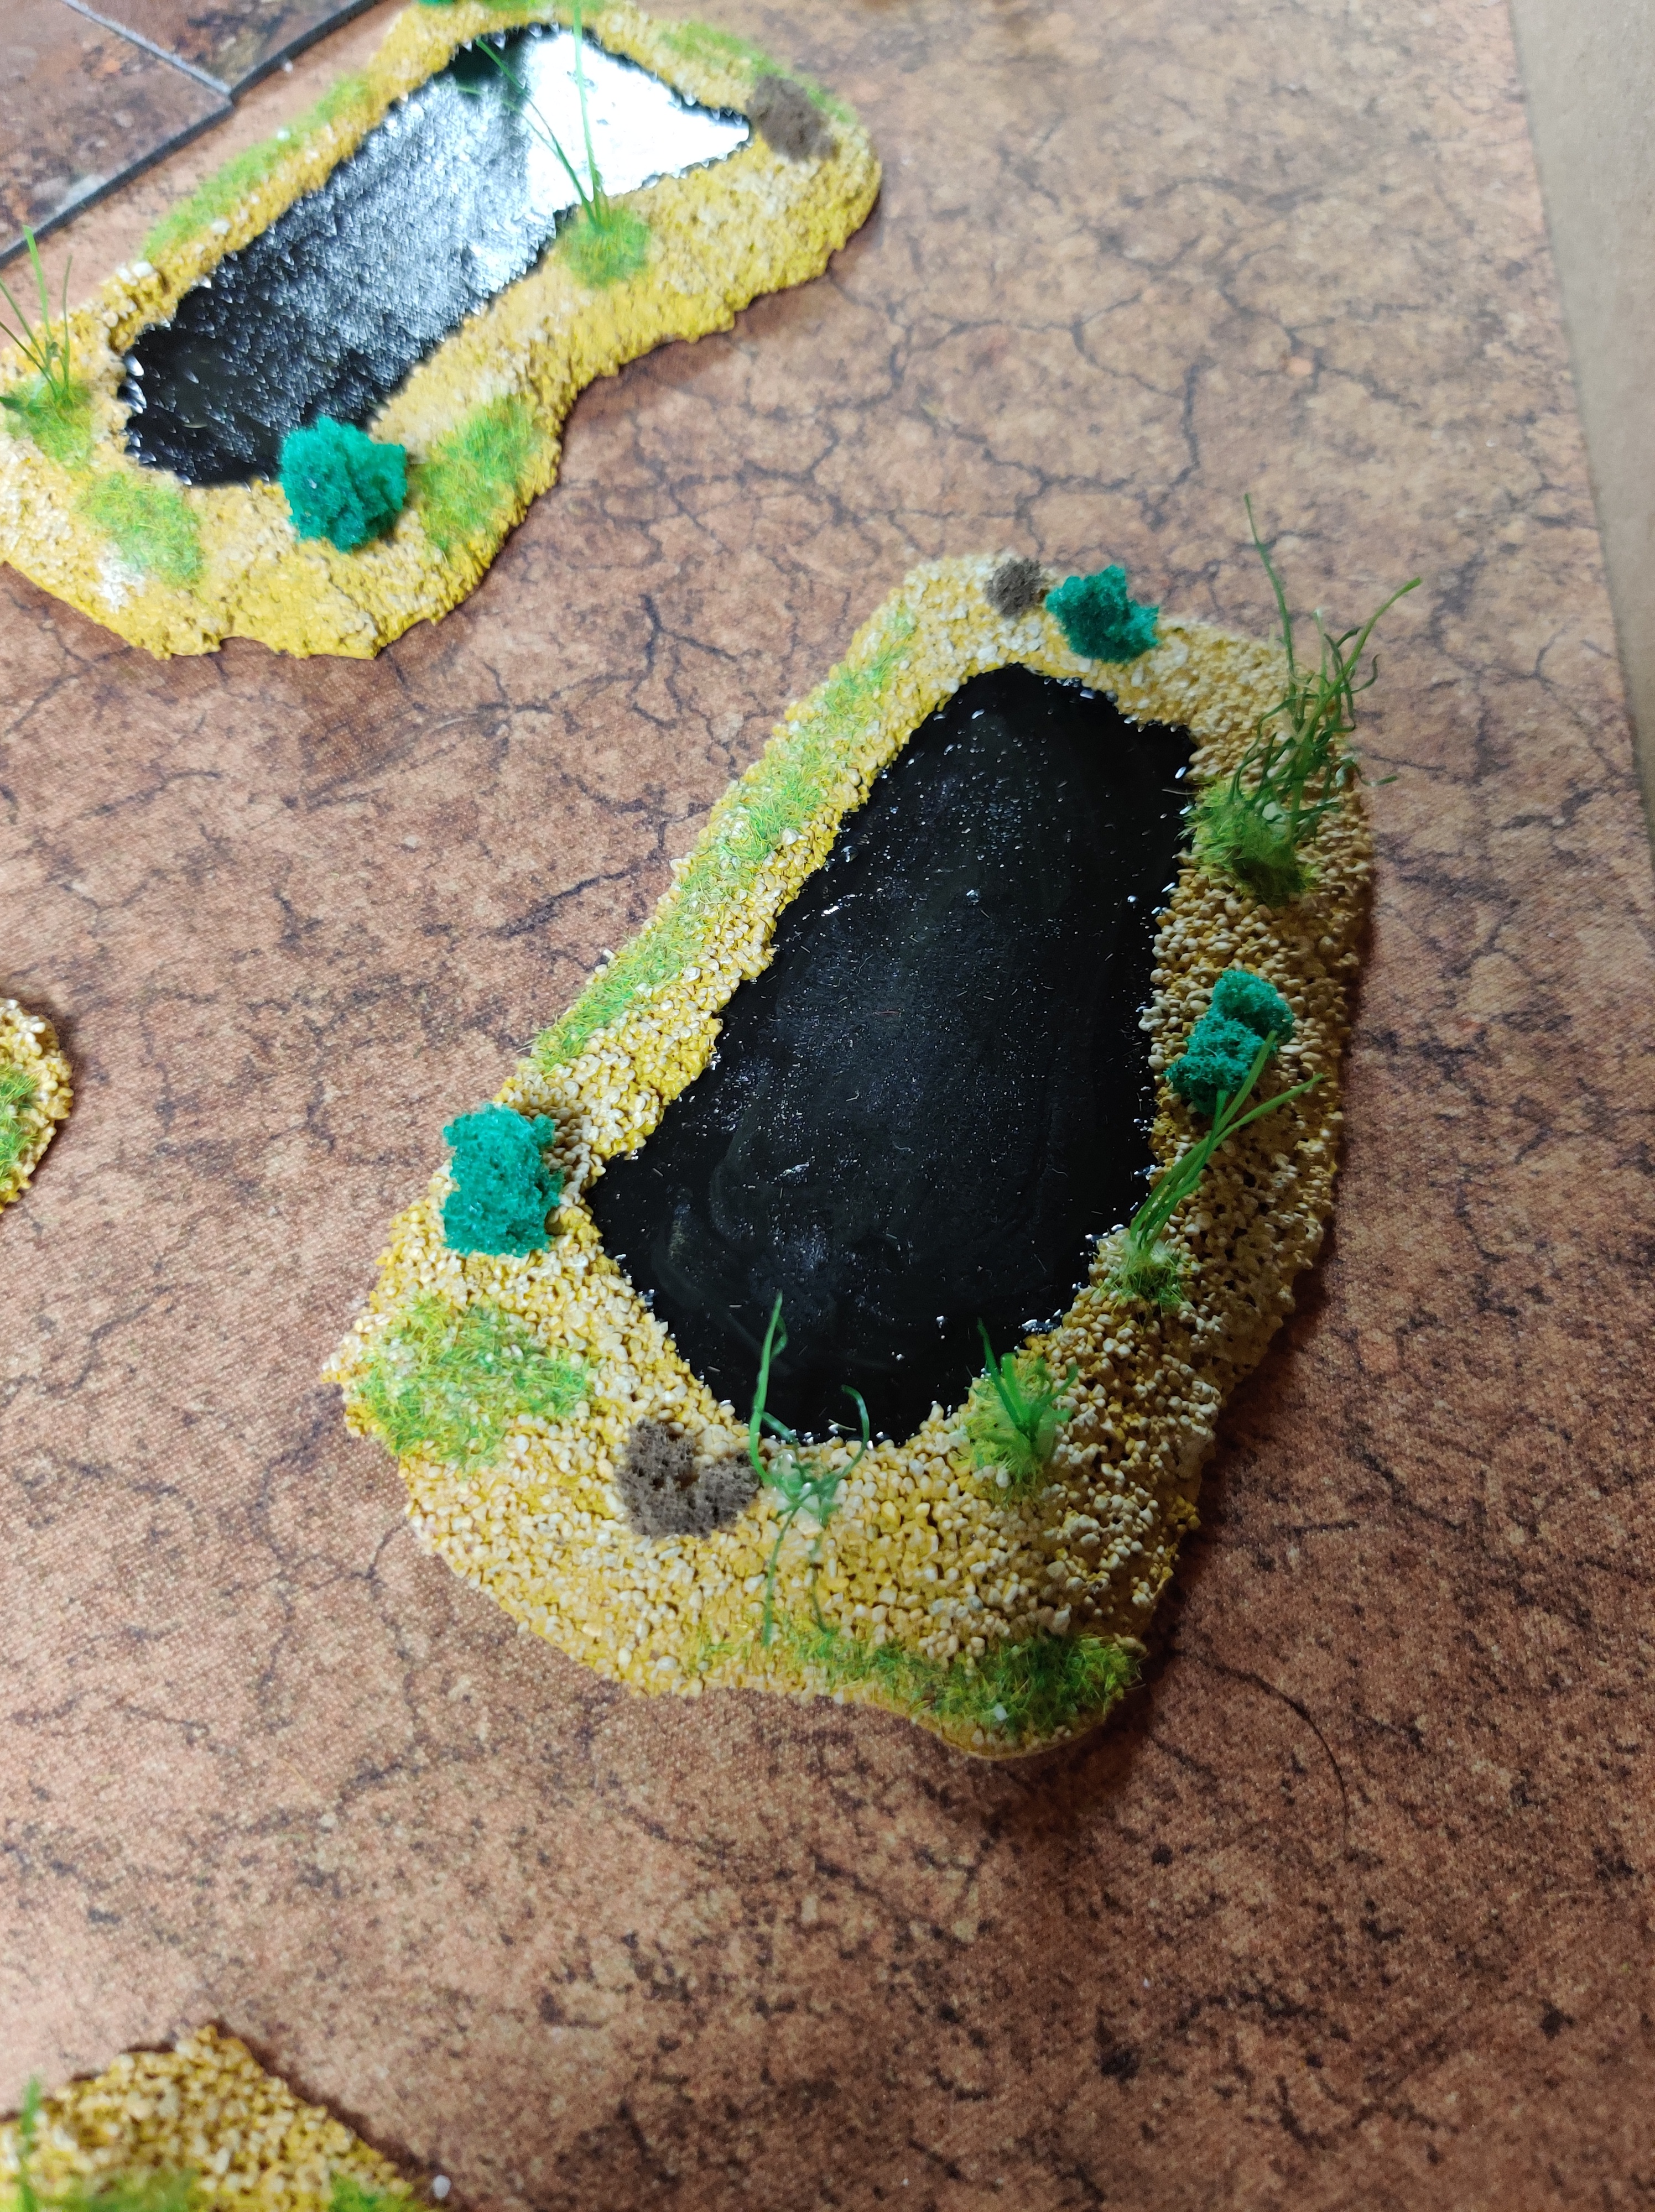
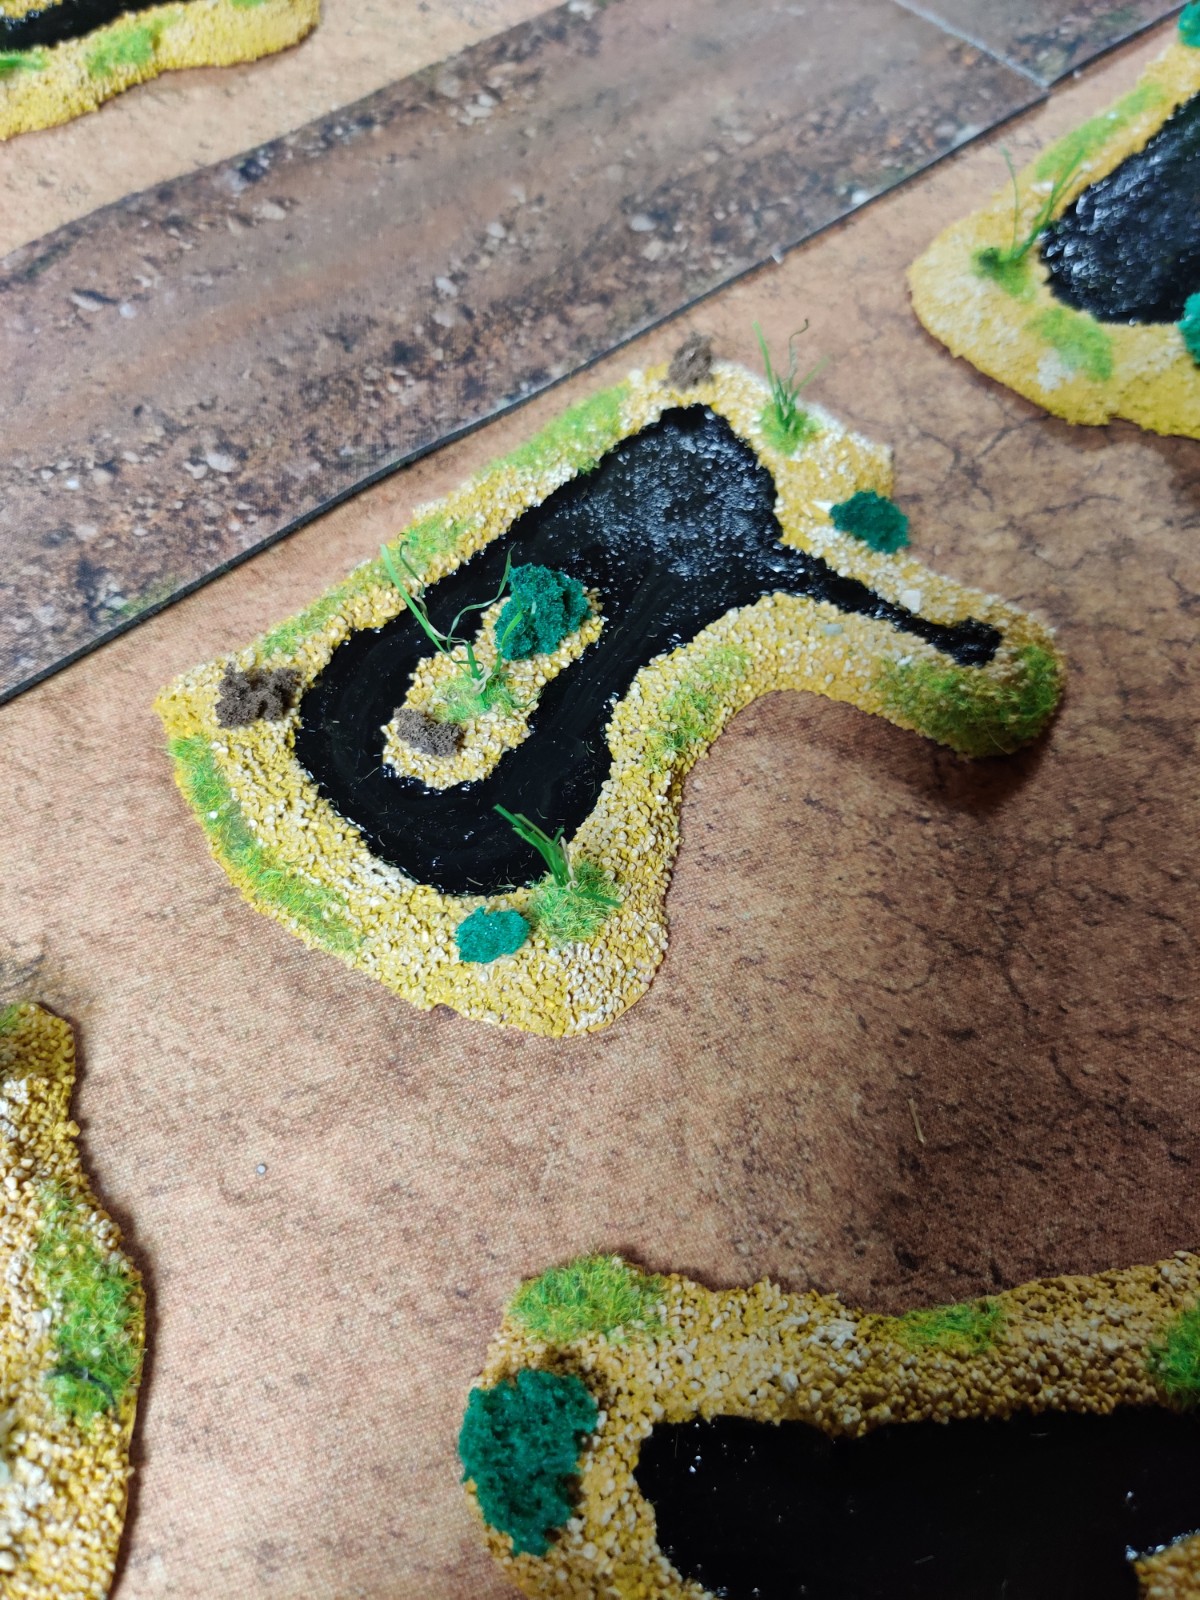
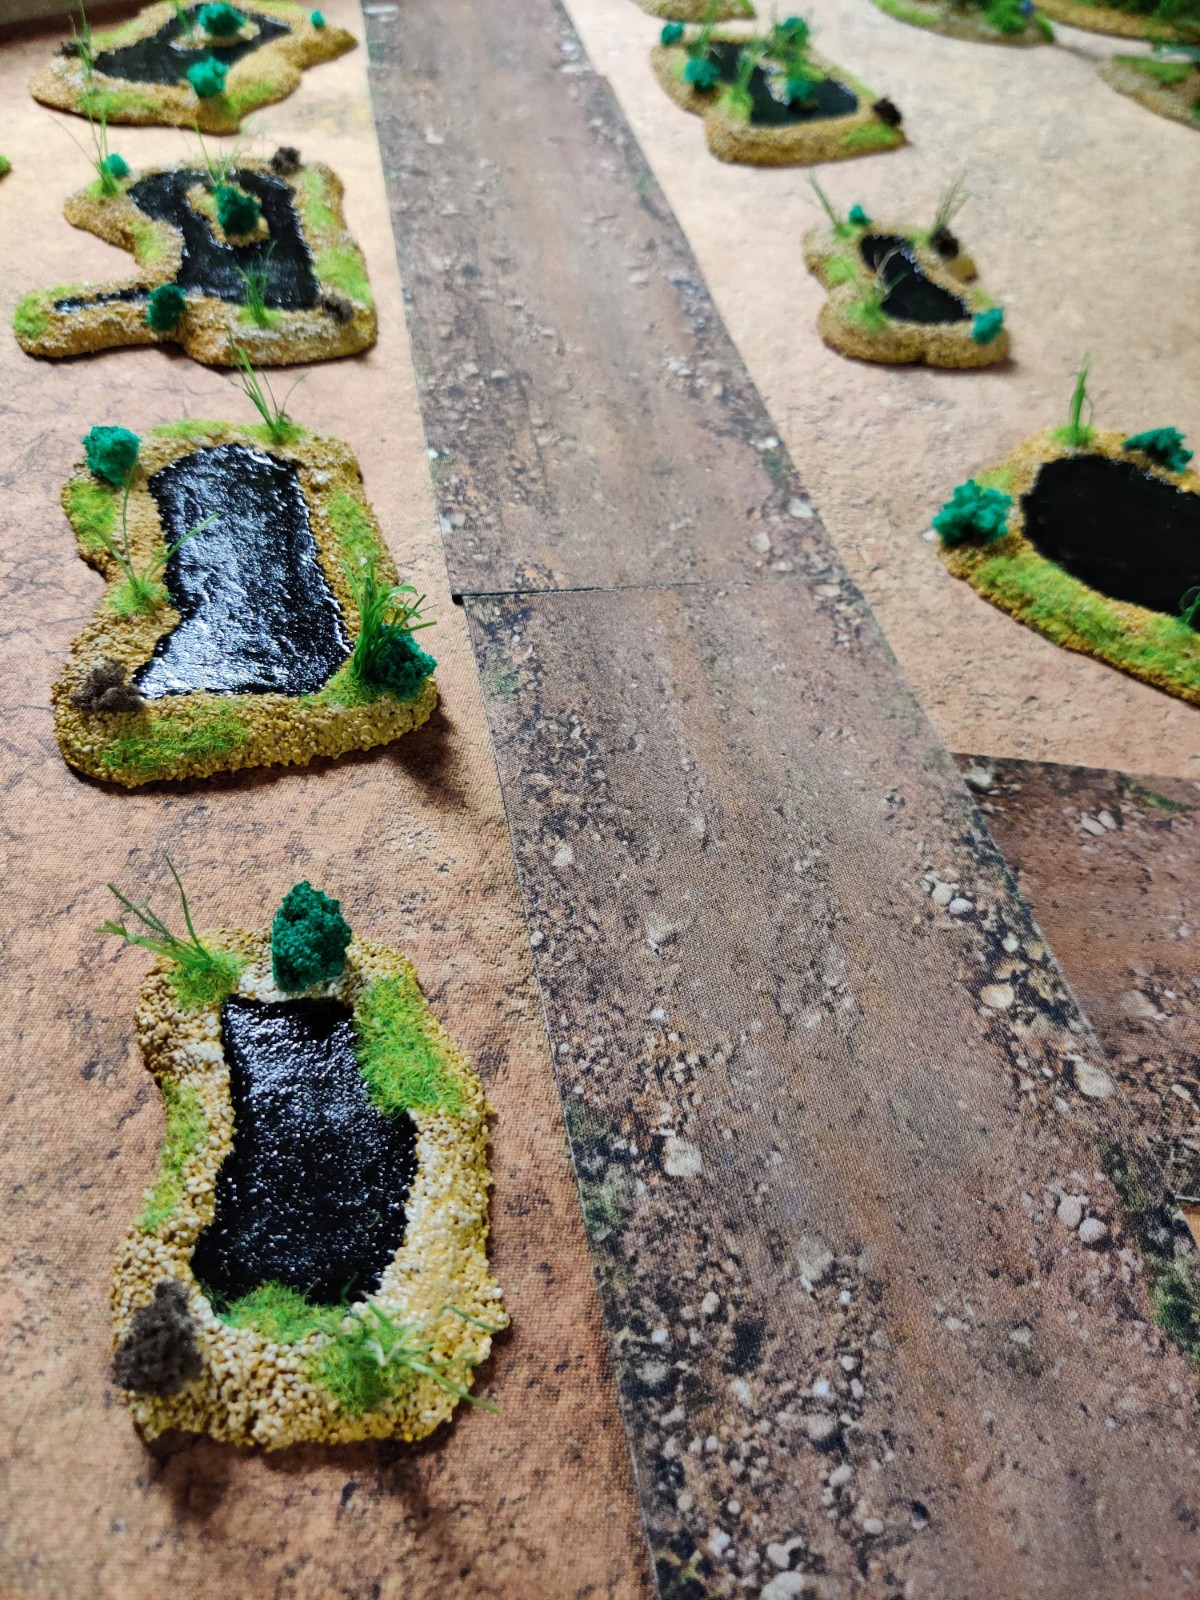
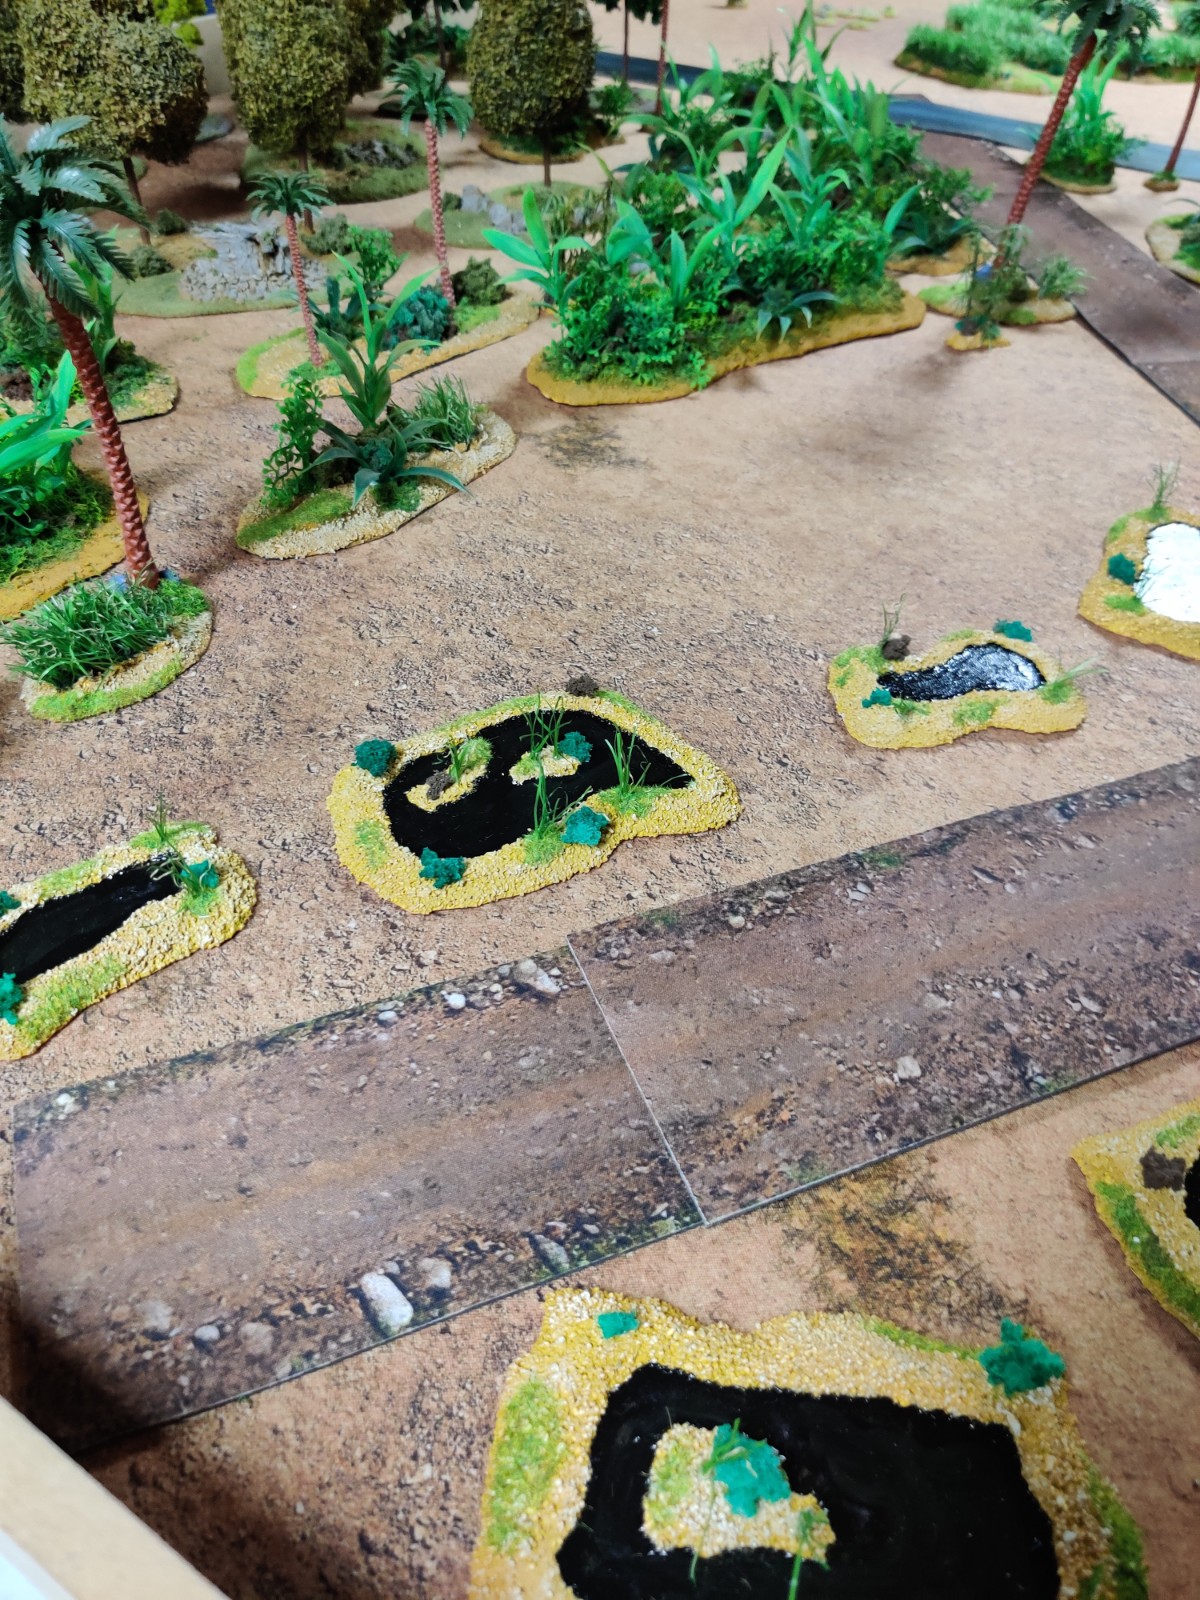
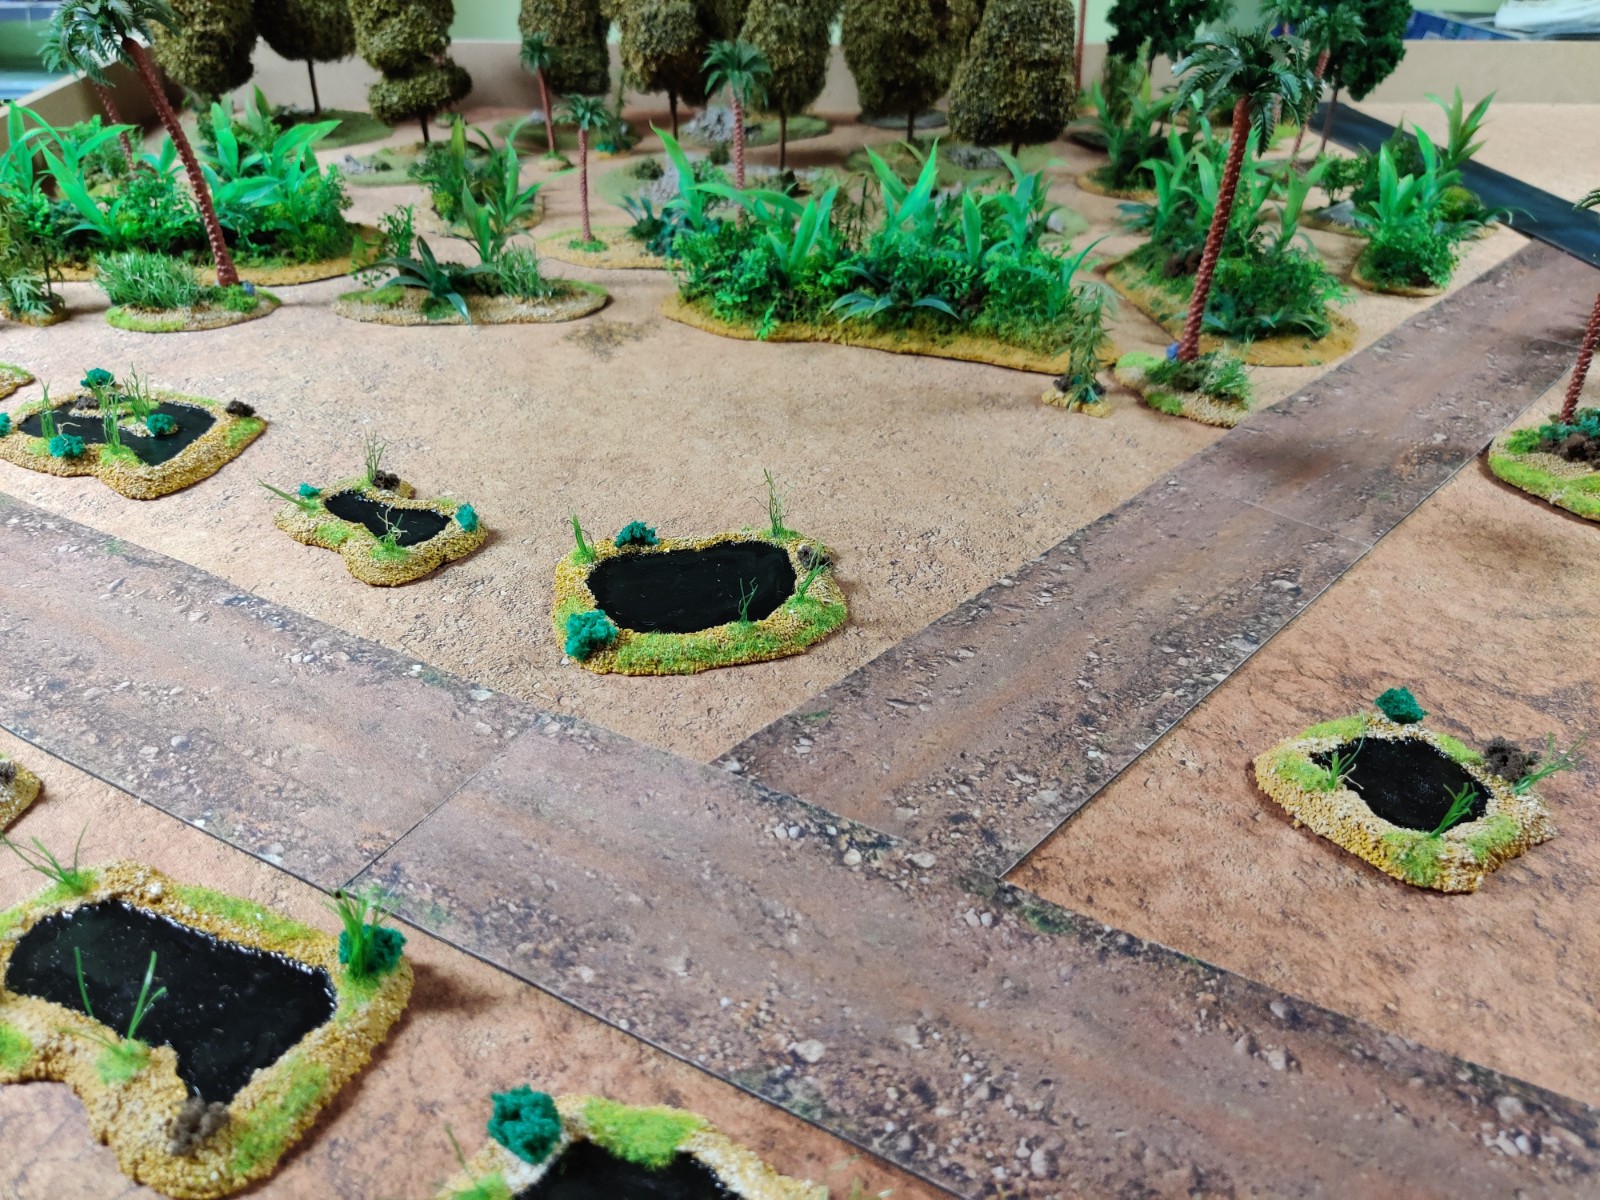
Last weekend I finished some scatter terrain pieces to be used as swamp area. I am building up the last missing terrain pieces for a campaign game set during the Vietnam war, north of the parrots beak area. This area of Vietnam was a large swamp and abandoned rice paddy area near the border to Cambodia. So an infiltration point for the NVA and VC. But back to the terrain pieces. I want to depict the swamp as individual scatter terrain to be able to have different pathways through the swamp. The whole area will hinder movement due to being difficult terrain.

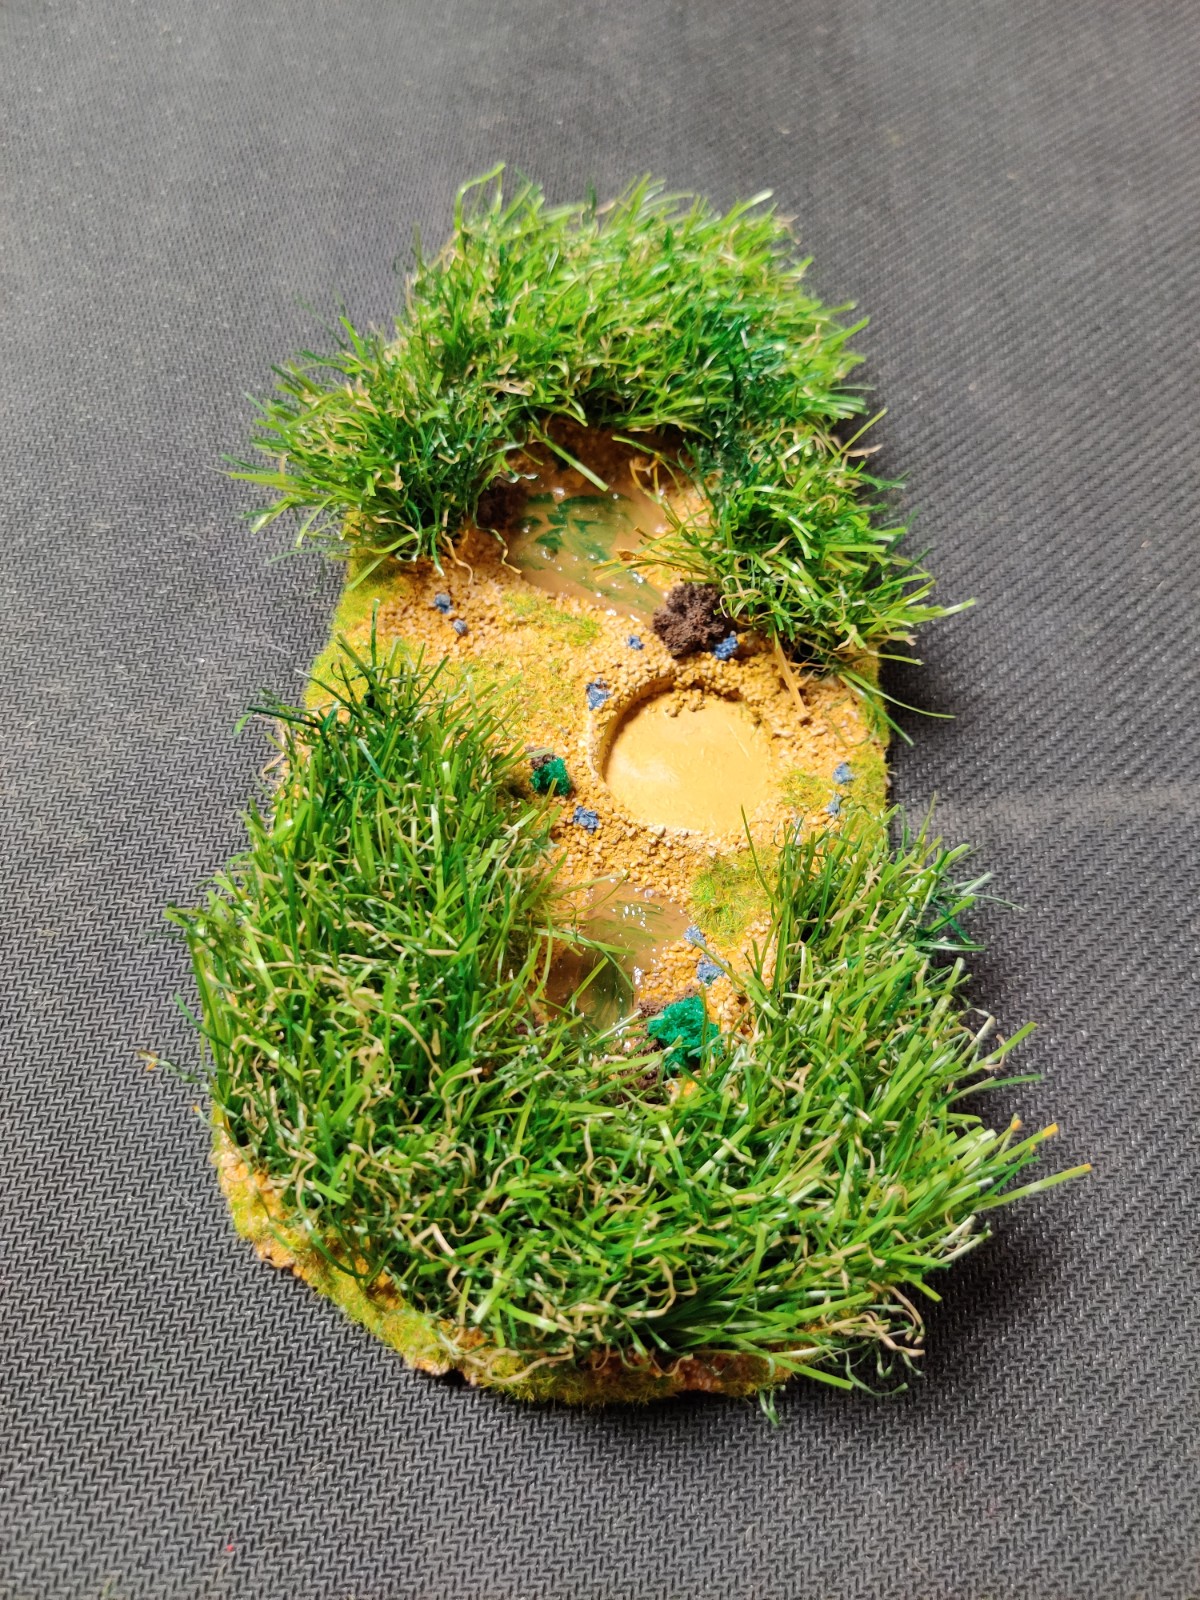
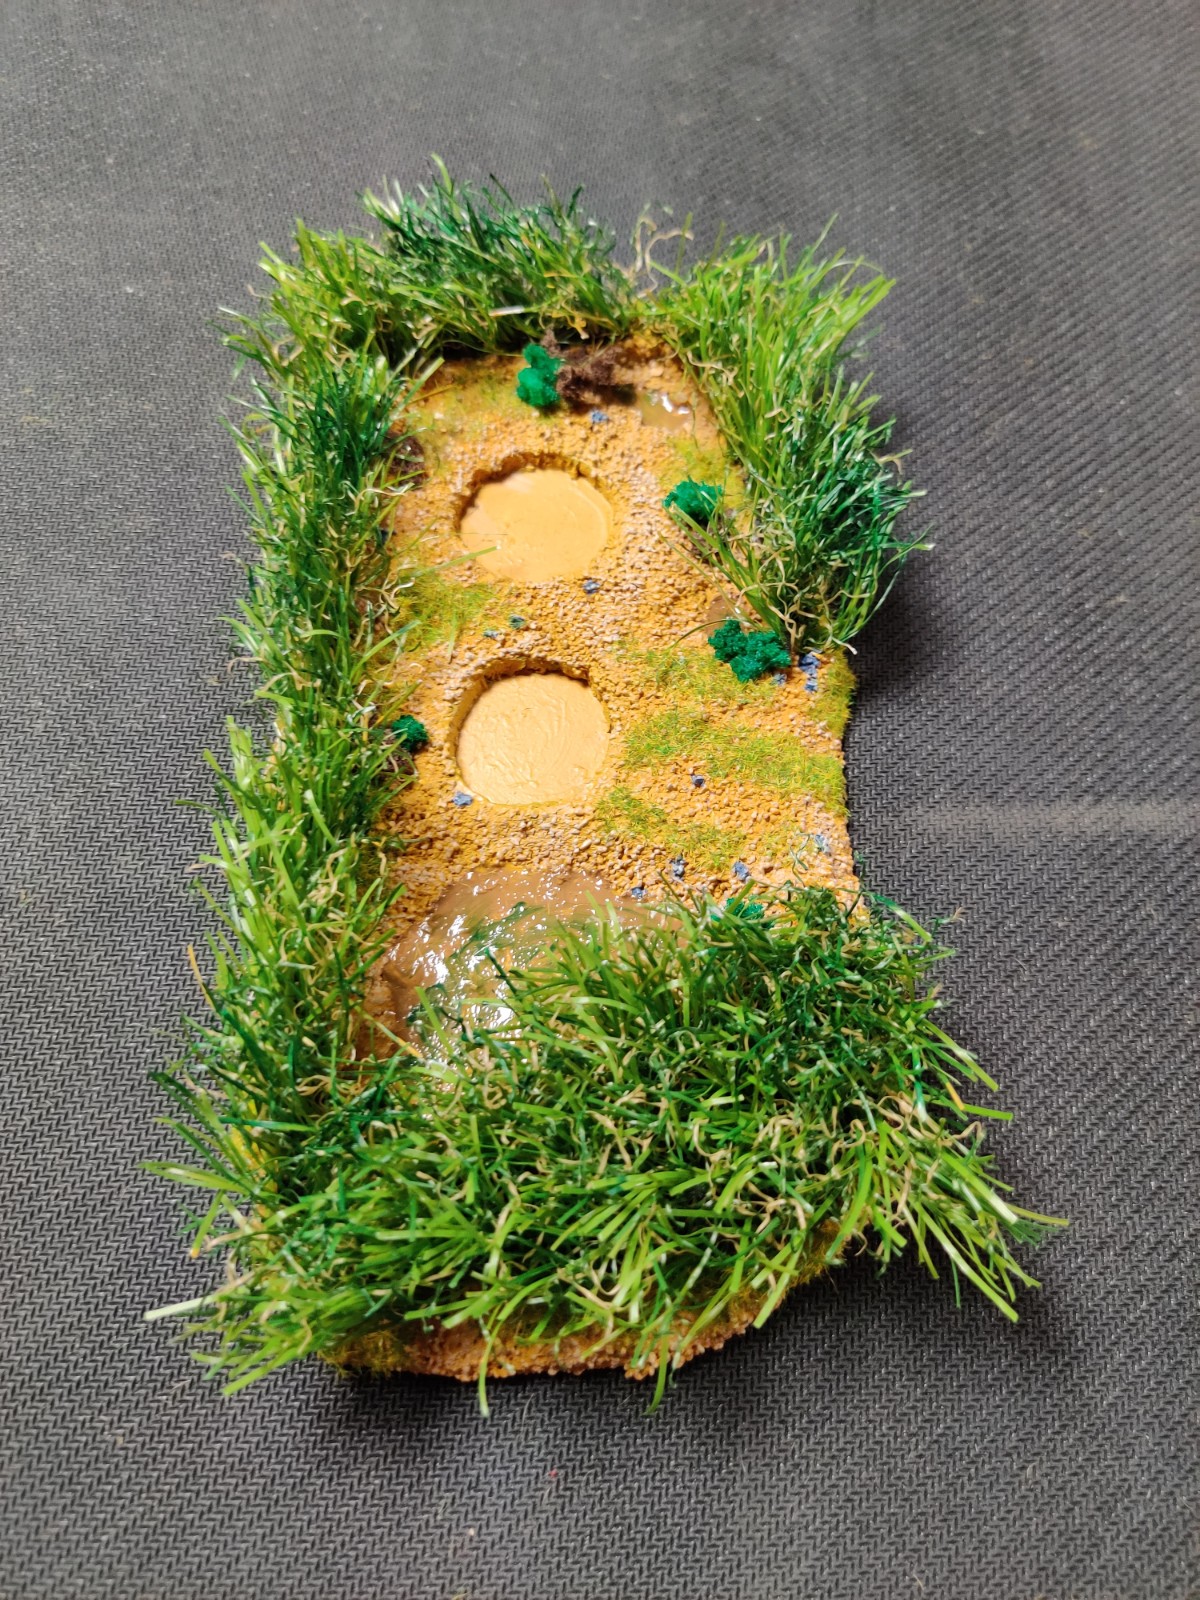
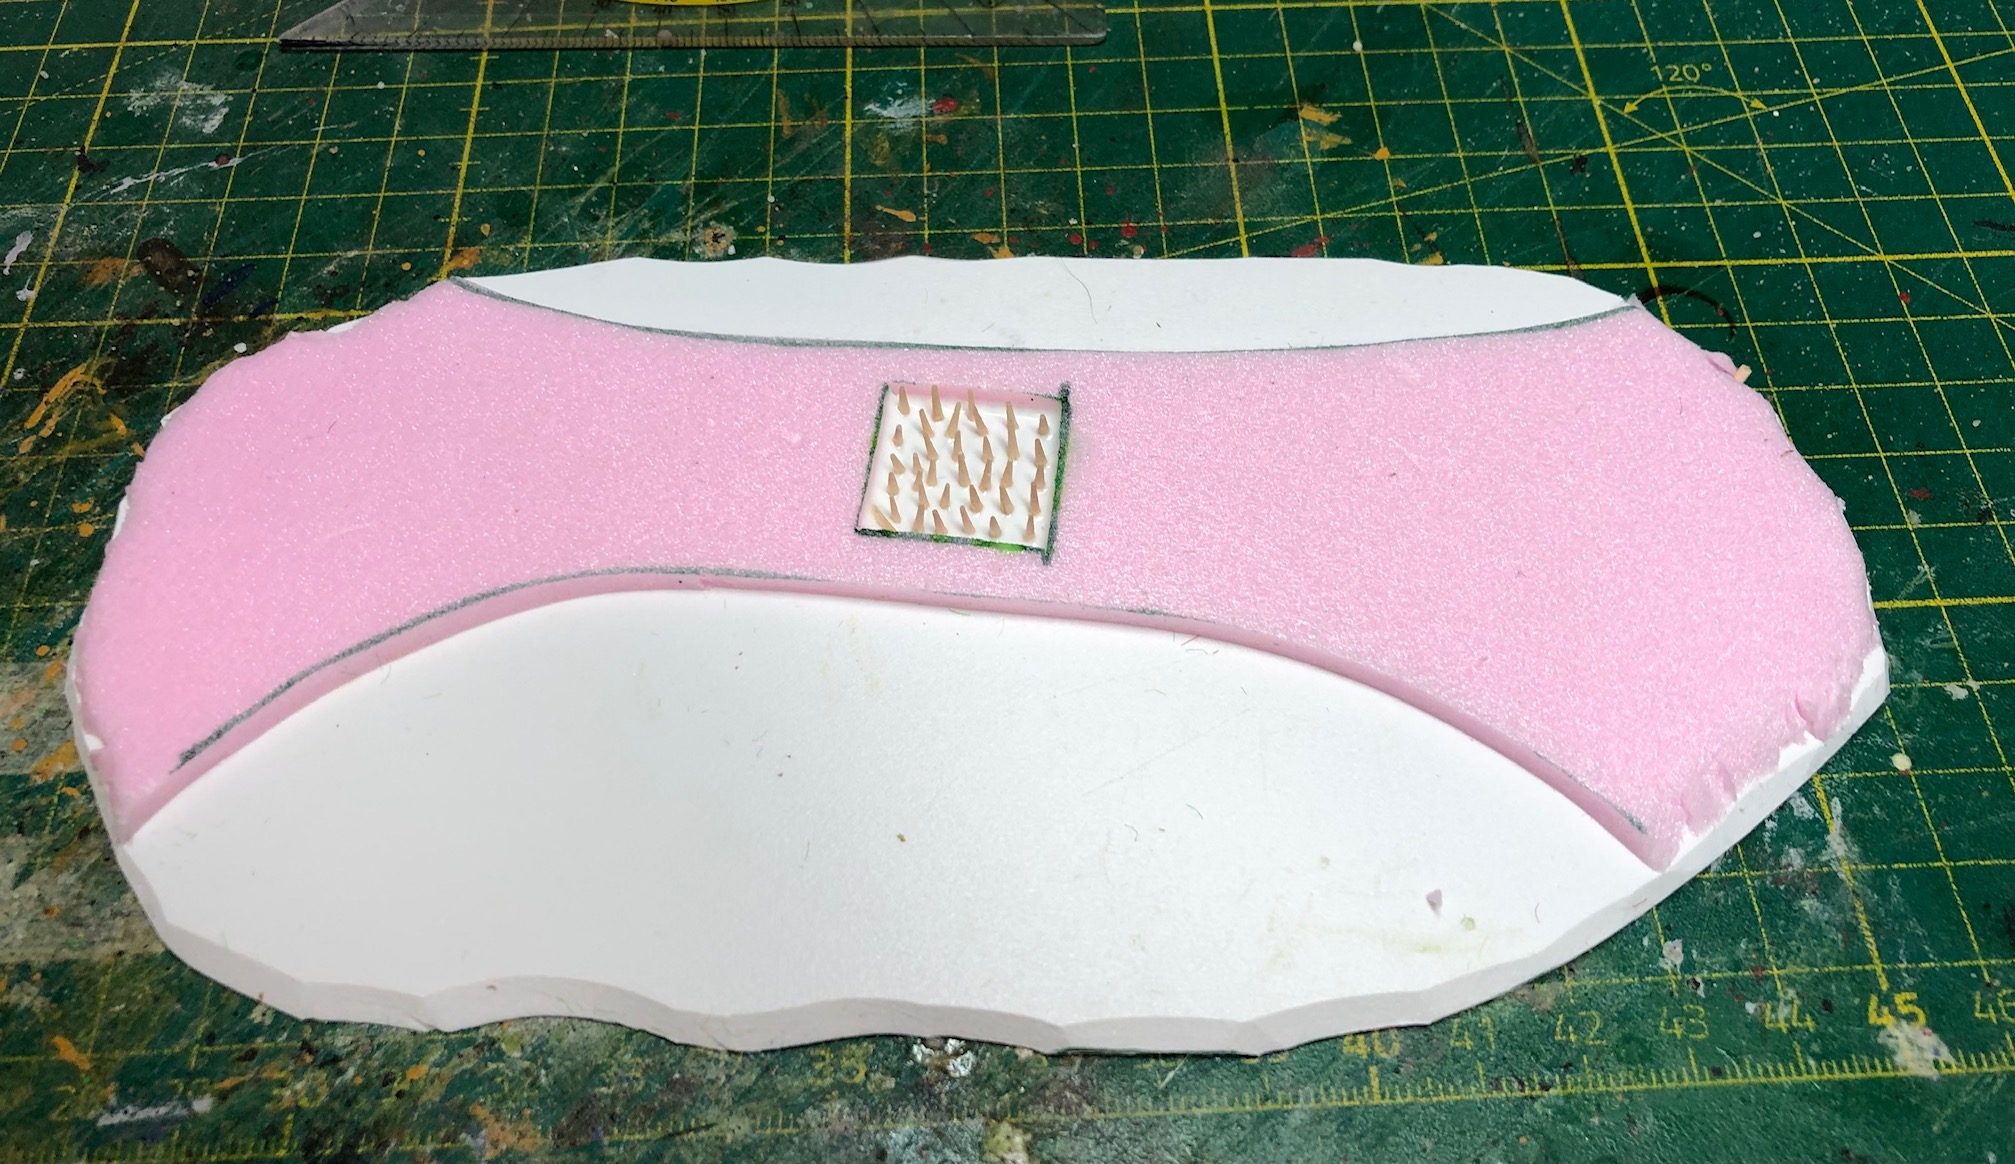
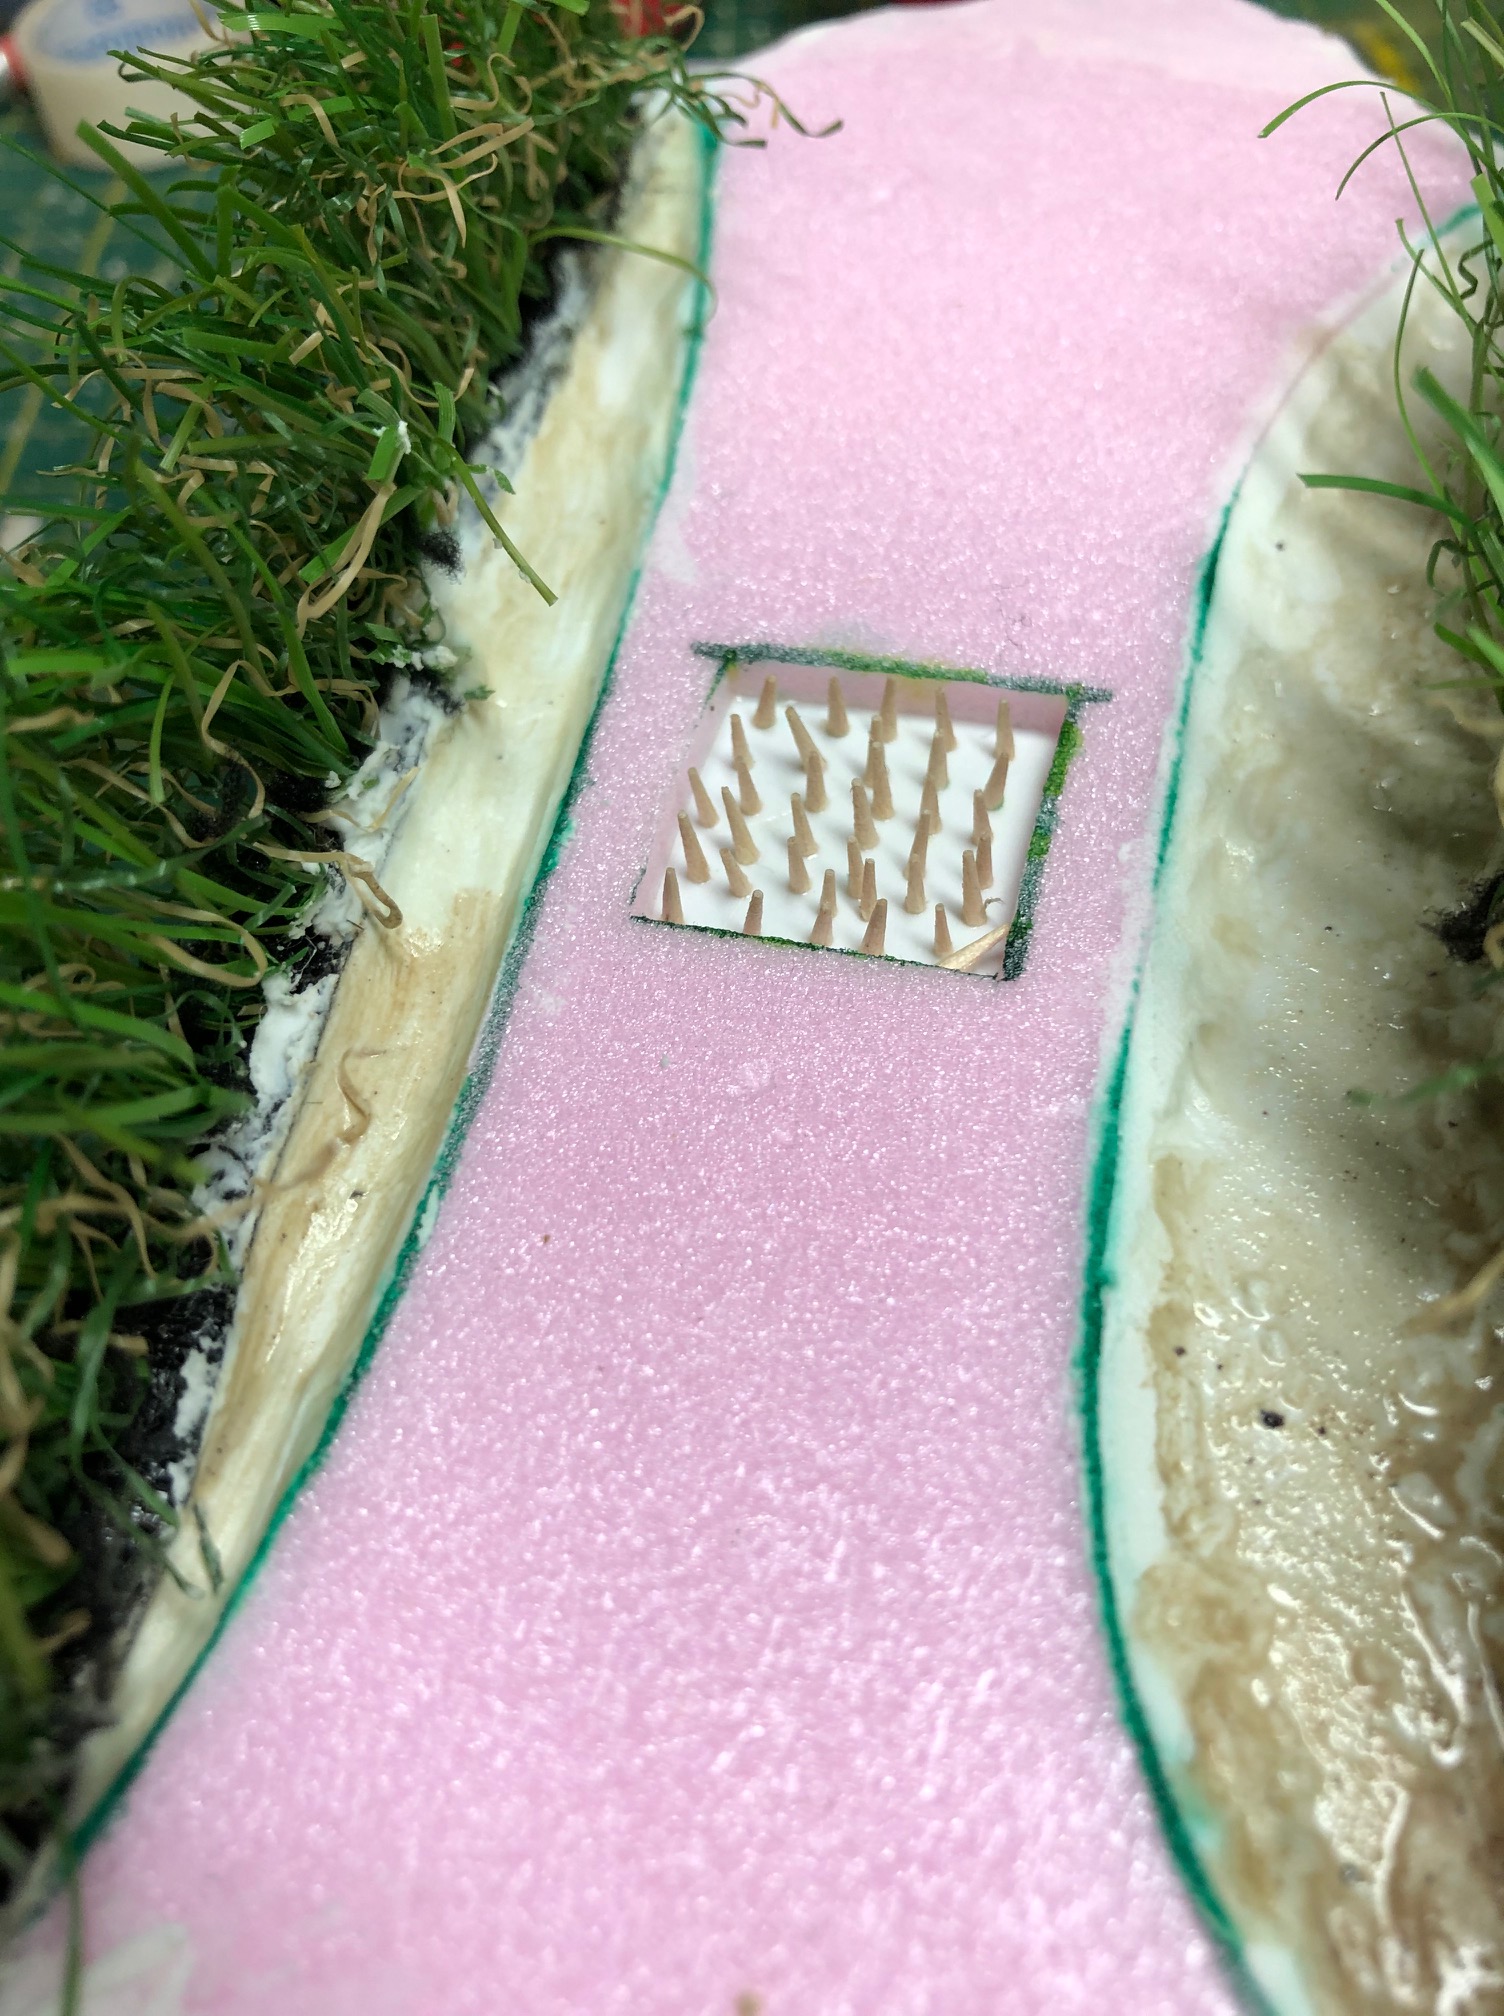
The individual pieces were build from extruded polystyrine, sand, PVA. I cut out 3mm thick pieces of EPS and glued the sand around the boundries of the piece with PVA this gave me a boundry for the swamp area. I then pinted the sand and swamp area with the apropriate colors. the swamp got 2 coats of acrylic gloss varnish to simulate the water. I added individual long grass tufts made from artificial lawn strands, clump foliage and grass fibres to blend it in with my other terrain.

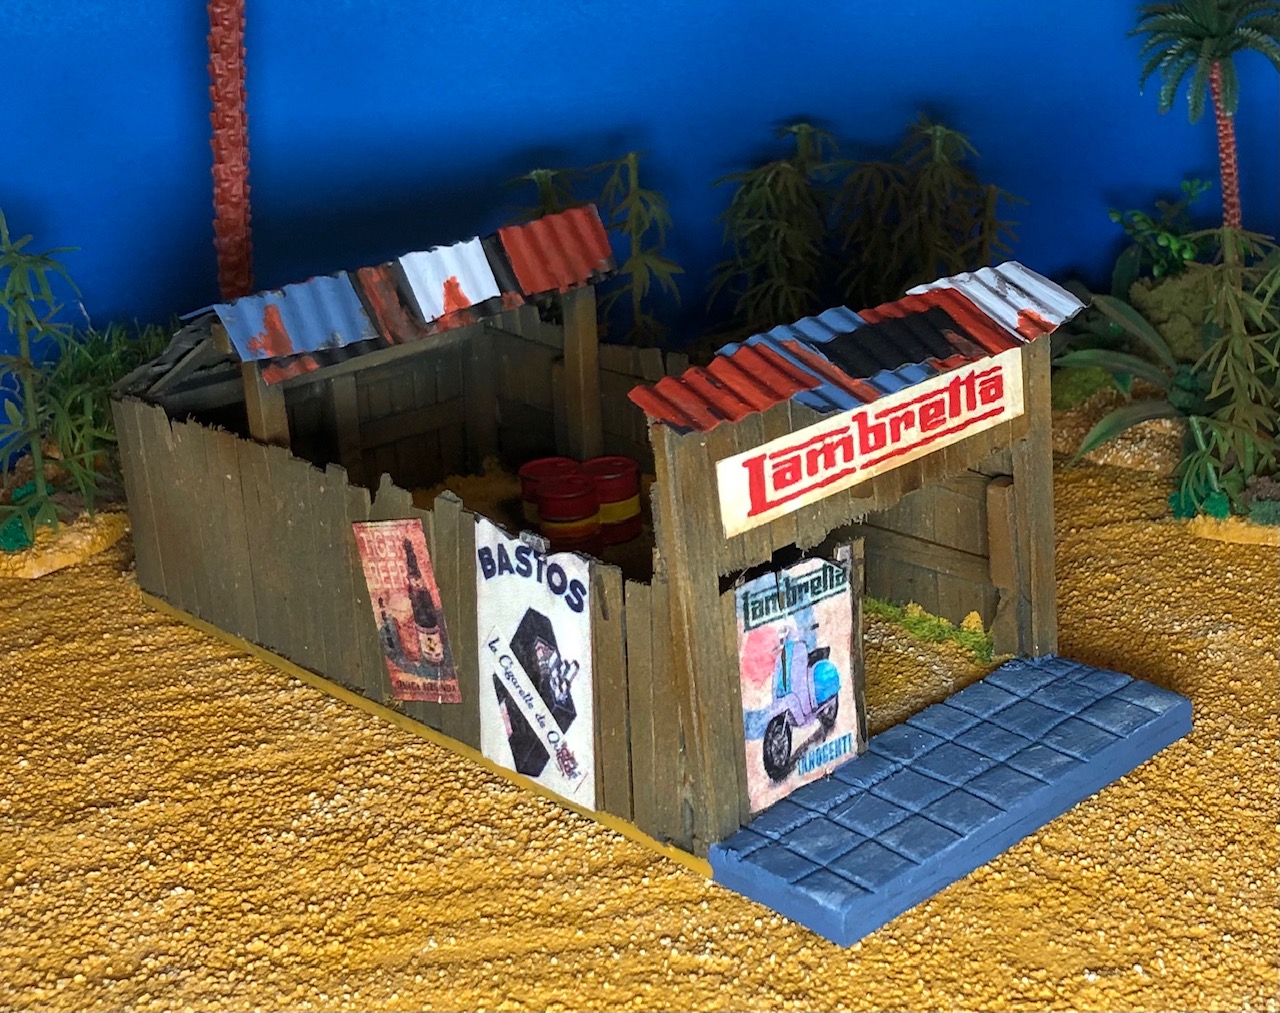
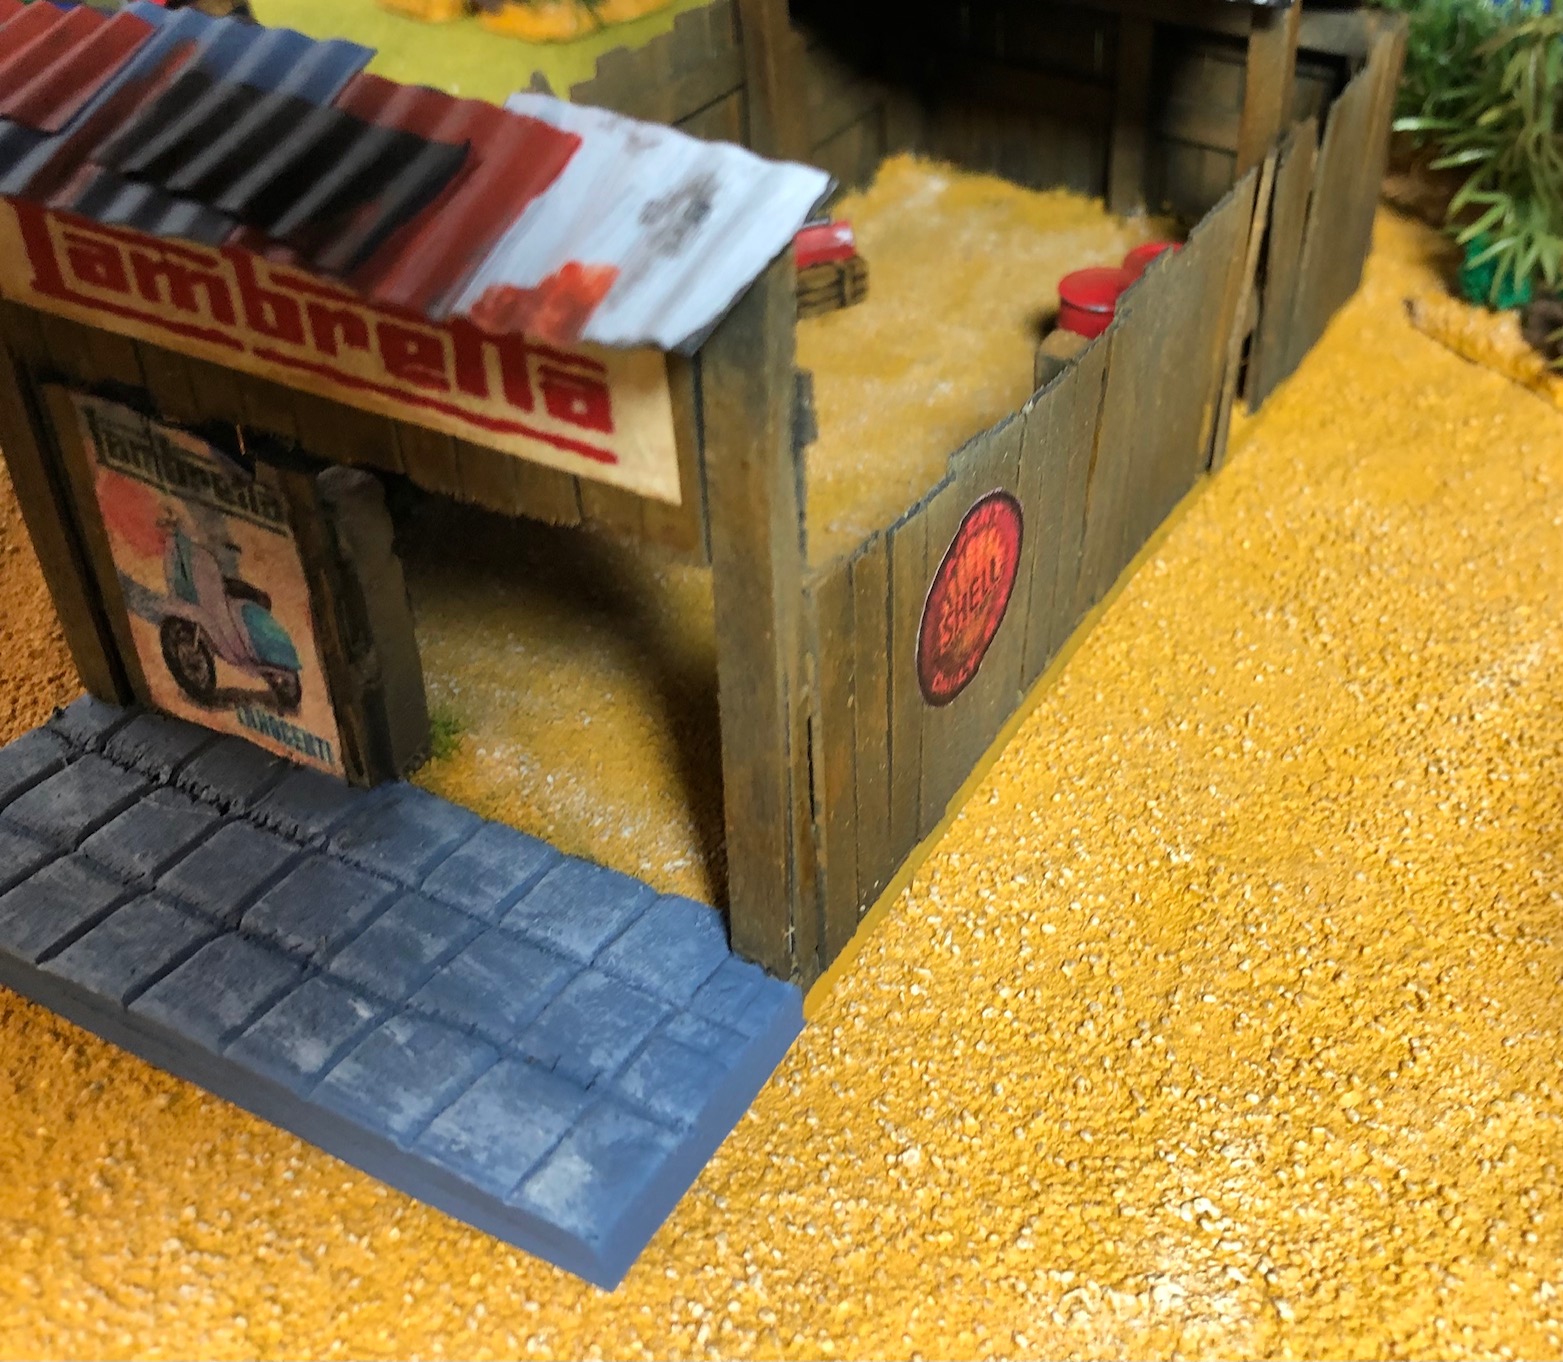
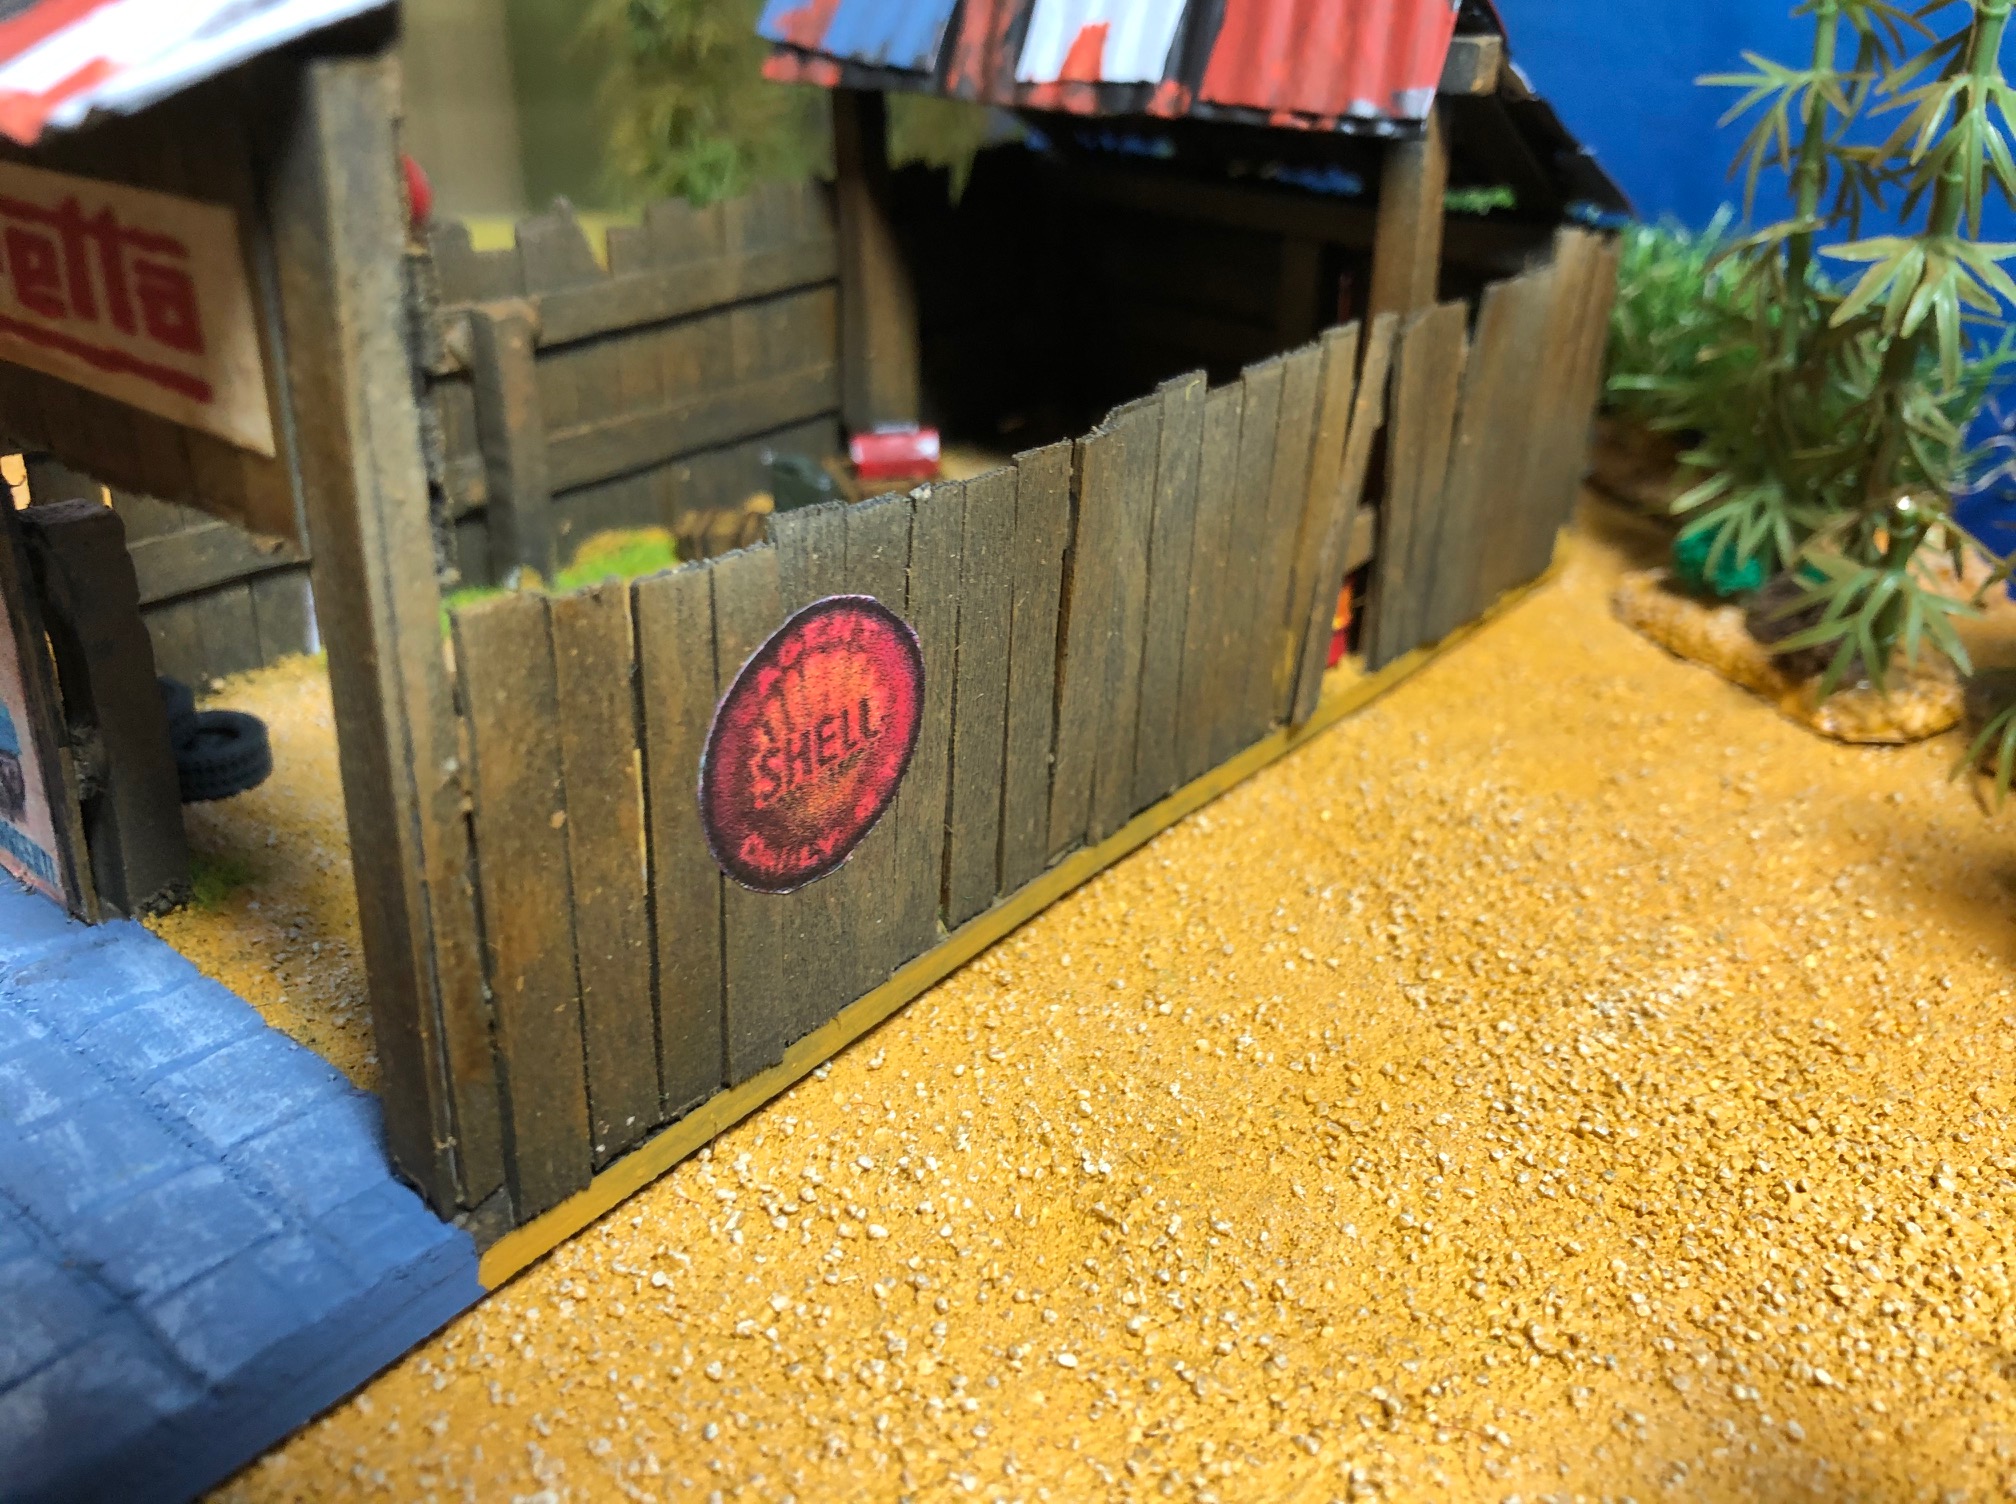
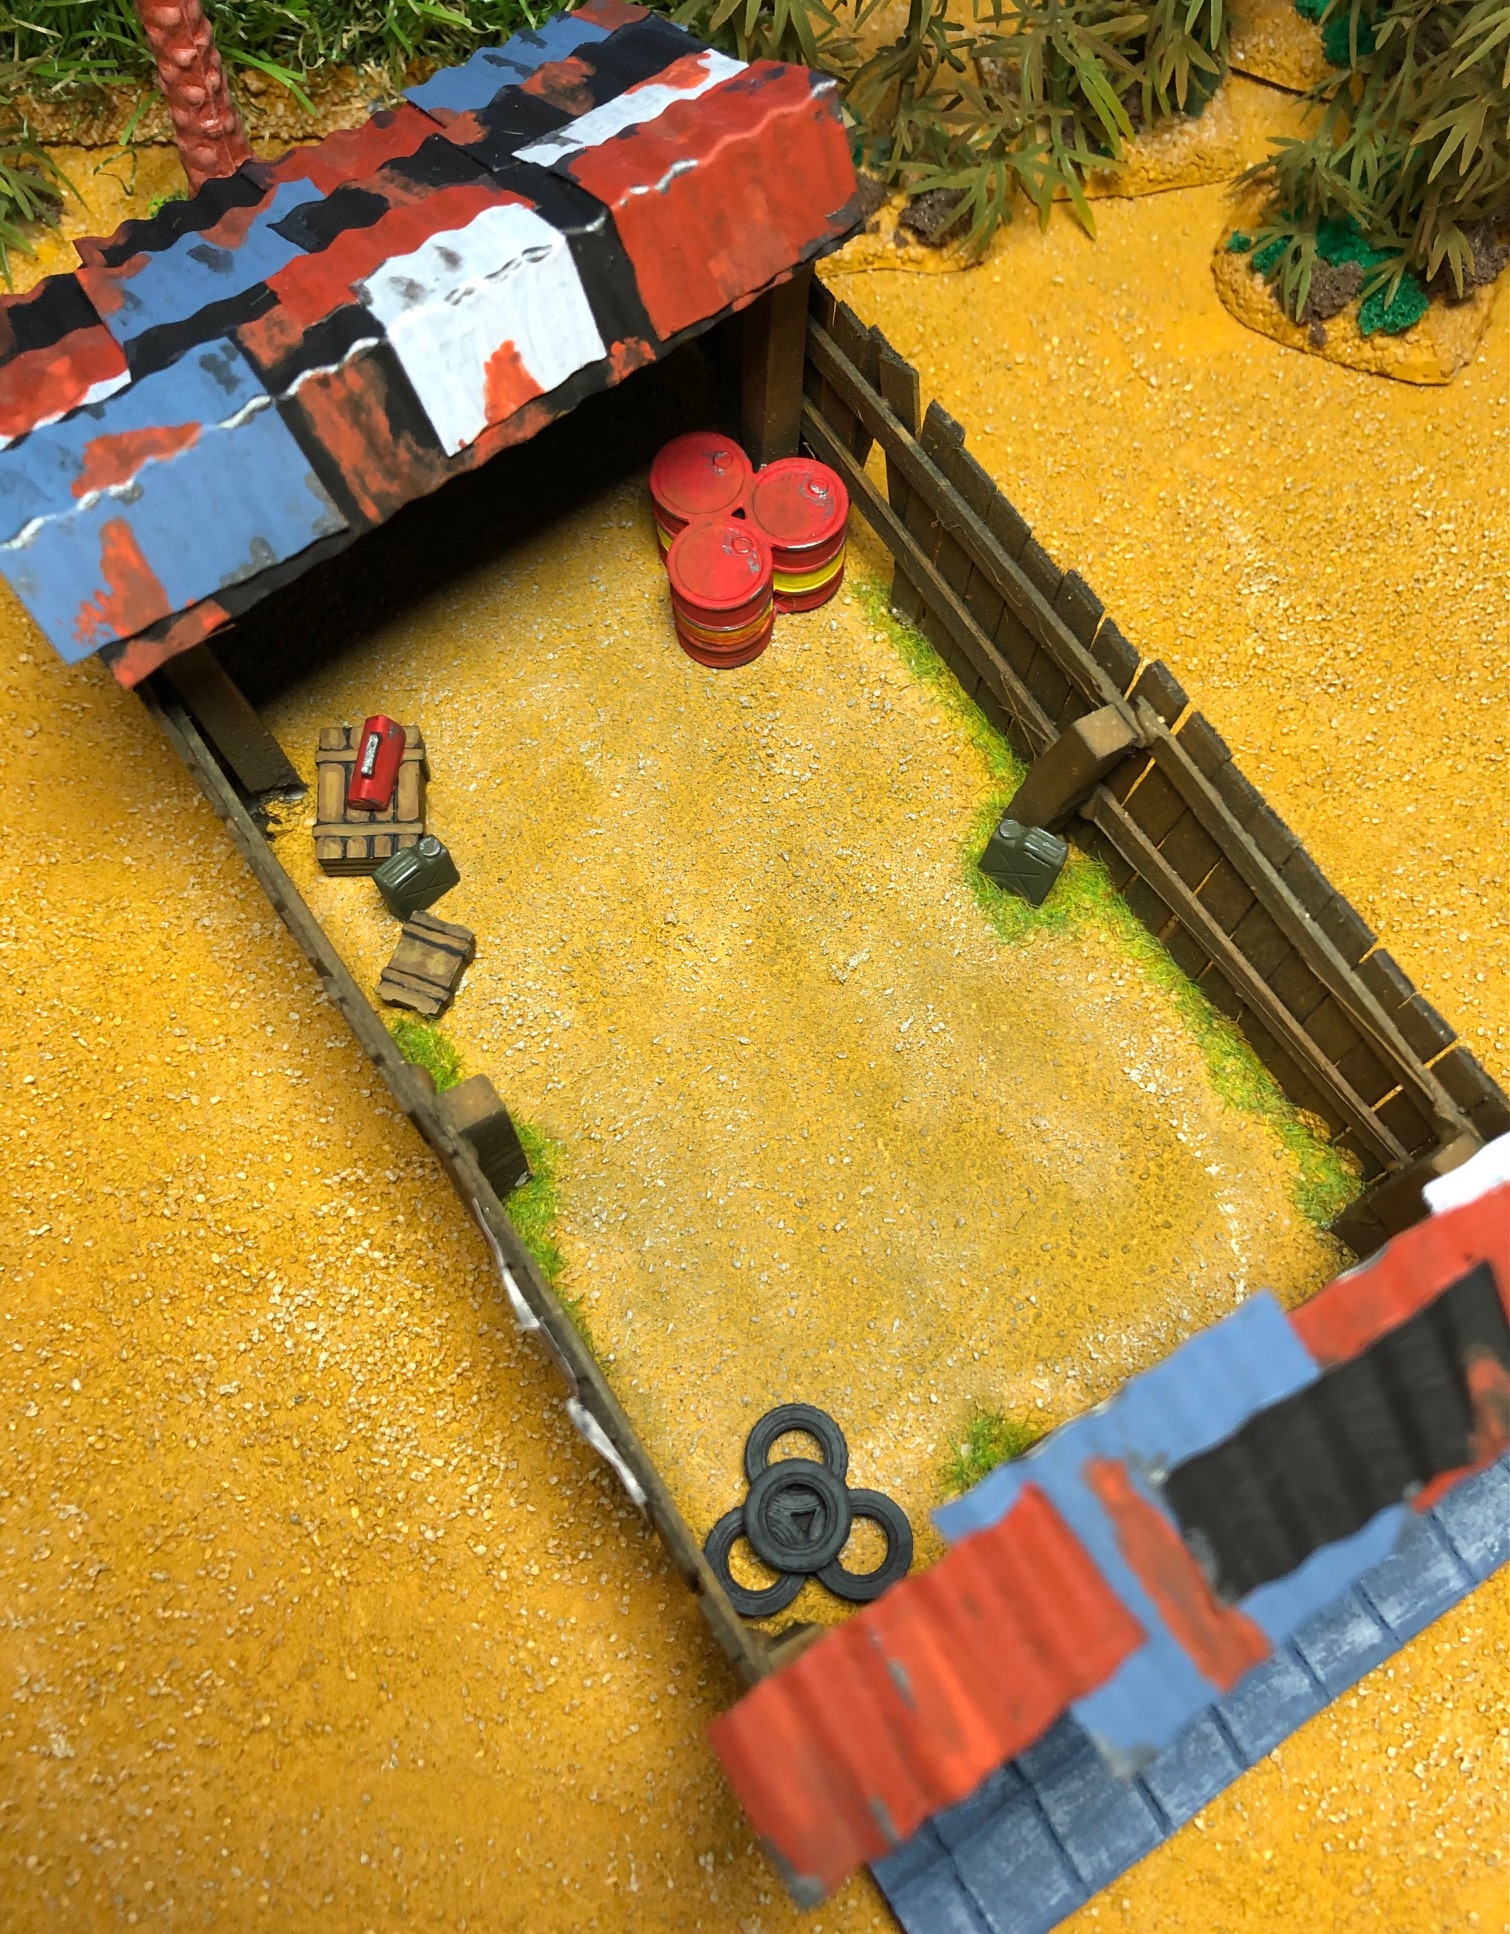
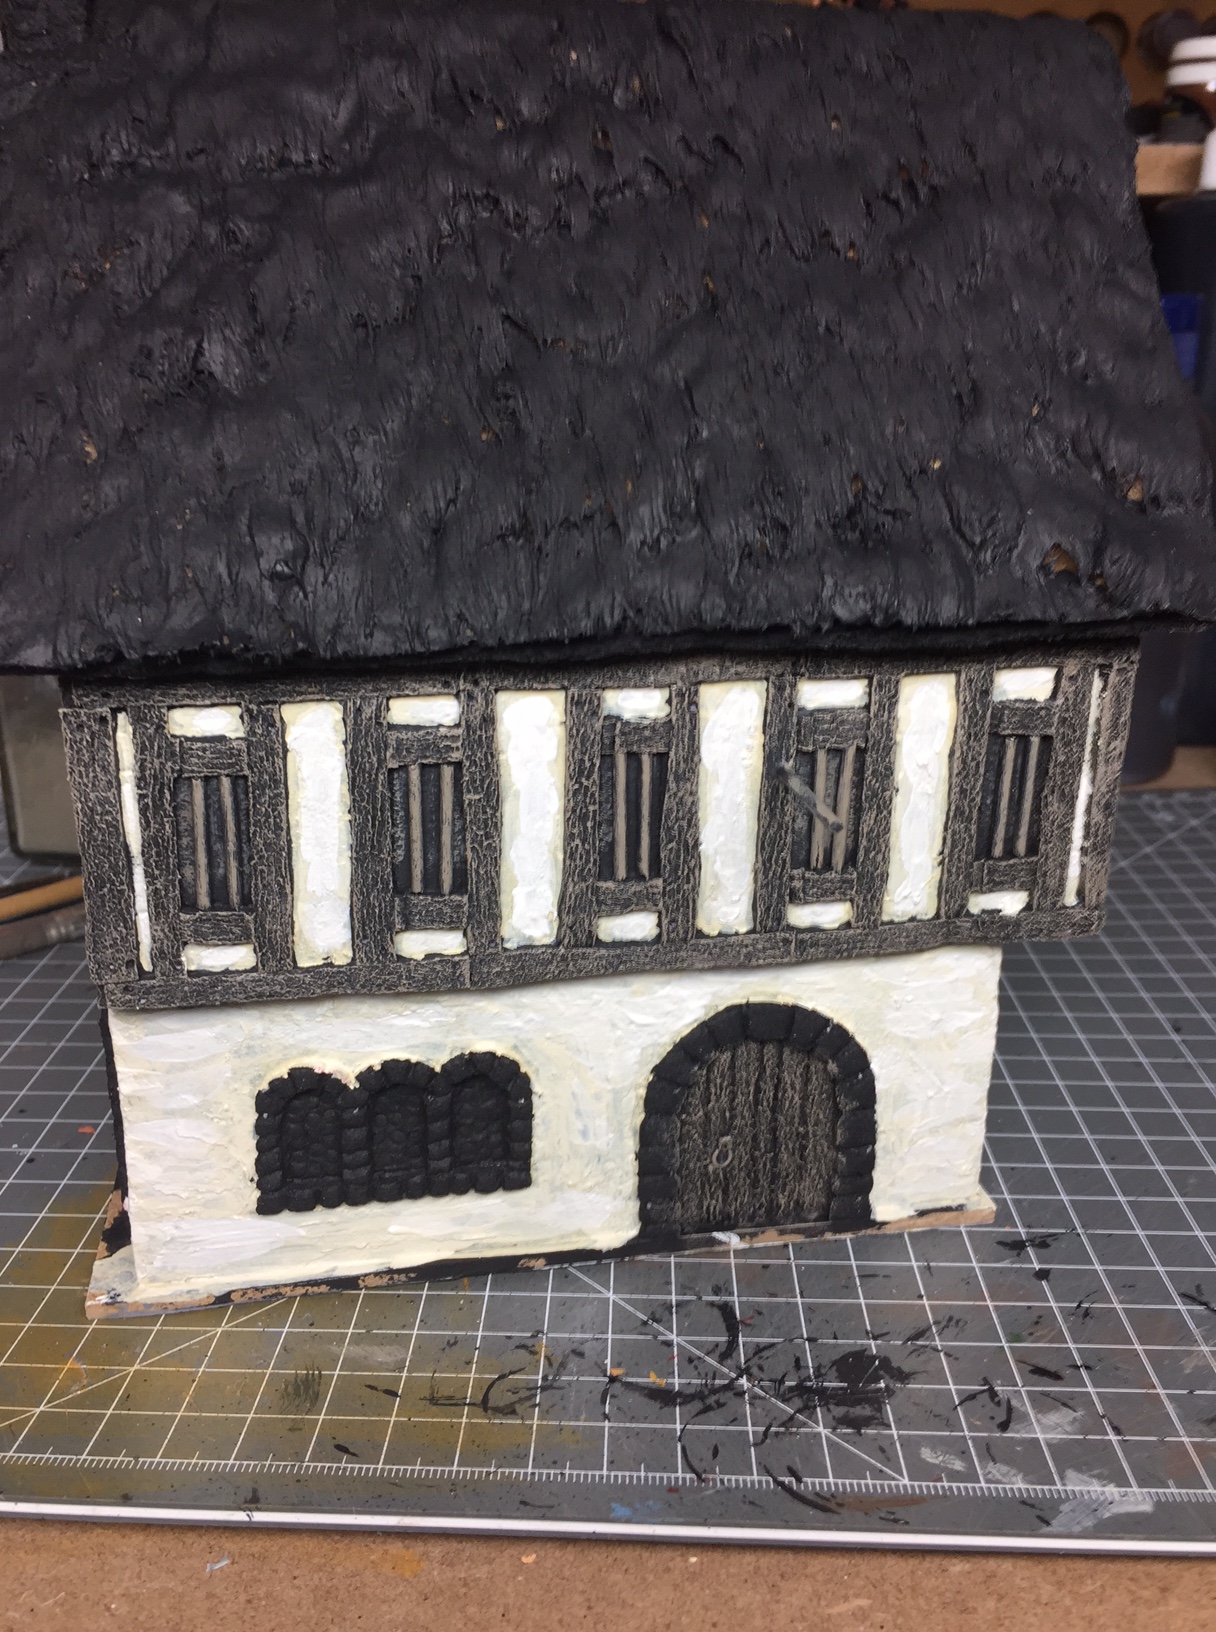
Next up will be some destryed village buildings, as I only have some in good repair. The region my campaign will take place has a few destroyed villages so have to build them . More later.

The build something contest 2021

It is that time of the year again . Over on LAF forum the build something contest 2021 runs again like every year. And like every year I droped out already. So I can show you my project from start to finish here now.

The theme this year is difficult terrain and as my ovear all theme at the moment is Vietnam I build some difficult terrain for my Vietnam collection.

So how did I start. The idea was to build a swampy, elefantgrass overgrown, area, wich is infested with booby traps. The concept was to be able to swap traps with harmless terrain features so no one knows in advance what might happen when the troops walk through the area.

I Started by building 6 different terrain pieces with spaces wide enough to fit some MDF bases I had lying arround. On the MDF bases I would build the traps or other features to be able to swap them arround.

The bases:

Above you see the 6 bases I did. You can clearly sea the spaces were the traps would go. The elefant grass is artificial lawn cut in strips and glued to the board. Below are the finished bases without traps:

The last base was done a bit different. I tried to build a punji stake pit, which is not really possible without “sinking” the pit below street level. So I build the pit directly on the board rather then using the way I showed you above.

Now i had to build the traps. I used round MDF bases to base them on. These fit into the ” holes” I left on the boards.

In the picture above you see some of the traps. On the left there is a bent back bamboo with sharpened bamboo sticks affixt to it. If you release the trap the stick will move very quickly hitting everything in its way about knee hight. In the middle you see a C ration box and an abandoned pack. both might be booby traped or not. The third one holds a smoke grenade ( if you loook very closely you can see it. On the right is a stand of bamboo with a piece of ordonance nickt from somewere. Better don’t release the tripwire…..

Above are some more closeups of the traps. Below are the traps on the terrain pieces:

And the boards in action . A US Marine section moving through the area. Figures by Empress.

The Lambretta workshop

As I build the two Lambrettas you can see here and here, I needed something like a Lambretta workshop for my city of Hue project. So I scratch build this workshop out of extruded polystyrene , coffee stirrers and cardboard.

It will fit next to, or in between a row of houses I am building at the moment for the Hue project. More about this later. The oil drums, tires etc are 3D printed and the tin roof is made with a device from green stuff world, which turns ordinary cardboard into corrugated cardboard. The posters and signs are from the internet and printed out on paper.

Here is a picture with a Full Metall Miniature for size comparison

The village well

This is the last item for now I did for my Vietnam village. The next pieces will be for my cityscape. I found the STL file on thingiverse I think, but I can’t remember really as it is quite a time gone by since I printed it. It is an asian well. I thought it might be nice to have as another ,maybe, entrance to a VC tunnel system.

A bigger river

IMG_5520

Above you see the river I build for my gaming table a wile ago. Now that there will be brown water navy boats available in the near future, at least after the Corona lockdown is lifted, I thought that I would need a wider river to accommodate 28mm boats. I have a modular gaming table layout with extruded polystyrene squares for variety. The approach to the new waterway is a different one. I have a gaming mat permanently beneath the styrene squares which is used for naval wargaming. I thought about just building “shore” tiles and use the gaming mat as the river surface. In that way i can have the river as big as I like or I could even build a shoreline for amphibious landing games. Here is the result:

IMG_5697

The half wide “squares” are the new tiles I build.

What do you think?

The pub gets color

Yesterday I started painting the pub. The wood is done like I did the privy. the rest is done in a light brown were I added white in a few steps until plain white was reached.

img_1216

This is of course only the start all the windows have to be done as well as the roof and the stonework on the chimney etc.

The barn of the public house ( a start)

As you remember I started building a public house for my games . If you haven’t seen the pictures feel free to have a look here.

With the barn I try a different way of building the walls. I found this mold on Kellerkind Miniaturen a german shop for modelling supplies.

img_1077

With this mold you can do your own bricks from air drying clay like DAS.

I started build ing a “wooden frame” from extruded polystyrene . Next time I will try real wood I think.

And then I started filling in the gaps with my clay bricks:

This is how far I got last night. More to follow.


Building a Styrodur ( extruded polystyrene ) medieval public house

The next project I started , apart from the halfmen army, is this medieval public house. It can certainly be used for fantasy games ,too. When finished it will have a stable and an outhouse added. I used styrodur , an extruded polystyrene, toothpicks and teddy bear fur for building. First I build all the walls of the first and second floor and inscribed the detail of the wood into the door and wooden beams as well as all the stonework in the window and door arches as well as in the chimney.

The next step was the assembly of the walls and the floors. The base is a piece of MDF.

In the pictures you can also see the beginning of the construction of the roof.

Next I mixed some filler with black gesso and painted all the walls , in between the beams and around the windows and door. When dry you get a nice rough surface like seen in lime washed buildings.

Next step is to glue on the teddy bear fur on the roof to simulate thatch. This is only glued on at the moment, it needs to be straitened out a bit and has to be painted with a PVA mix later .

Here are some close ups of the wood and stone structures:

More when I have done a bit more work on it!