A Diesel engine for my train layout

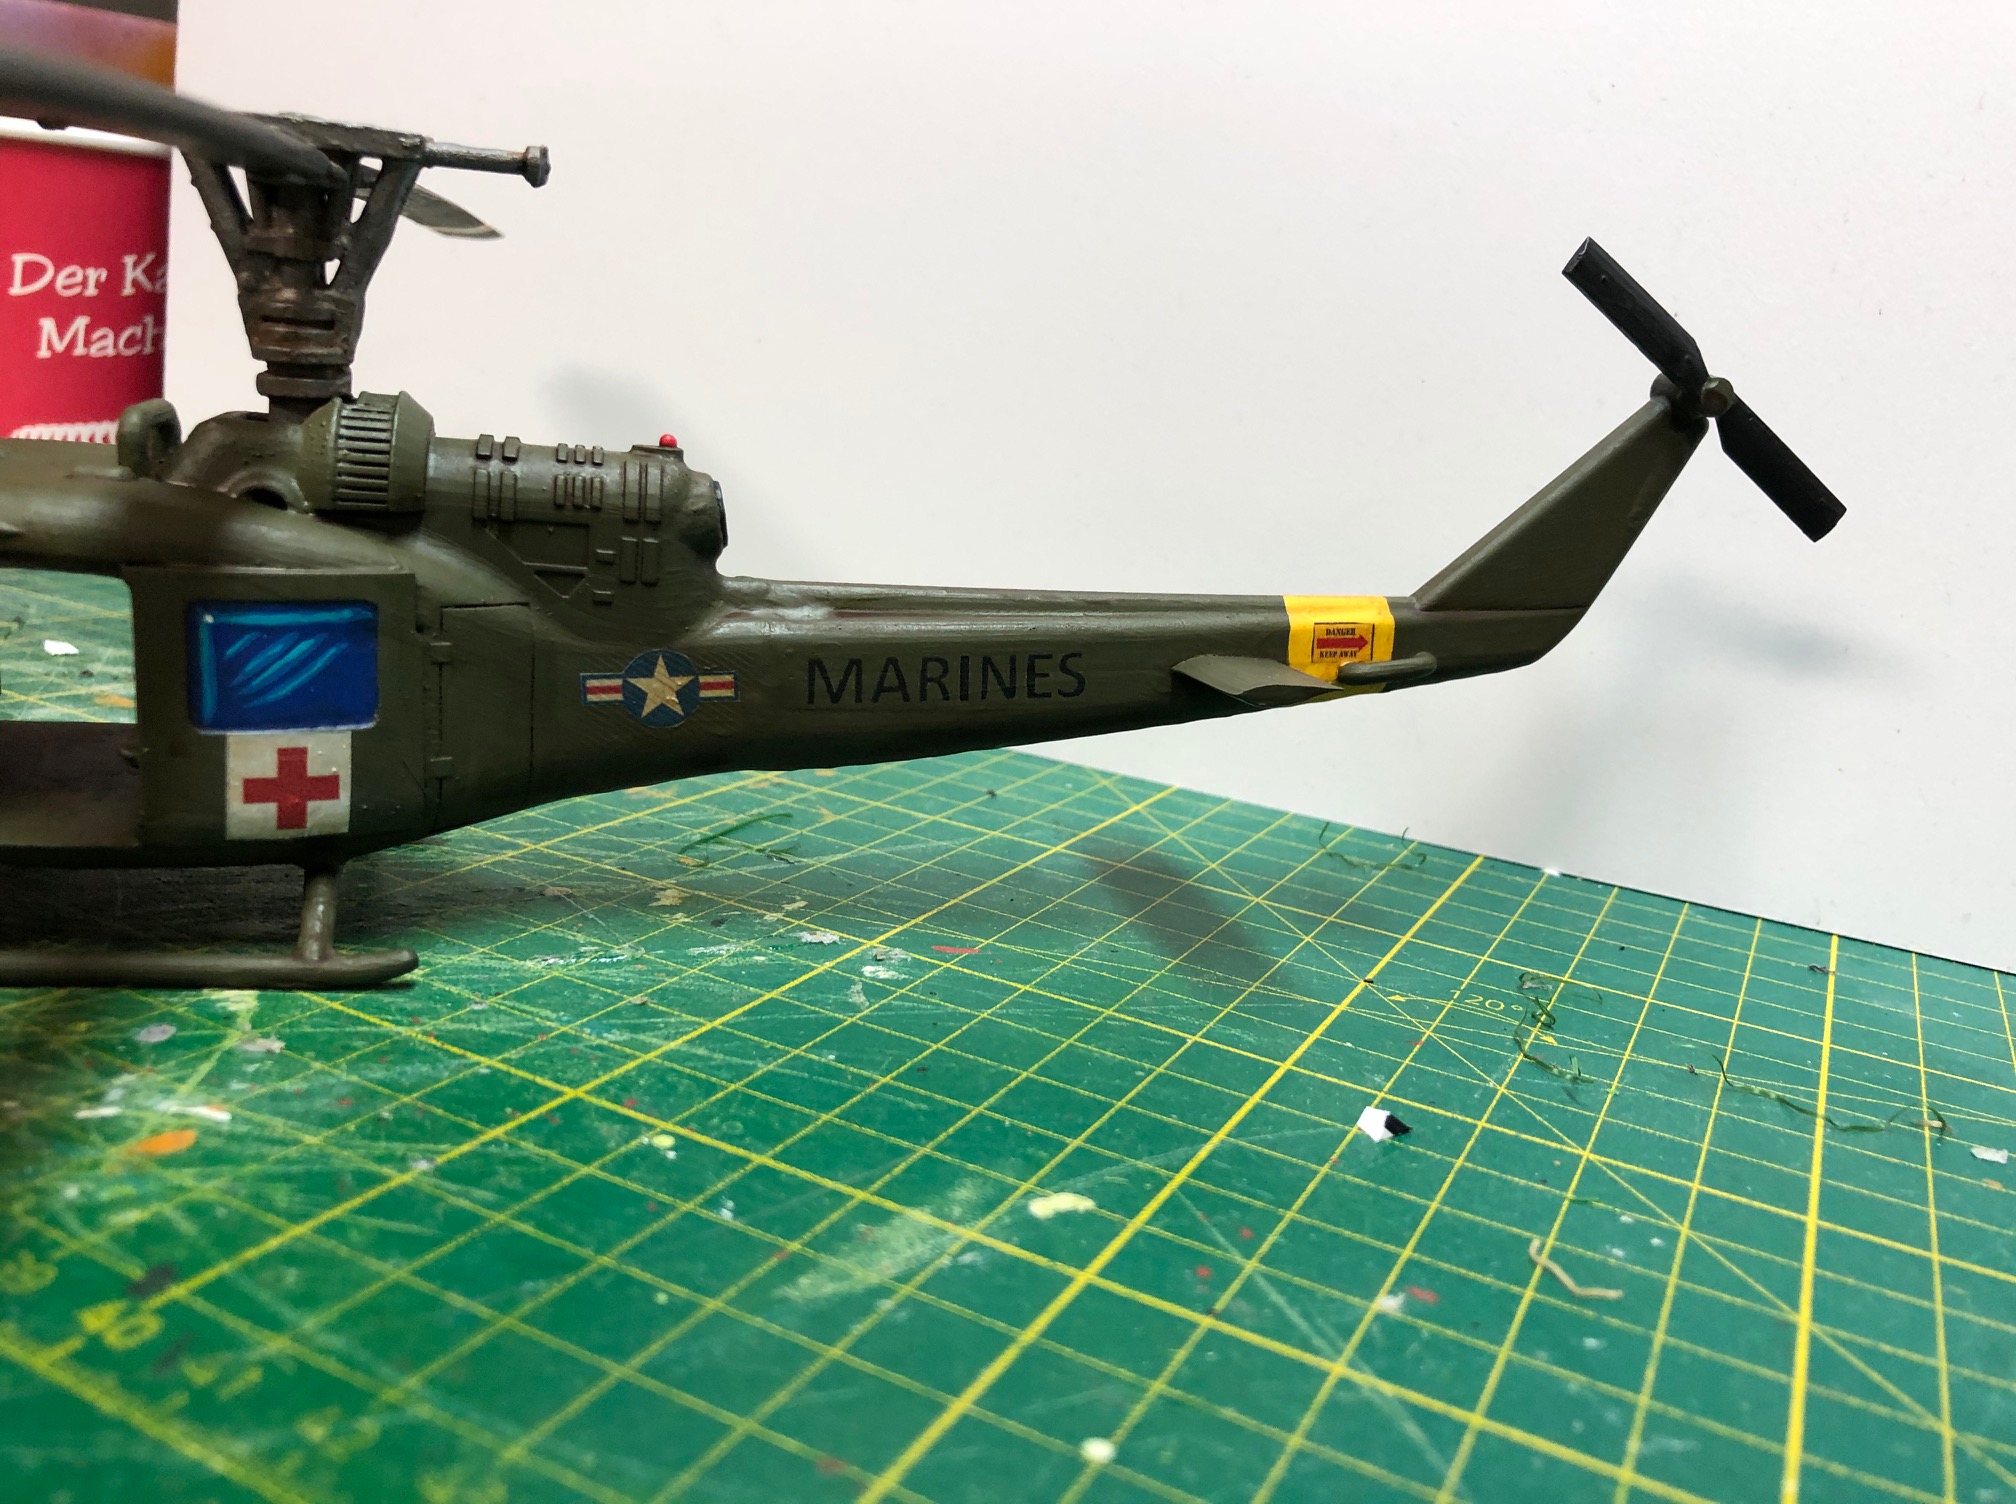
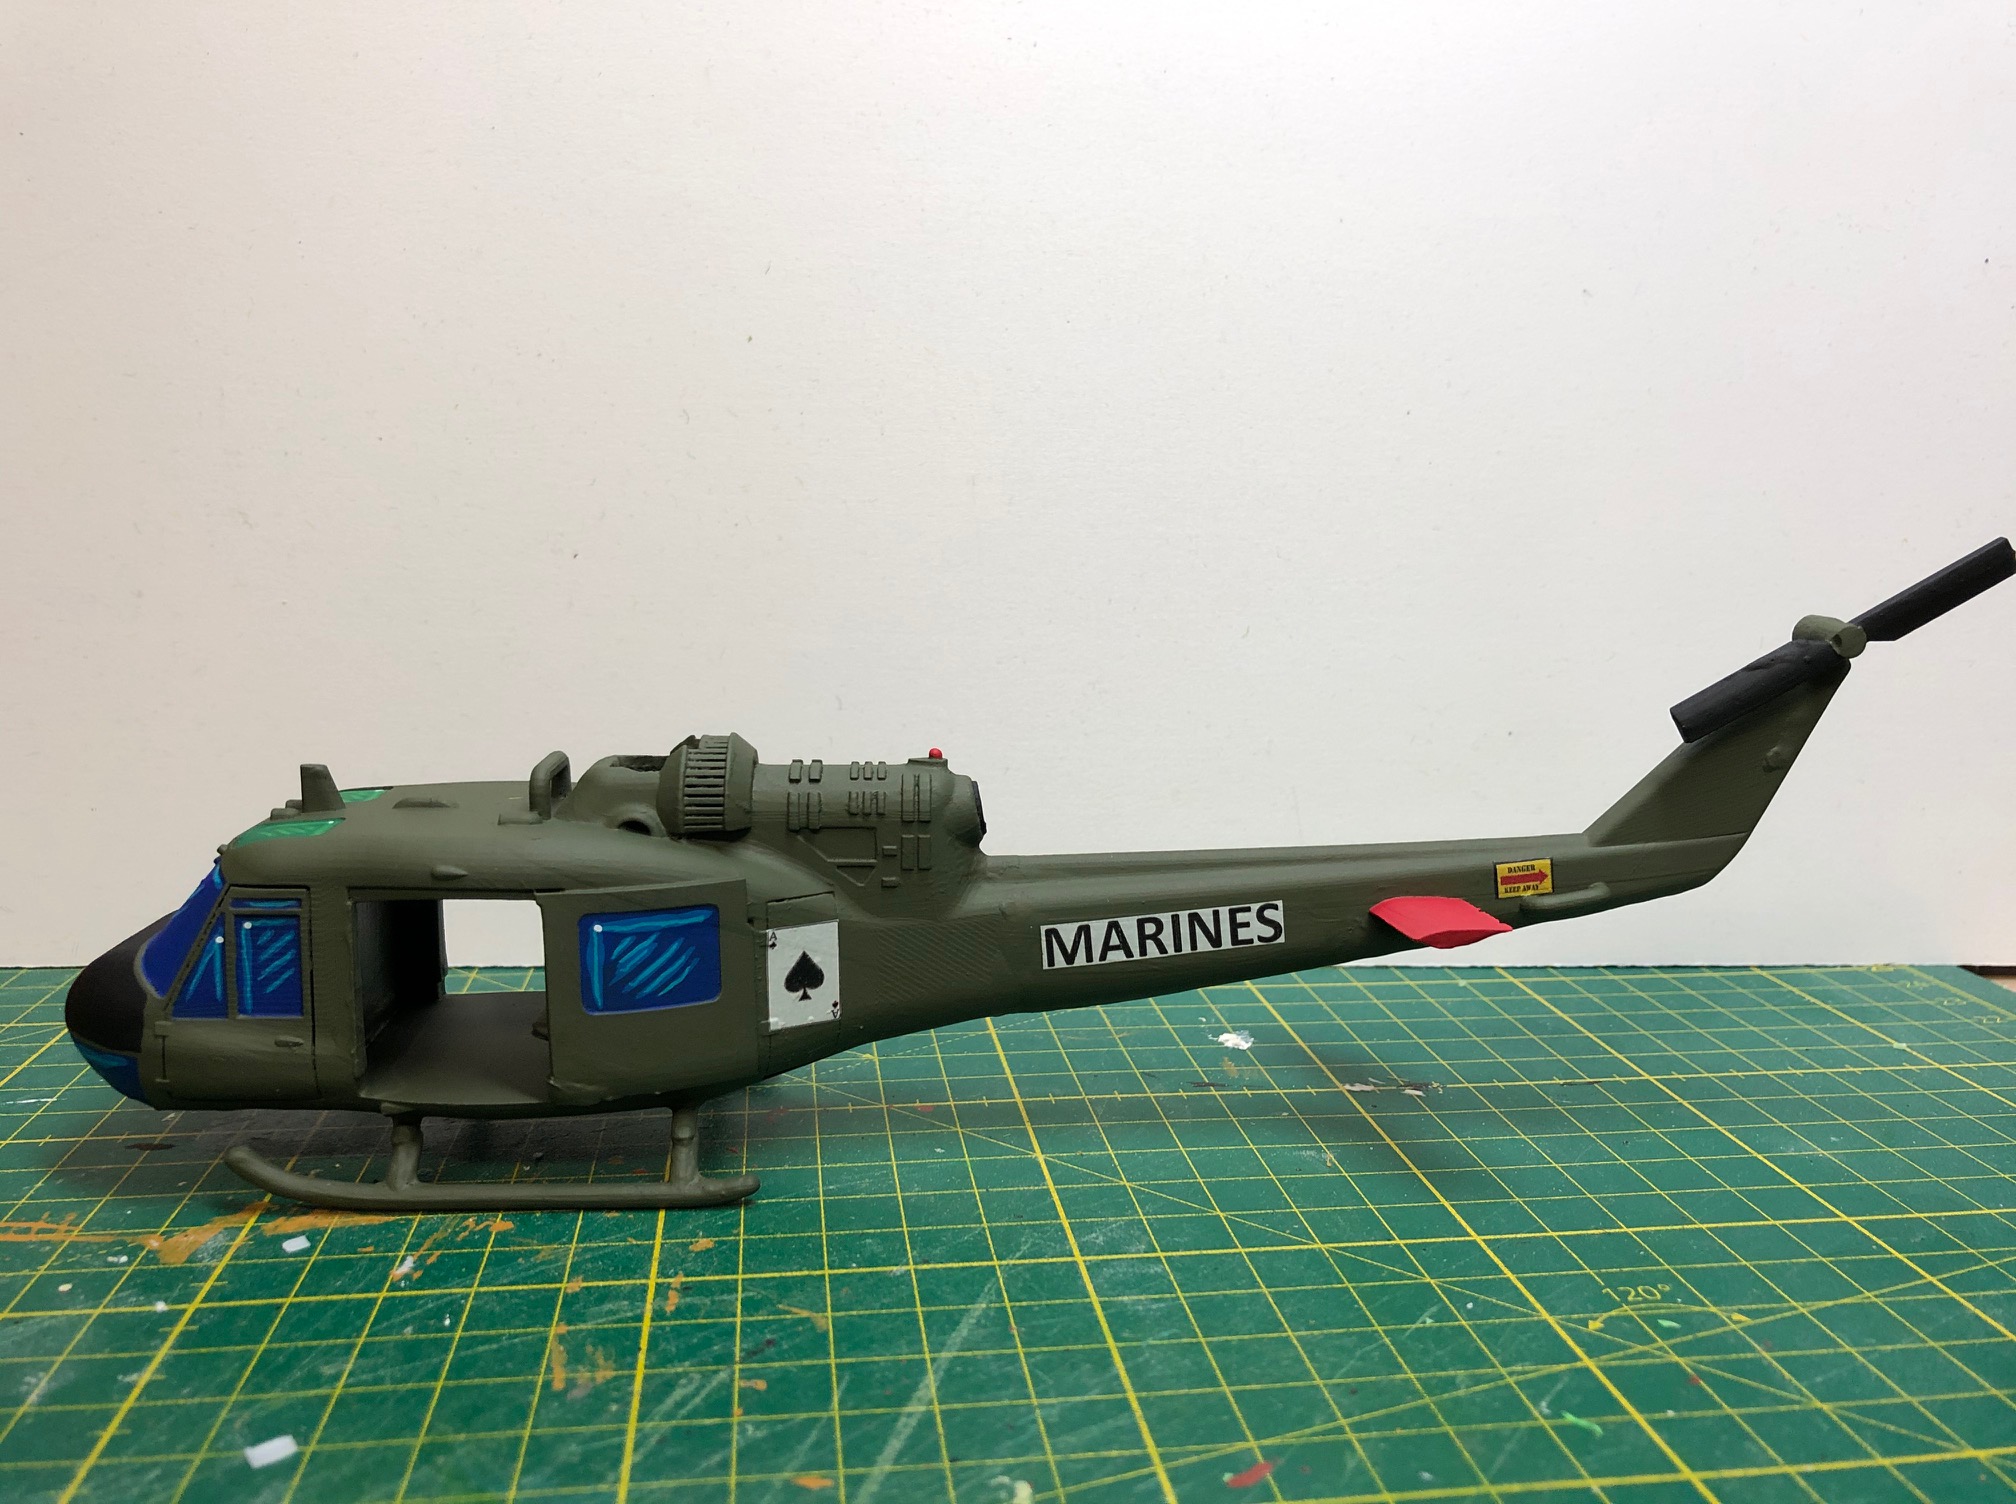
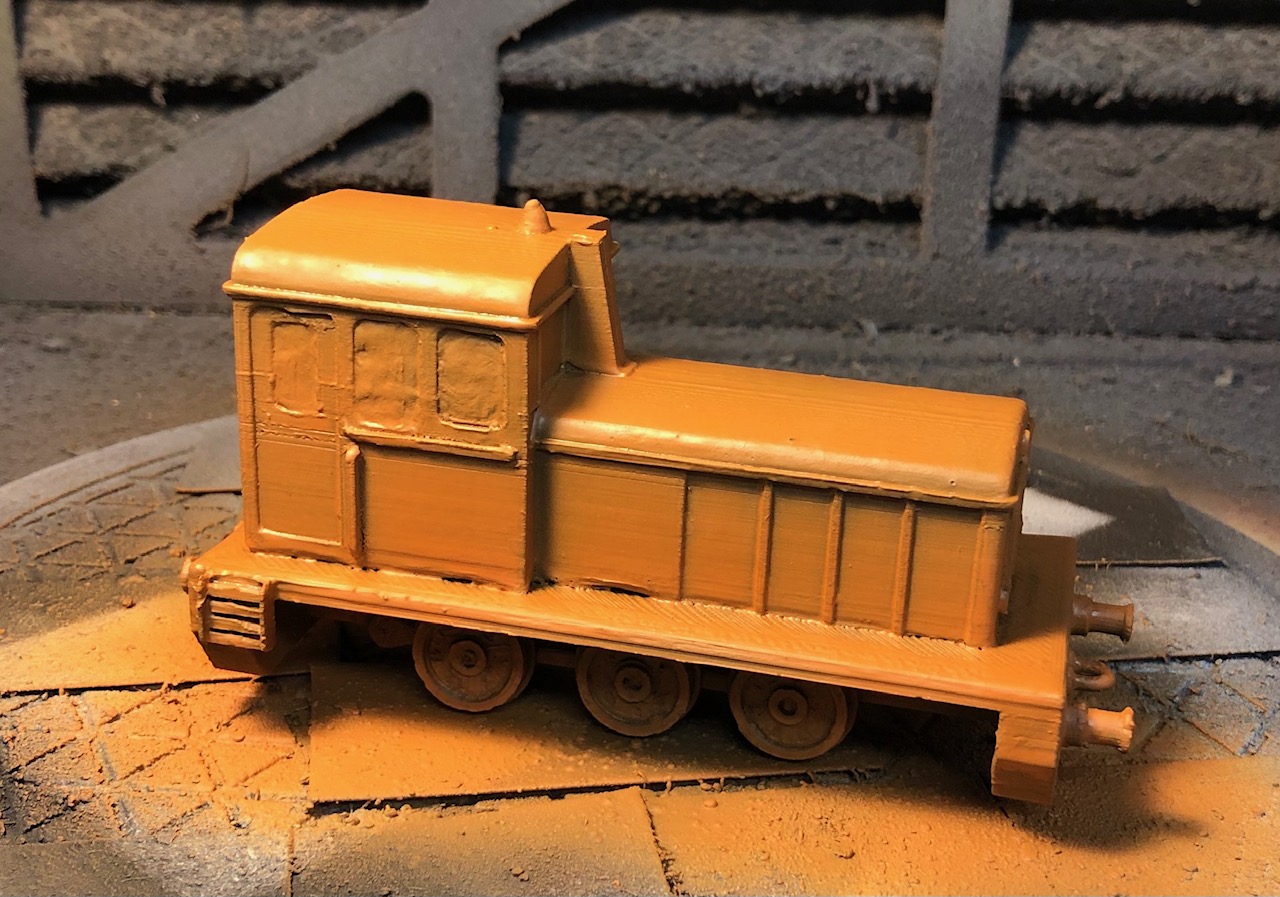
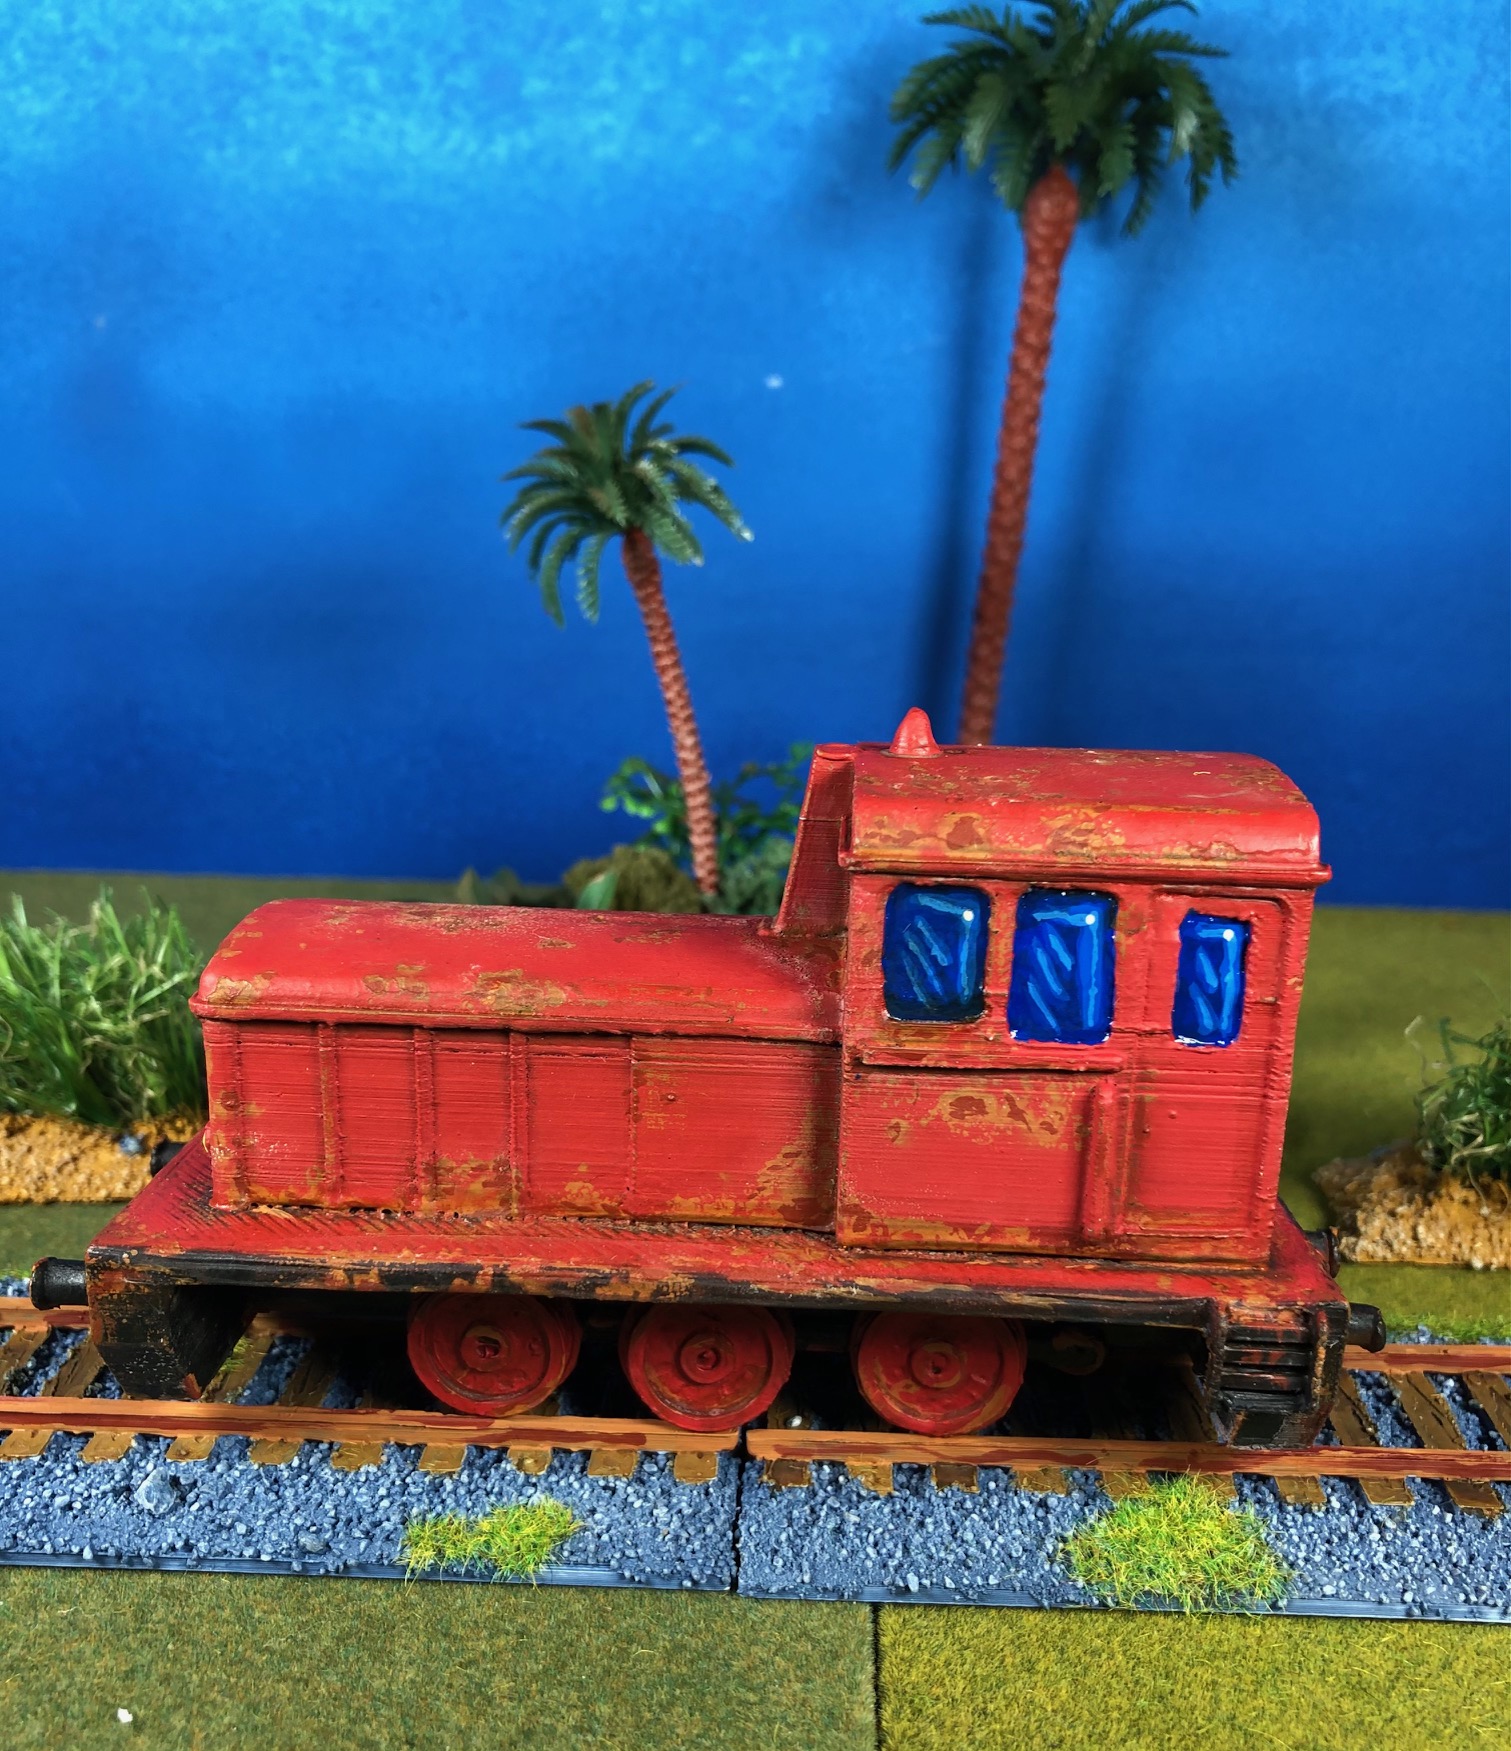
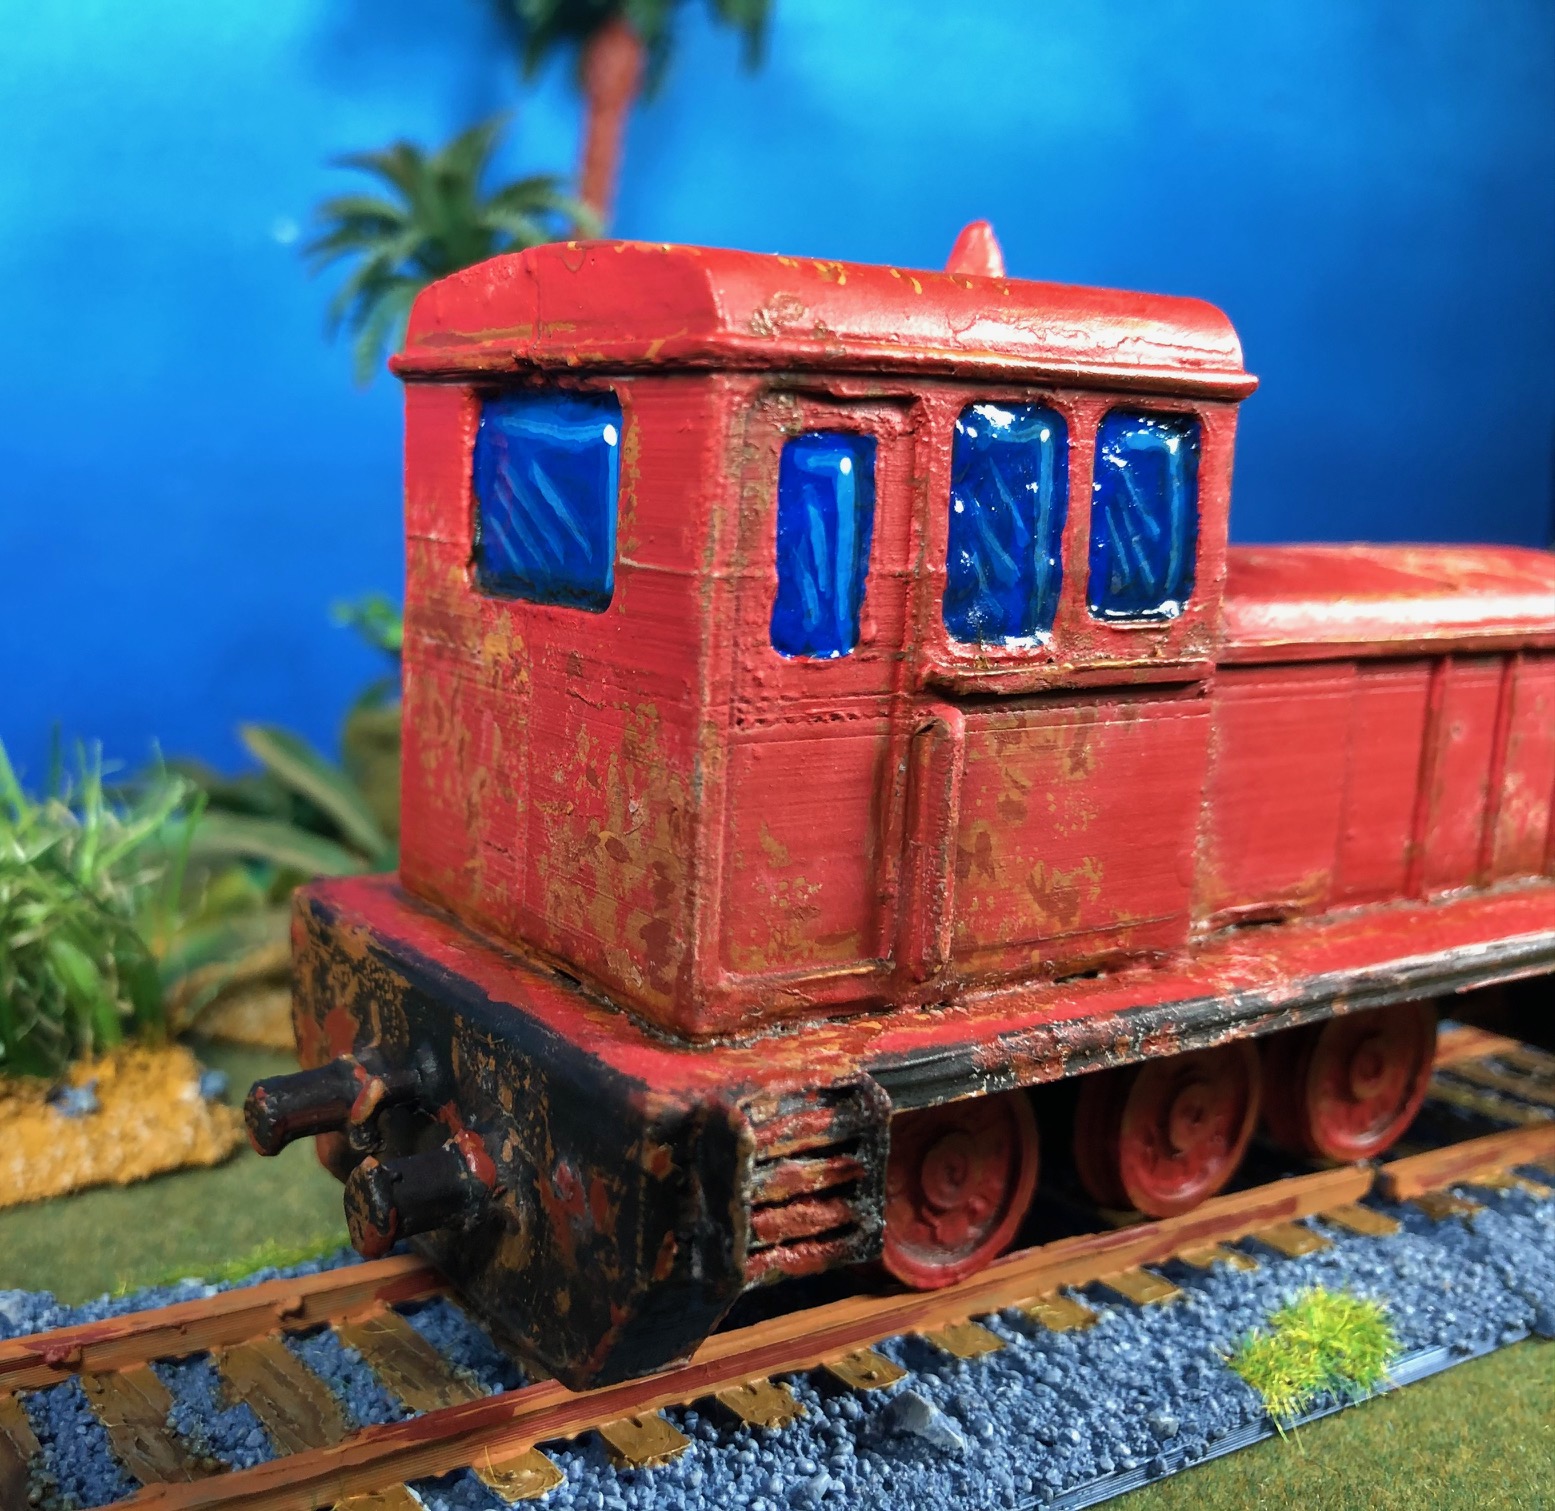
I thought that a small train station for my Hue project would be nice. There is a complete Hue train station in the WOW Vietnam kickstarter but for me it is just too big. So I started with some tracks and a Diesel engine from another WOW kickstarter.

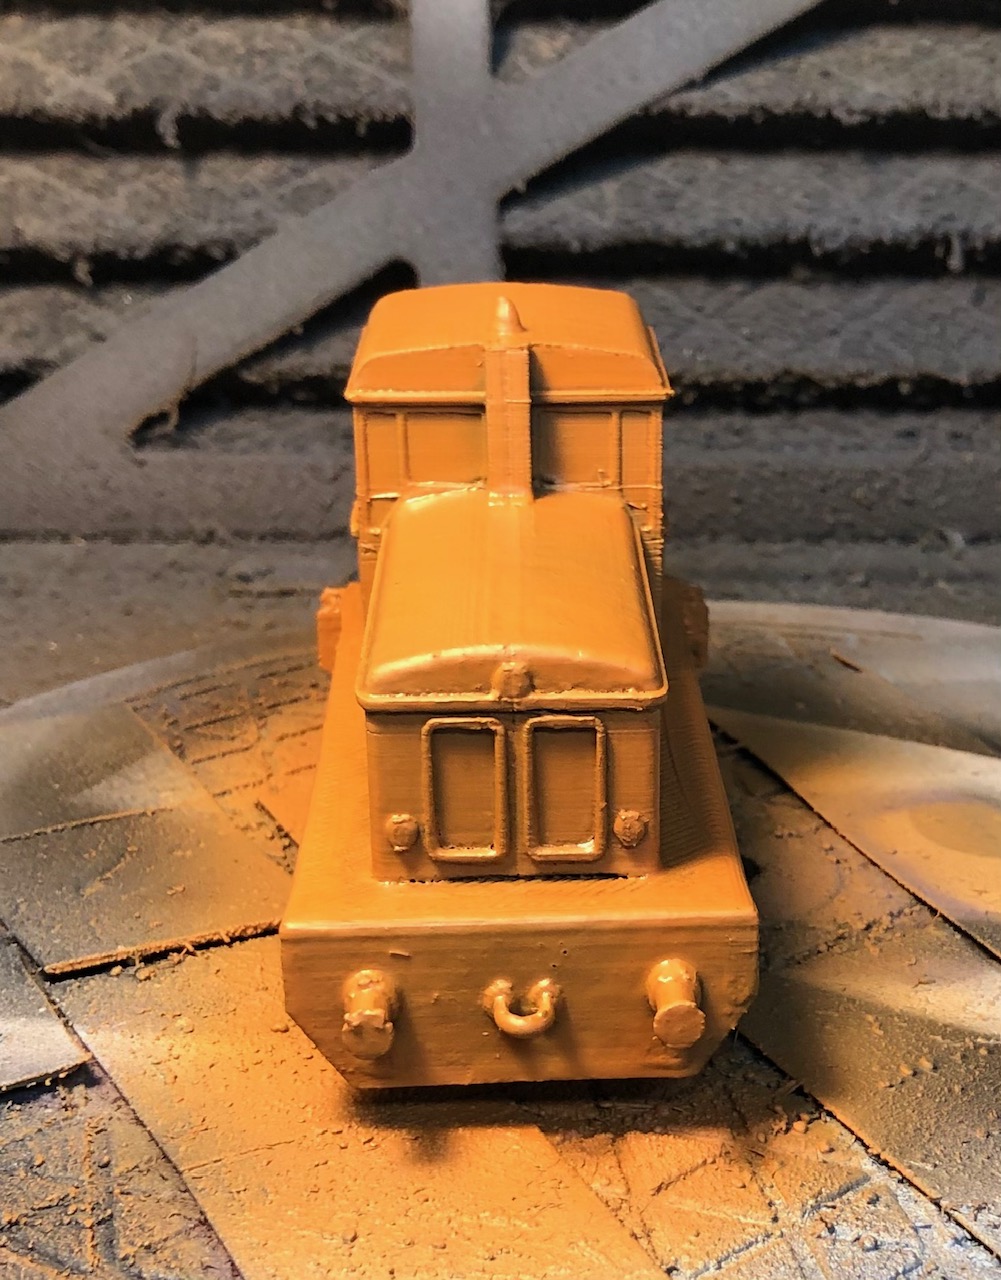
I wanted to try out the salt and hairspray method of rusting up the engine therefore I base coated the complete model in Vallejo orange brown, my base color for rust and a heavy coat of varnish to protect the base coat.

Then I fixed the salt with water to the parts I wanted to be rusty later on

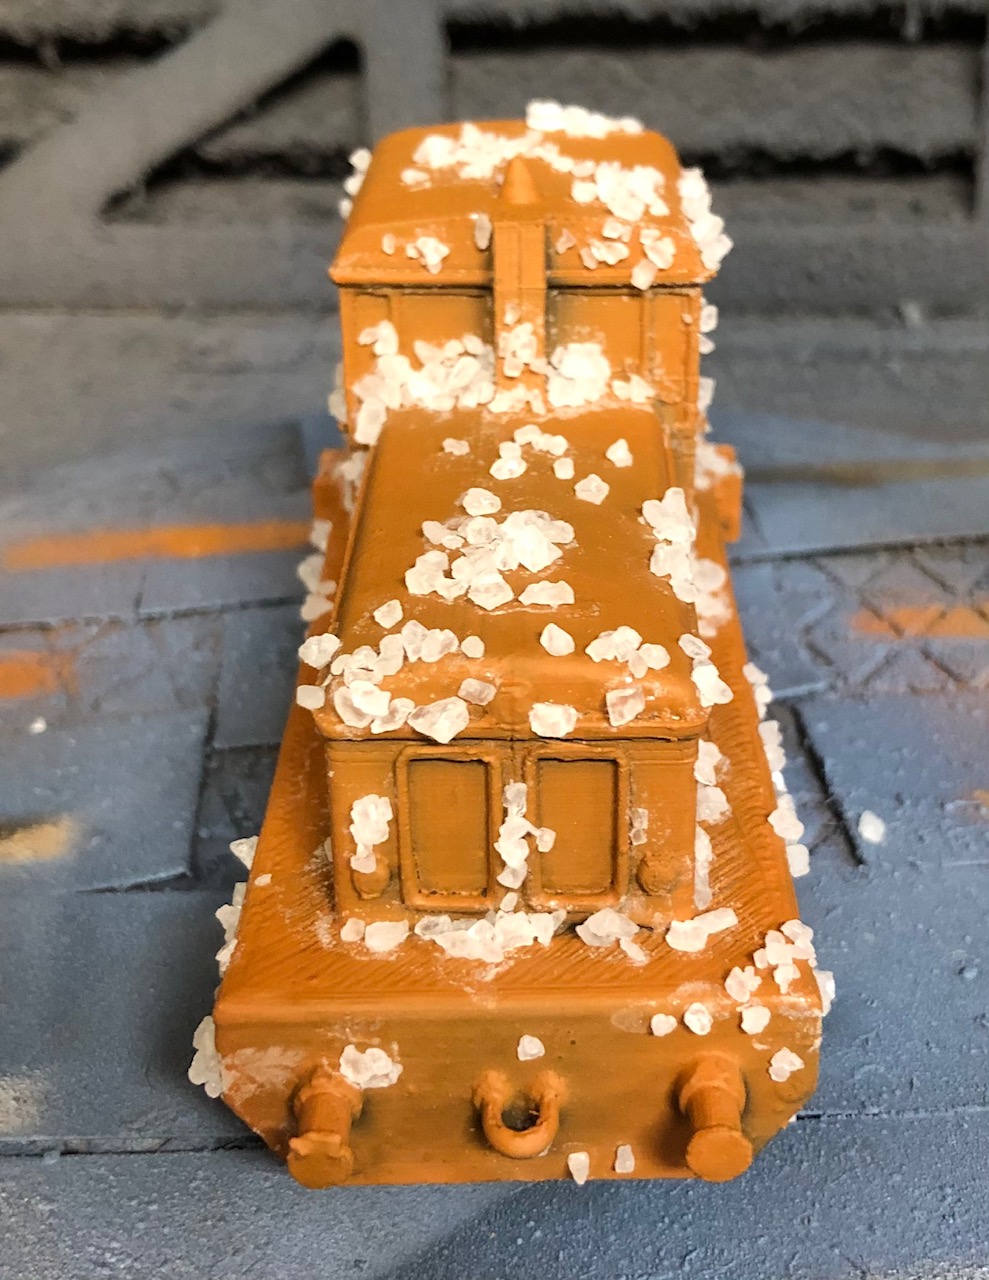
When this was dry I sprayed the model with hairspray and let it all set over night. Then I airbrushed the main color over the complete model.

Then I took a coarse brush and brushed of the salt. And with a little water added streaks of rust by rubbing of the color and the hairspray to let the orange brown shine through. After adding details like windows lights etc you get this effect:

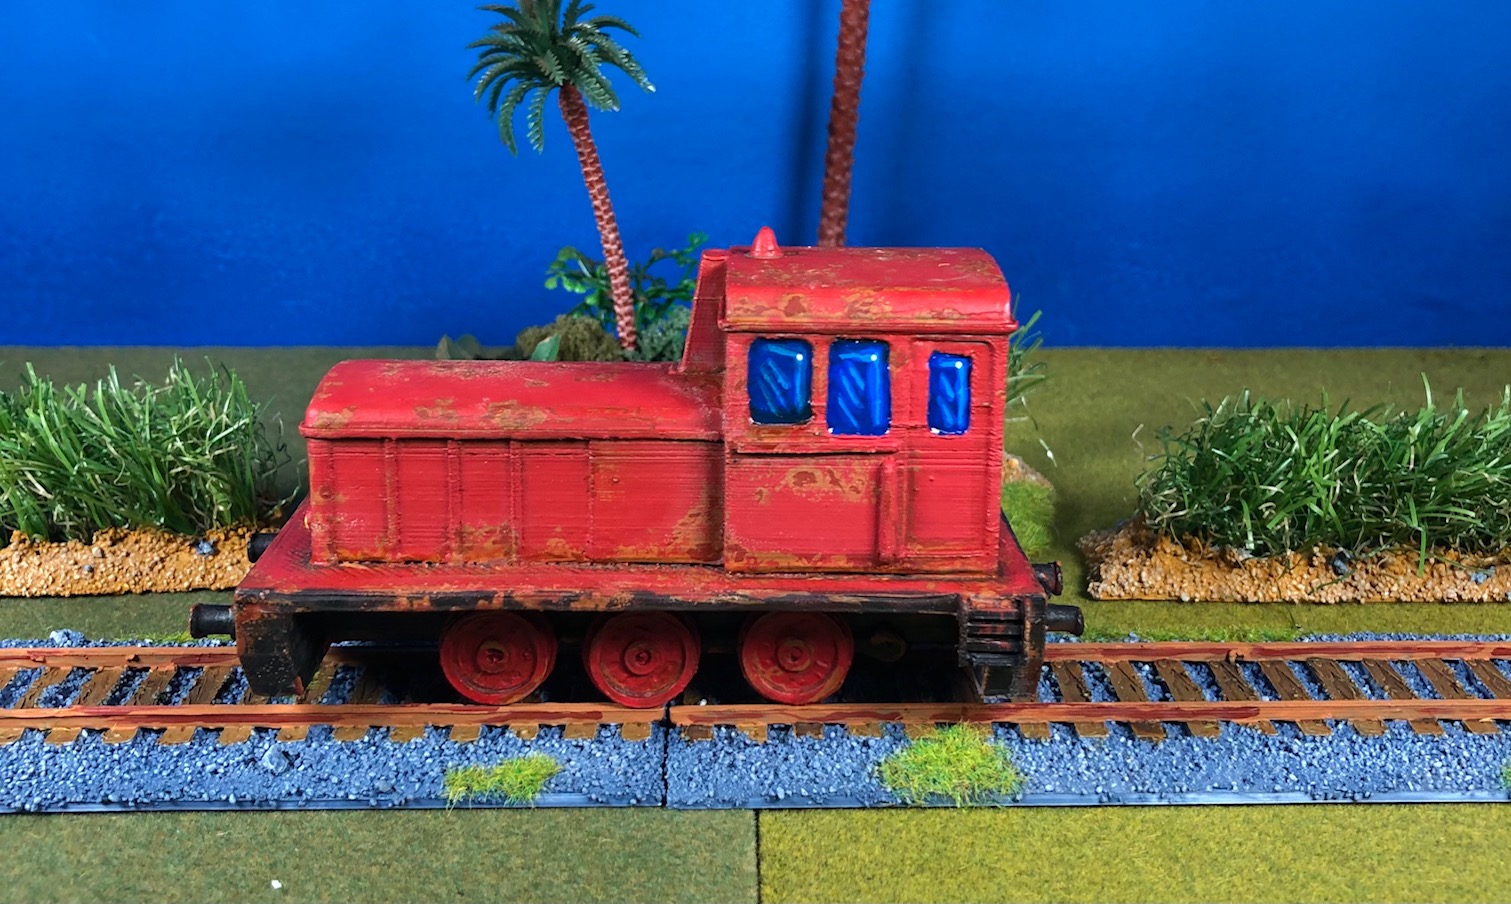
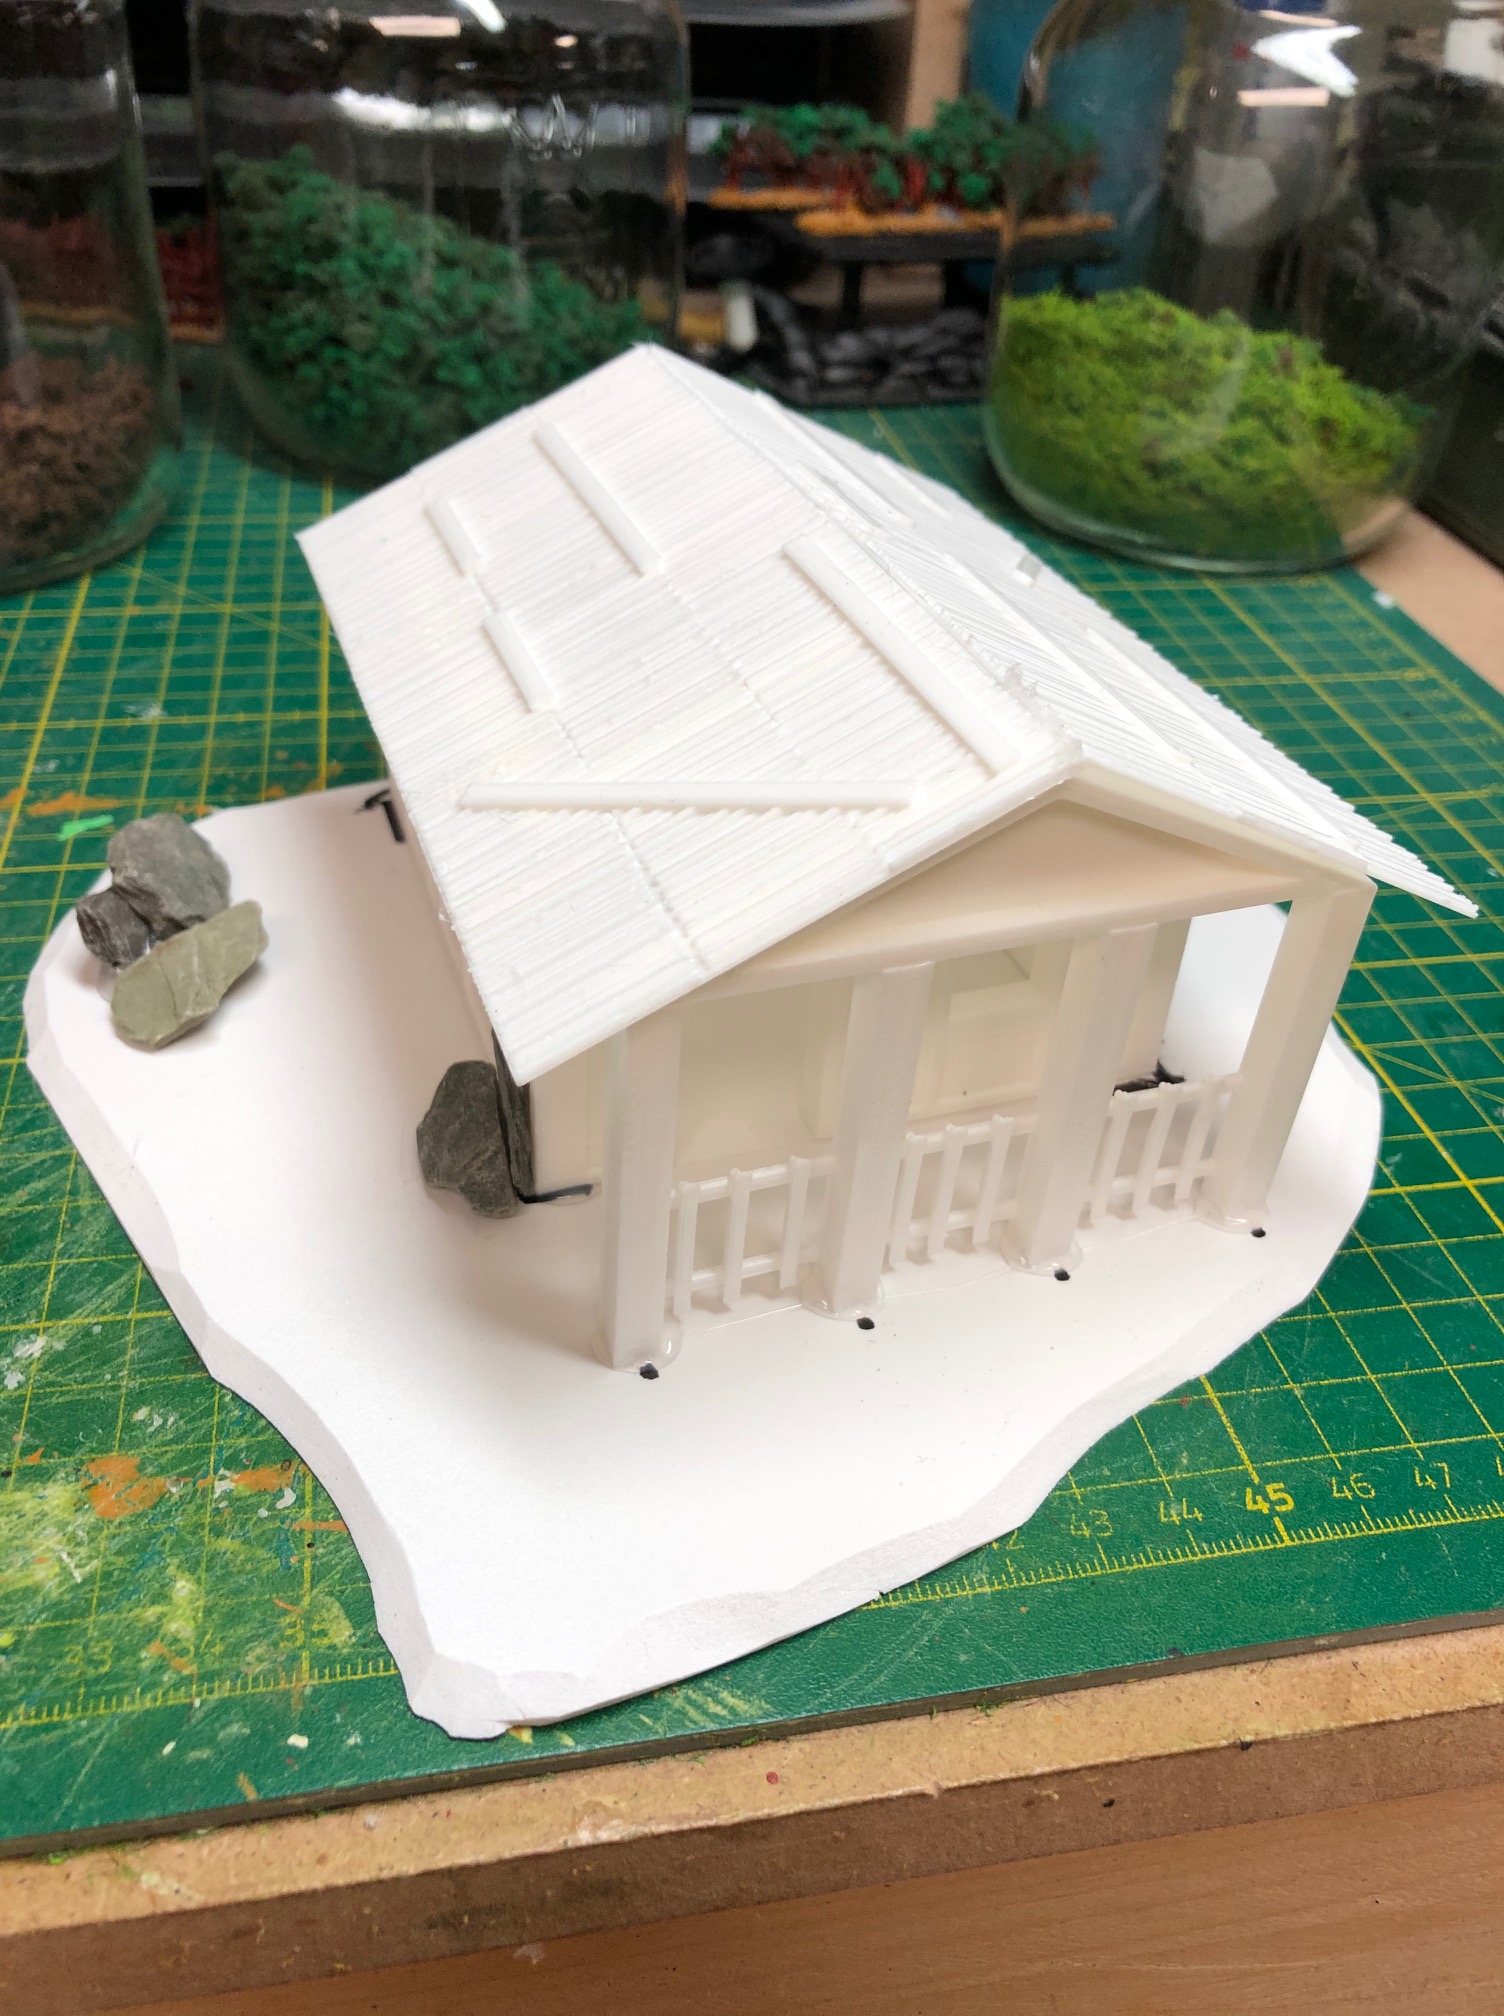
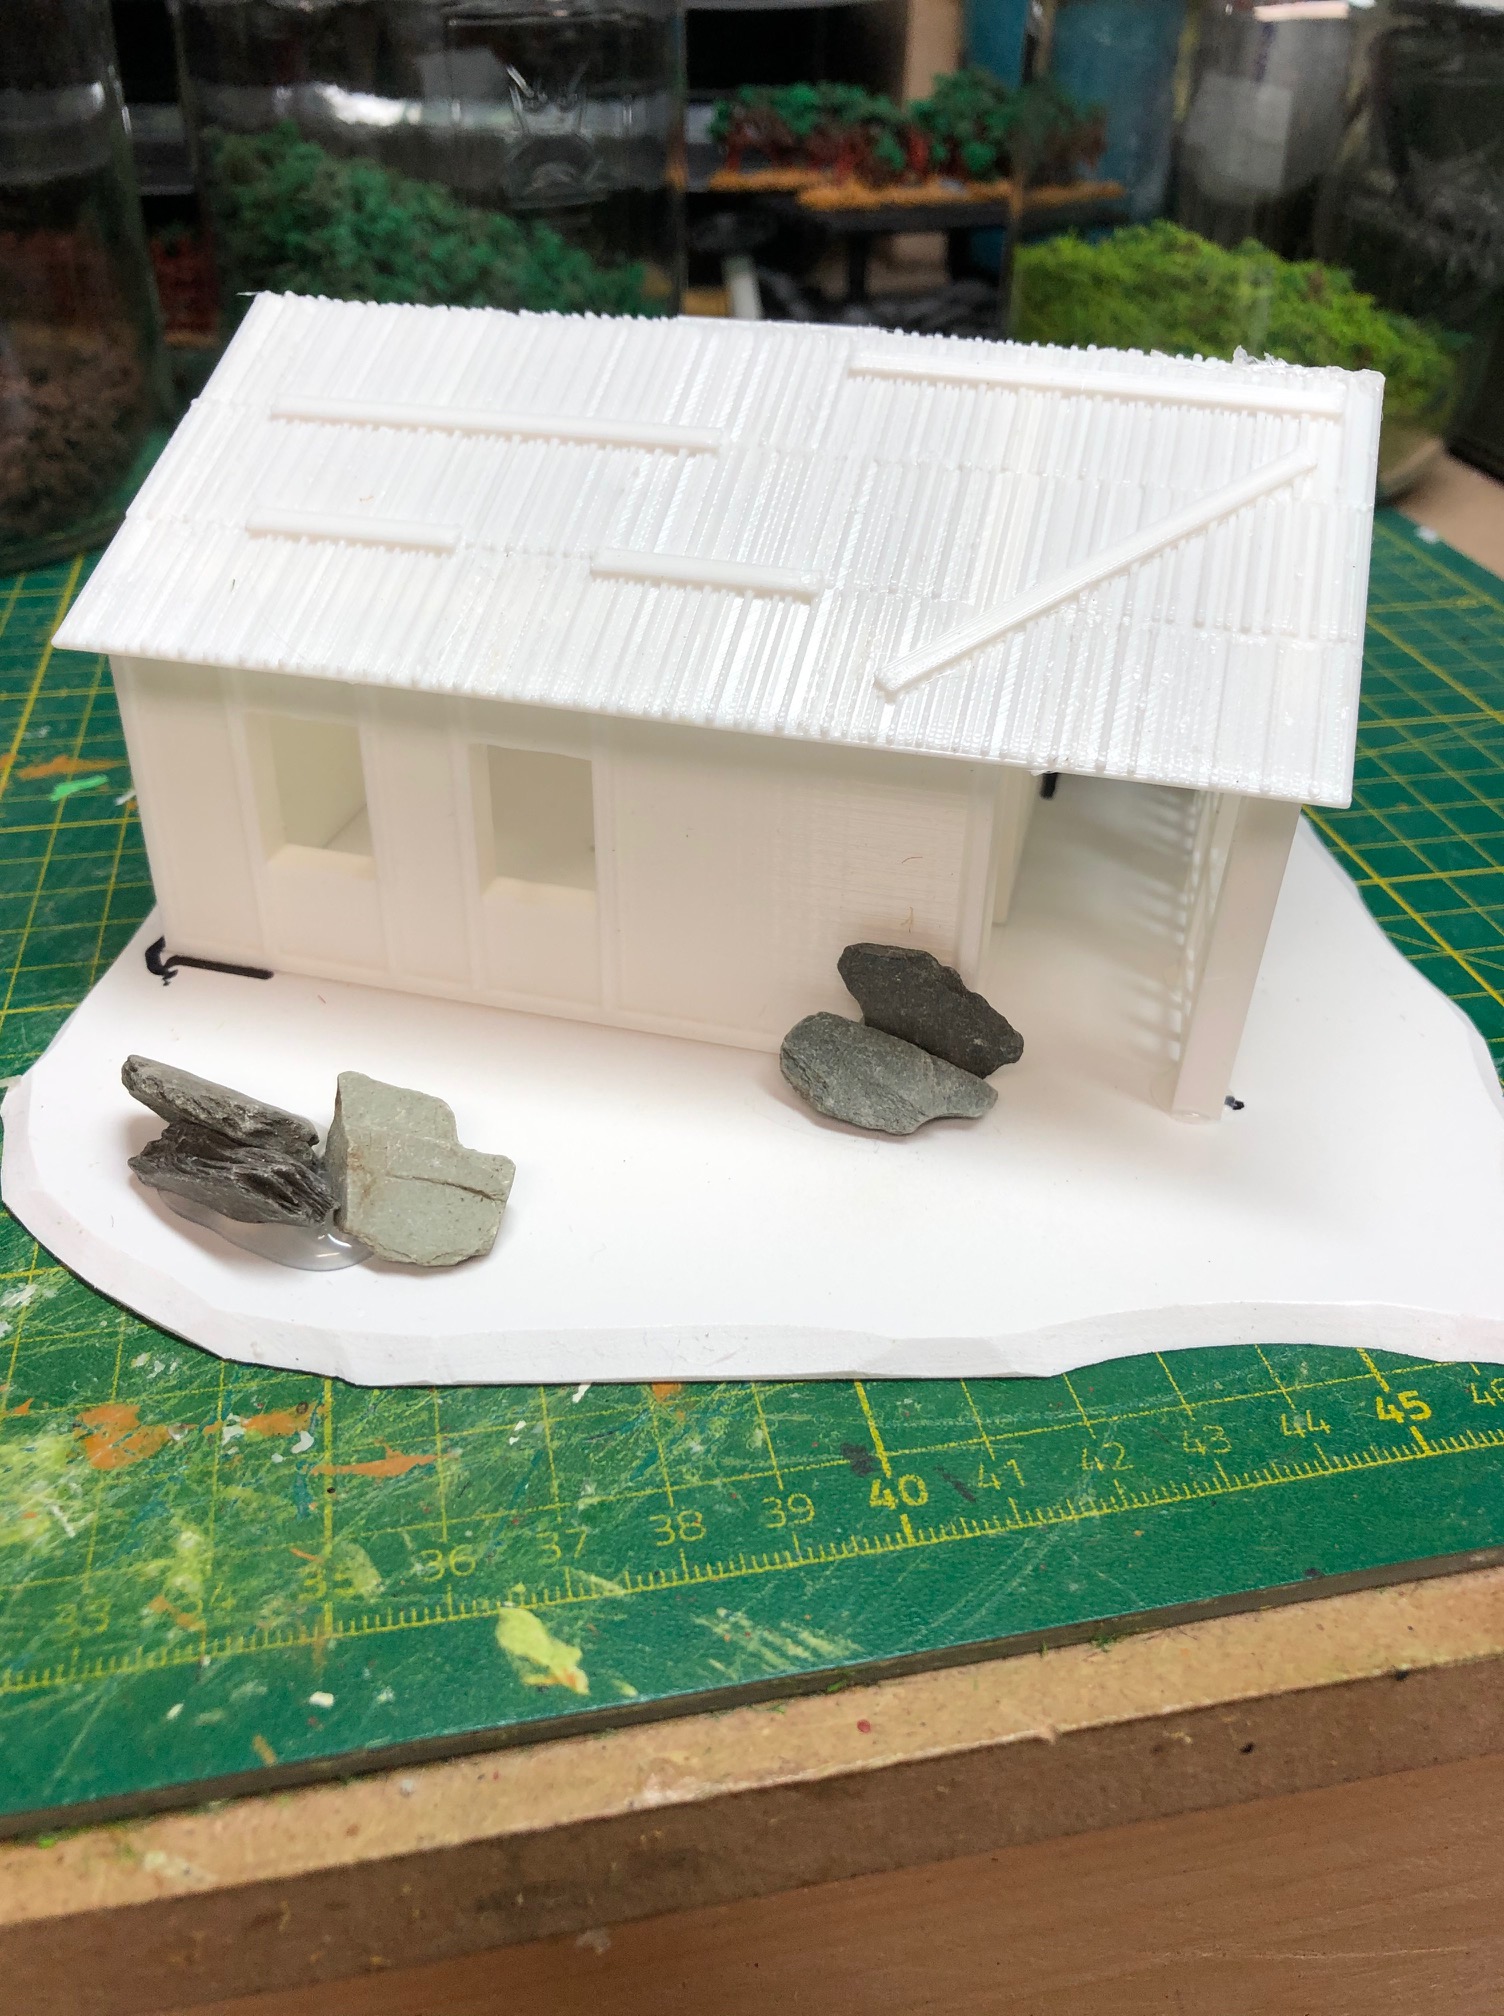
Here you can see the Engine and track in front of the next project. My train station:

The train station is a WOW 3D stl file too.

The village well

This is the last item for now I did for my Vietnam village. The next pieces will be for my cityscape. I found the STL file on thingiverse I think, but I can’t remember really as it is quite a time gone by since I printed it. It is an asian well. I thought it might be nice to have as another ,maybe, entrance to a VC tunnel system.

The first Hue building

Here is the first Hue city building for my ongoing Vietnam war project. On the picture below you see an old scratch build building of my WWII collection. From a time  3D printing wasn’t available jet. On the left you see the start of the first building of a series of buildings from the citadel of Hue. think base line green. The STL file comes from a Kickstarter by WOW Buildings

IMG_5760

I wanted the pavement to fit with my other buildings so I build it the traditional way, foam and scribing. The walls surrounding the building are from WOW ,too. The base is PVC .

Above you see a few pictures of the build I added some debris to the broken wall .

the base coated building shows clearly the problem with 3D printing. You see the different print layers.

IMG_5879

But after painting these vanish more or less.

IMG_6048

The finished building with plants and grass added:

IMG_6059

For me the way to go is to combine 3d printing with traditional modeling. i think the finished building is presentable.

A Vietnamese hut

As the paint on the flight stand and the Hueys isn’t dry jet I thought I show you pictures of the next project. A vietnamese hut for a jungle village. As I got a 3D printer for x was I thought to use it to print a hut for my jungle terrain. Or a complete village? Not sure jet.

As I didn’t find an appropriate STL online I designed the hut myself using tinkercad.

Here are the pieces I designed:

Sorry forgot to take a picture of the roof.

Here are pictures of the printed version. Glued to a base.

IMG_4805

IMG_4807

IMG_4806

I will post more pictures of the progress in the future. There is a smaller version without the veranda and a raised version for swamp settlements in the pipeline.

Huey painting started

I starrtet to paint the 2 Hueys I printed. One as a medevac/dustoff chopper the other as a slick.

IMG_4758

IMG_4762

As you can see I used white decal paper. Not a good choice for the letters in “MARINE” as I have to pint in the proper background again ,but i had no clear decal paper available. Have to order some more. But for the other decals it worked quite nicely.

IMG_4759

IMG_4763

The Bell UH-1C “Huey”

What is Vietnam wargaming without the iconic helicopters the US forces were using there. After painting up some Marines and NVA, VC figures I thought it would be time to build some choppers. The Marines used the UH-1C and the Sikorsky H34 during the first years of the conflict . I start with the UH-1C.

Bildschirmfoto 2020-02-04 um 07.58.40

As I got two 3d printers a resin and a filament printer I tried to print a Huey on both of them and wanted to find out which printer would do the better job.

Here are pictures of the filament printed Huey:

IMG_4586

As you can see you can see the printing lines quite clearly. I didn’t like that very much and they would have shown after painting even more. So I printed one in resin:

IMG_4111

IMG_4112

I like that one much more. So I will work with the resin printed ones. I started printing a second one and built a flight stand out of an old car antenna:

IMG_4225

The chopper will be attached with a magnet.

More to come

A special Space Marine of the Night Lords

As xmas is gone I can show you pictures of a special xmas present for my son , without spoiling his surprise. He liked it very much when he unwrapped it at xmas eve.

He is a huge Night lords fan and therefore I thought it fitting to build him a Night lord display marine. As I got a resin 3d printer ( Anycubic Photon) and found STL files ,on thingiverse, for printing marines I thought about doing a bigger then life marine. The parts on thingiverse are 28mm ( heroic GW scale) so I resized the parts to something like 200% the normal size and started printing.

Here are the parts:

I then sanded the parts to get rid of the supports and build the marine:

IMG_3954

I then added some more details like skulls, horns, a loincloth and a cloak and started painting:

here is the finished model in all its splendor:

IMG_4213

And a size comparison with one of my Galactic Knights marines:

IMG_4221

The miniature will find a fitting space in my sons flat!