I used old TSS tiles to build Hill contours

The next project in my terrain refurbishing project was creating a hill contour to elevate the terrain another 4 cm ( the hight of a tile) . I will use these to represent contour lines on the table like on maps.

IMG_8931

On this picture you can see the old tiles . These were donated by my good friend Simon. Thank you again Simon!

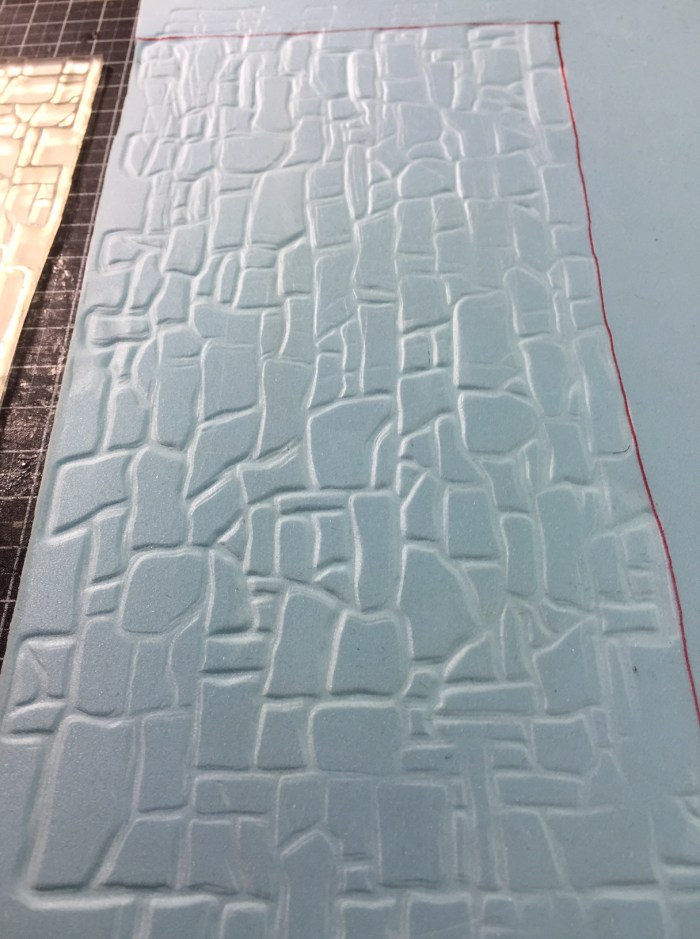
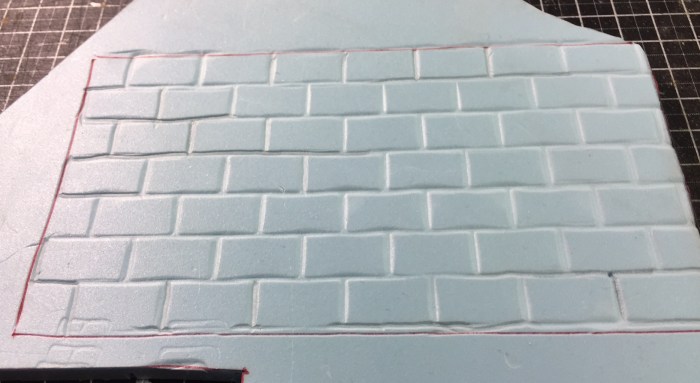
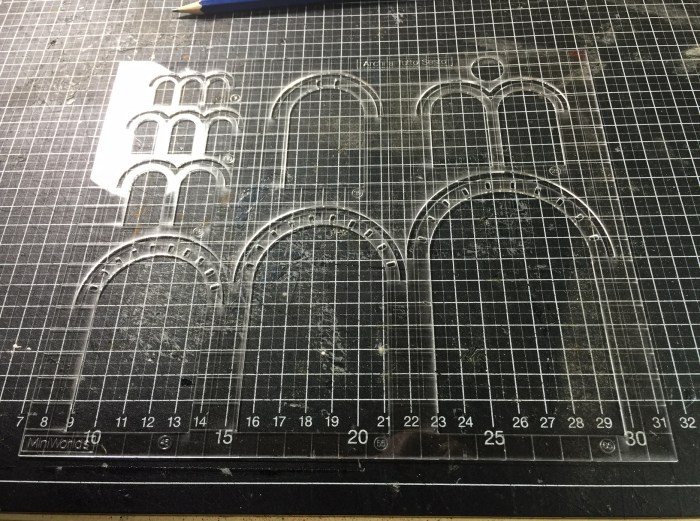
The white slabs of Styrene will be the conectors between the different tiles to make the contours modular. They were shaped with a template and cut with a hot wire cutter. This is the template in action:

IMG_8930

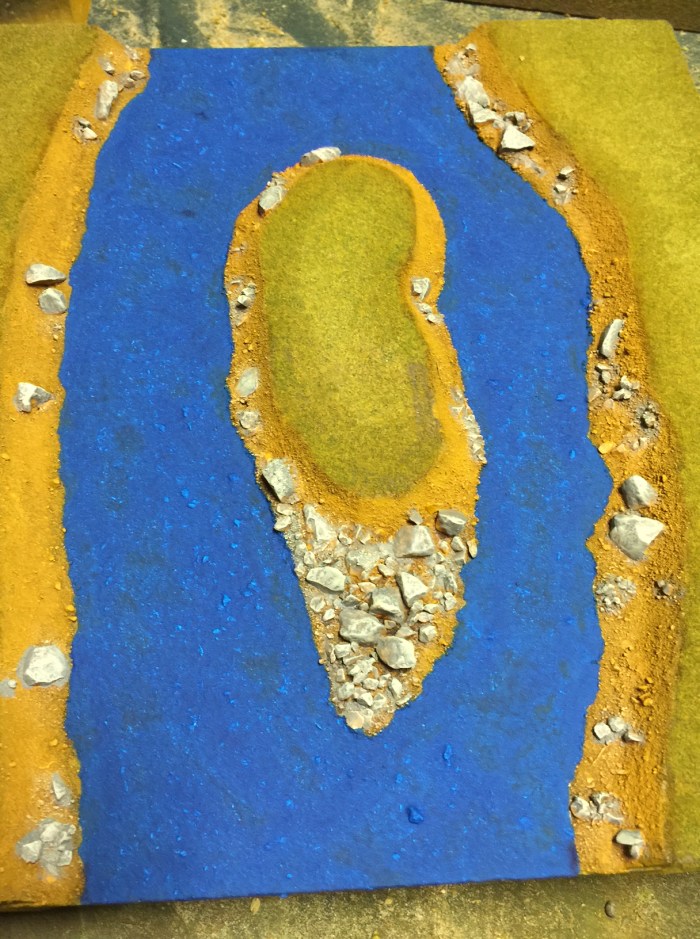
Here you can see the hill contour build up with styrene and cork bark:

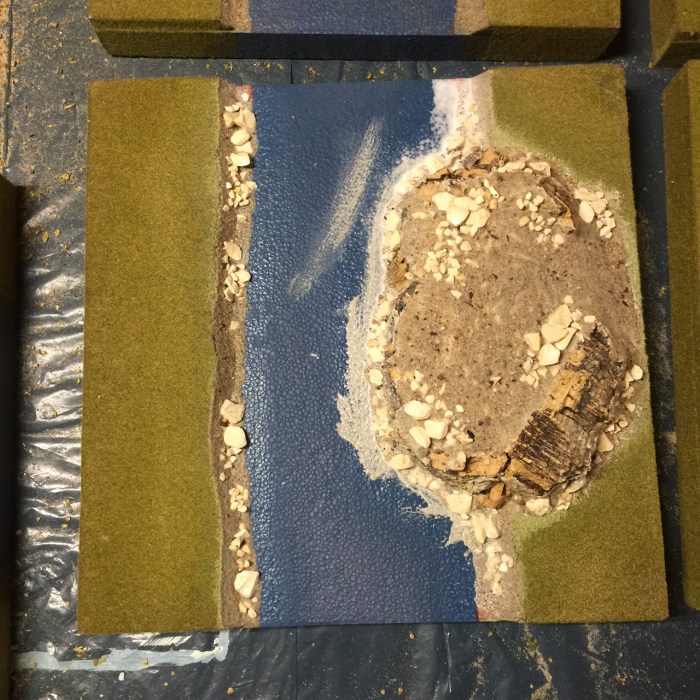
And in another configuration:

Next step was to add ready mixed filler:

That is how far I got last weekend. I have another 7 tiles to do. I will add pictures to the blog when I do the next step.

The next step of the renovation of my river tiles.

Here are pictures of the first layer of the river painted . I used a mix of PVA , ready mixed filler and blue paint to get rid of the styrene structure on the board:

IMG_8925

I will post pictures when the river is completely painted. Before flocking the boards I will start doing hill contour boards too. I want to do the flocking on all boards simultaneously to get the look consistent.

Next step in redoing my TSS river tiles

Over the weekend I could do a bit more work on my river tiles. Next step was painting the gravel and rocks in a basecoat brown ( I use Schminke acrylics for all my terrain painting).

Then I applied a wash of Van Dyk brown ( Schminke) . I made the wash myself , following the instructions found on this video by the terrain tutor.


So you get something like this:

Then I did a dry brush with the basecoat color:

After that I did a wet brush ( basically a heavy dry brush with more paint on the brush then with a dry brush) followed by a dry brushed highlight on the rocks:

IMG_8900

This is the result up to now . Next step will be the water then flocking and gloss varnish for the water. Will be back when the next steps are done.


Refurbishing my TSS tiles.

As I said in another post a few weeks back I wanted to improve my trusty TSS tiles / boards. These are tiles measuring 1foot by 1 foot or 30,5 x 30,5 cm square. I have lots of them and after acquiring a foam cutter I even did some by myself. So after using them for years I wanted to give them a make over. I started with my river tiles. When they come from TSS ( Total System Scenic) they look like this:

FullSizeRender

As you can see the river clearly shows the structure of the styropor used to make the tiles. Doesn’t look very natural when you ask me. So I wanted to do a better water effect on these river tiles. But before that the banks have to be done properly. Like this :

IMG_8819

I added gravel, sand and little stones to the river banks. Next will be paint and flock. With the following tile I wanted to recreate a steeper higher bank of the river . I used cork bark, ready mixed filler Styropor and gravel,sand and stones, to come up with this:

IMG_8818

Here are some more pictures of my other river tiles:

The last board has a very thin layer of filler on the actual river to get rid of the styropor structure. I will do this to the others too but will mix paint with the filler to have a bisect to work with too. So over the next week I will add more so watch this space!


Finished of the wire wool trees

You remember the wire or steel wool trees I started a few weeks back? I came to this end:

Now I found the time to base them properly on mdf bases and added rocks and scatter . They look like this now:

IMG_8795 2

Here are a few closeup pictures of the rocks and scatter:

They are done with cork bark and gravel and grid . Hope you like what you see!

Next up my improved TSS river tiles.

New stamps for representing stones on Styrodure and a template for roman doors and windows.

I got two stamps for texturing walls from MiniWorlds a italian company and a template for roman doors and windows. The two wall texturing stamps are only two examples there are many more on their web page.

Here is the first one: The MT 009 San marino type

FullSizeRender

This stamp is to be placed on a piece of Styrodure and pressed into it to imprint the stone layout into the Styrodure. You will get this:

IMG_8476

Depending on the stability of the Styrodure, there are different grades of toughness, you might need a hammer to make this work ( like shown on the companies website. It took less then 5 minutes to do this. Doing the engraving by hand would take considerably longer.

Next up is the MT013 Siviglia type:

FullSizeRender 4

This is what you get after using :

FullSizeRender 5

Both stamps can be joint to produce bigger ares of stone on the Styrodure , just align them properly.

What I got too is a product called minimask. A stencil template to do roman arched windows and doors . Also from MiniWorlds. You use this to draw window and doors onto the Styrodure to cut them out later. One word of warning though the one I got was very fragile.

This is MM001 roman arches:

IMG_8478

Excuse the bad picture . Better ones are on the companies website .

When you place them on the Styrodur you van use the one cm lines on the template to align them properly.

FullSizeRender 2

Here is what you get when you use both devices :

FullSizeRender 3

IMG_8481

And together with the other template:

All in all a very good product . Recommended but using a hammer is necessary.

I will use these to build some buildings in the future so watch this space.