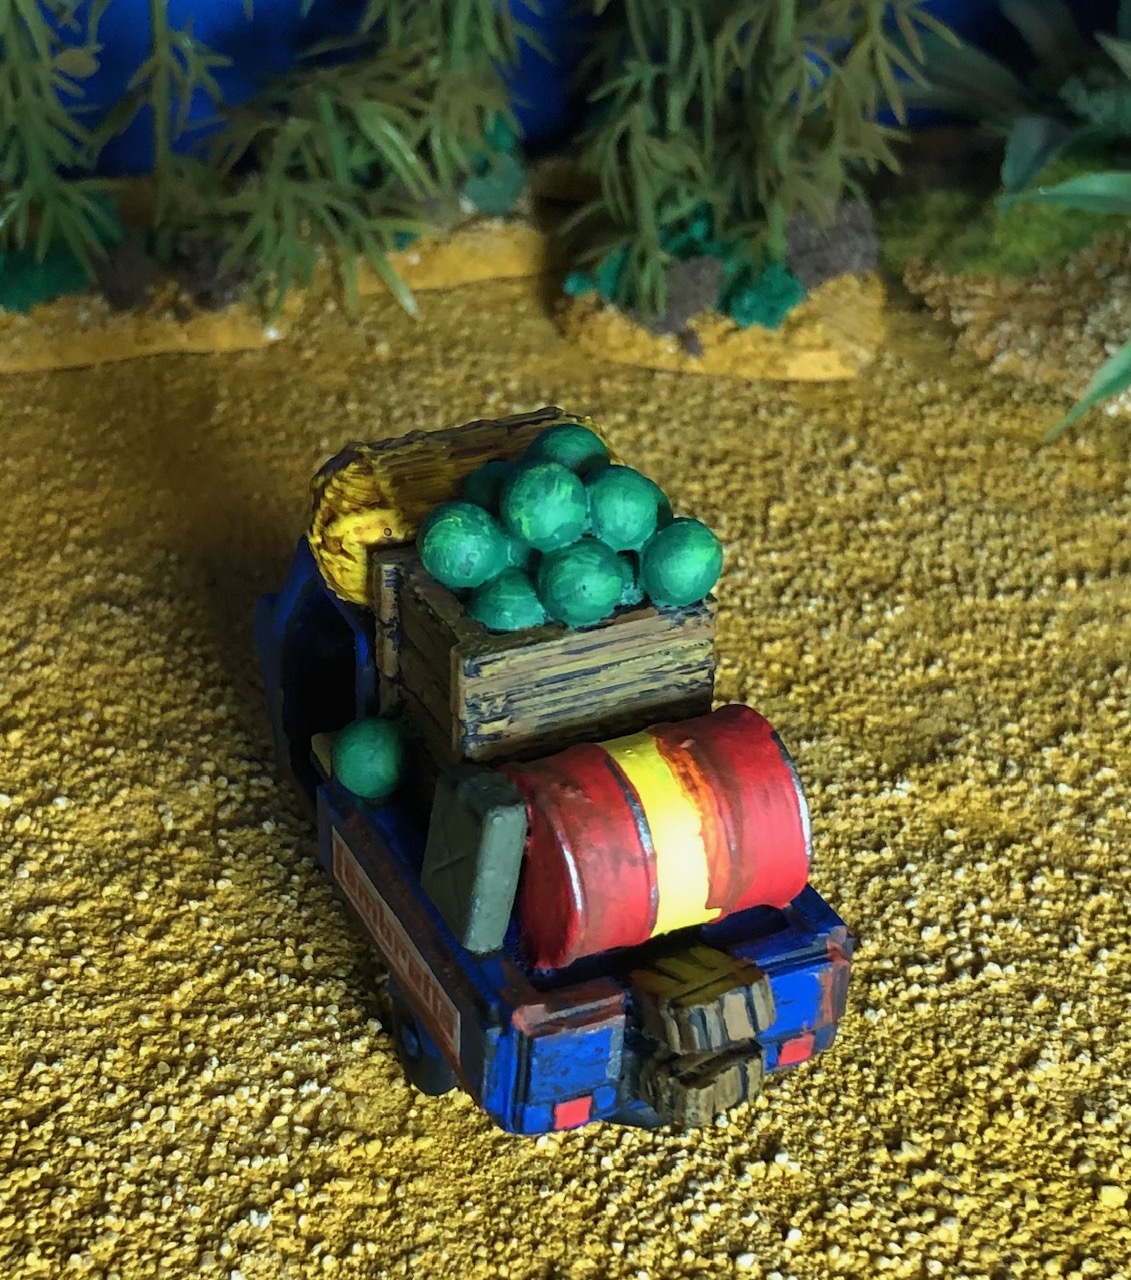
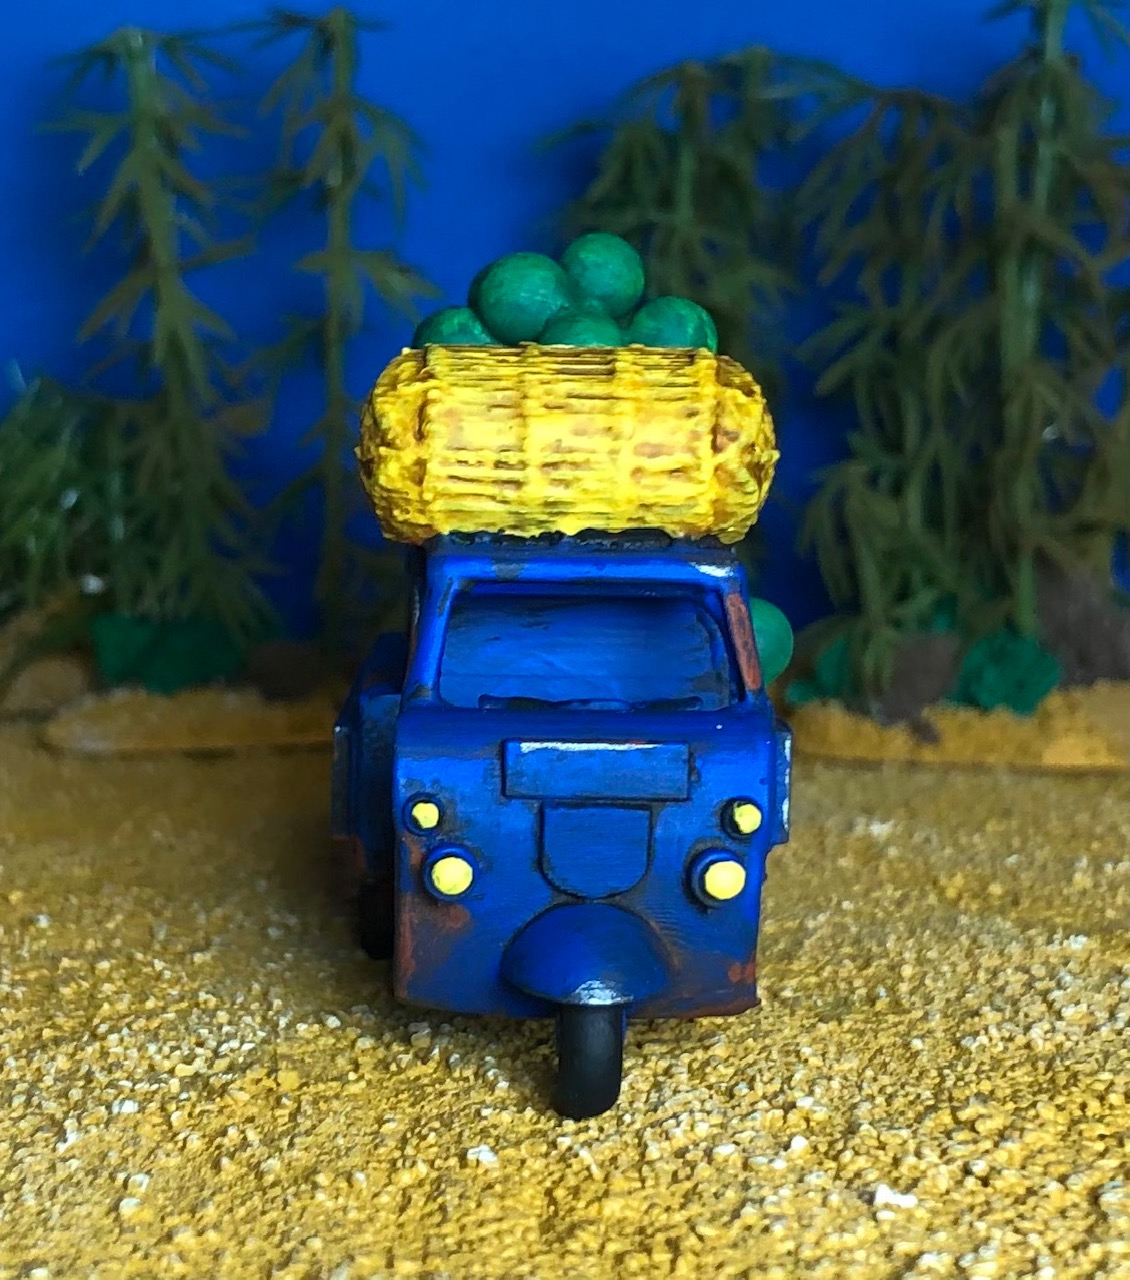
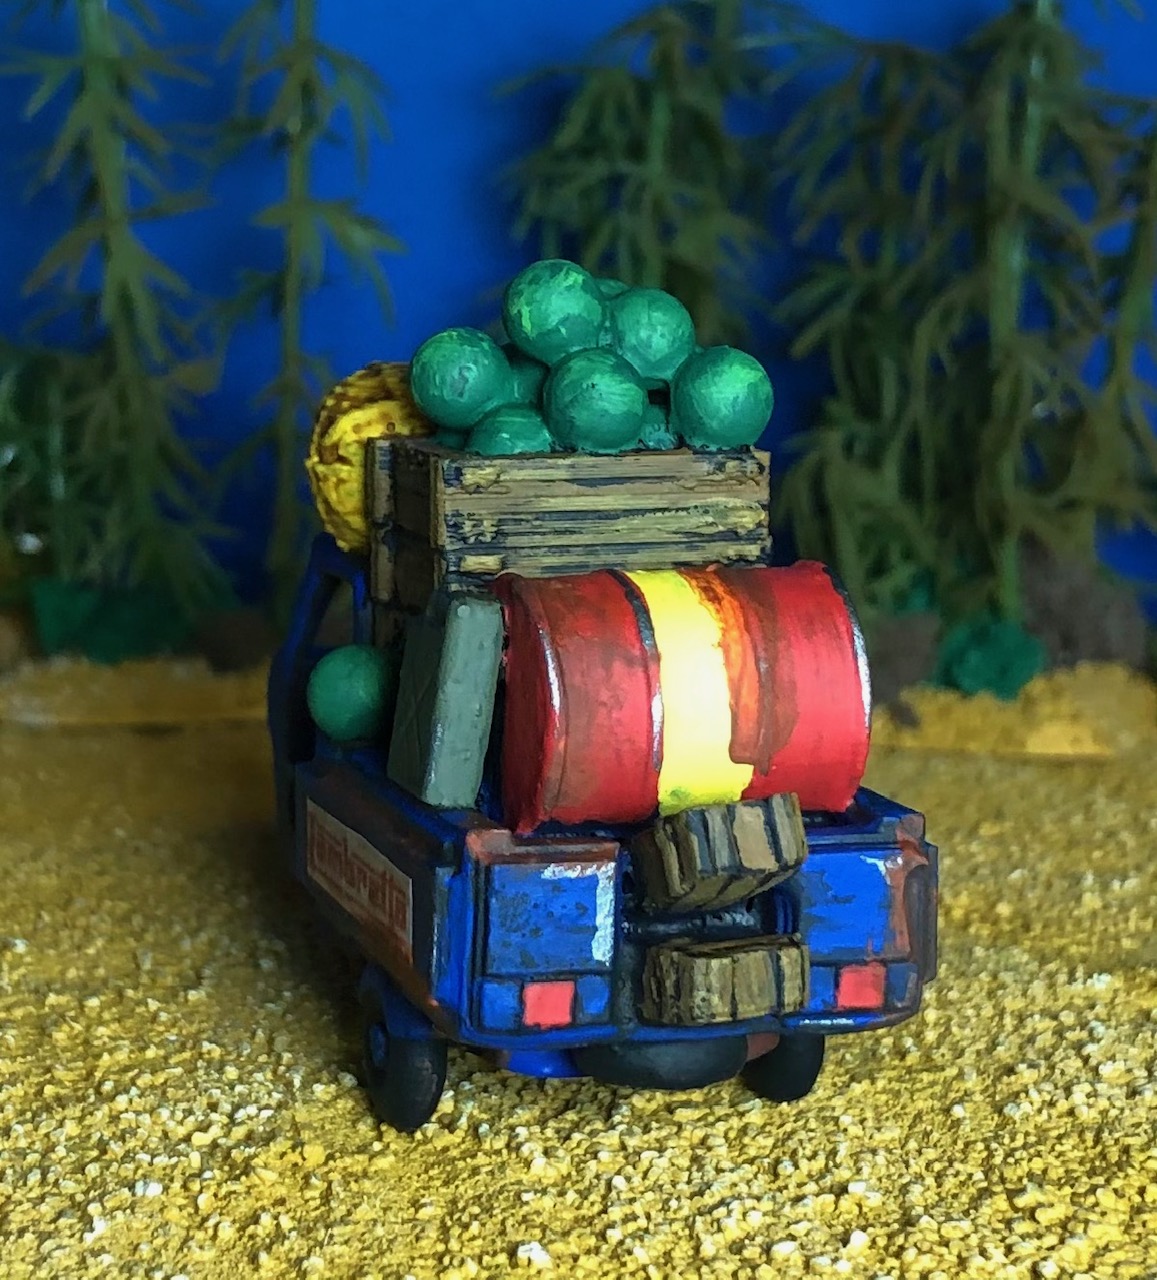
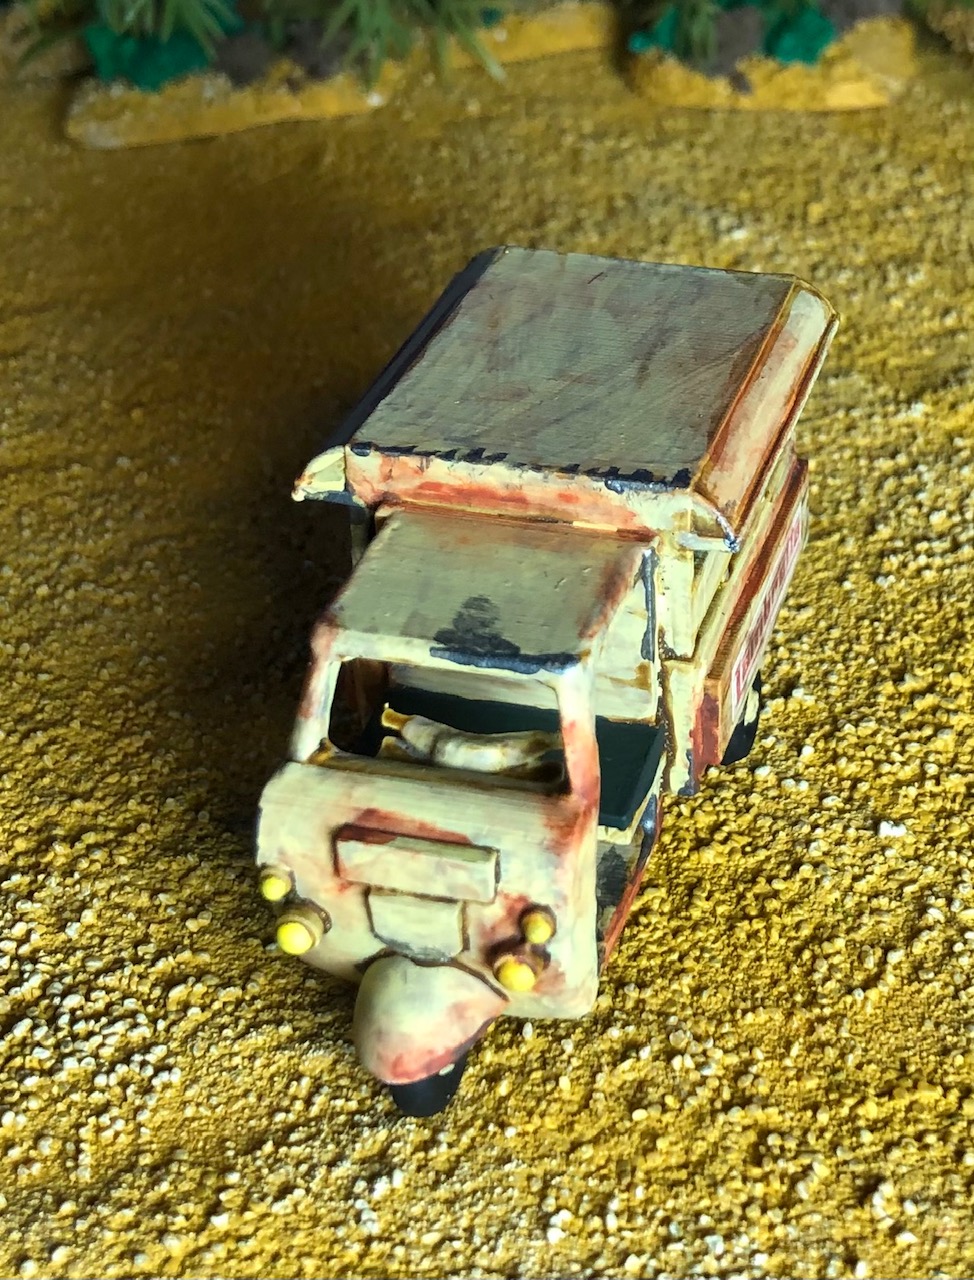
Here is another Lambretta again 3D printed. This is the same model as the buff one you can see here. This one wasn’t printed correctly. The roof above the passenger compartment was partially missing. So I removed it completely and loaded the Lambretta with things to be delivered to a market. Boxes an oil drum ,fruits ( Melons). The boxes and oil drum are 3D printed too, the fruit were plastic ammo for an air gun.
Tomorrow I show you my Lambretta repair shop for my Hue city project.
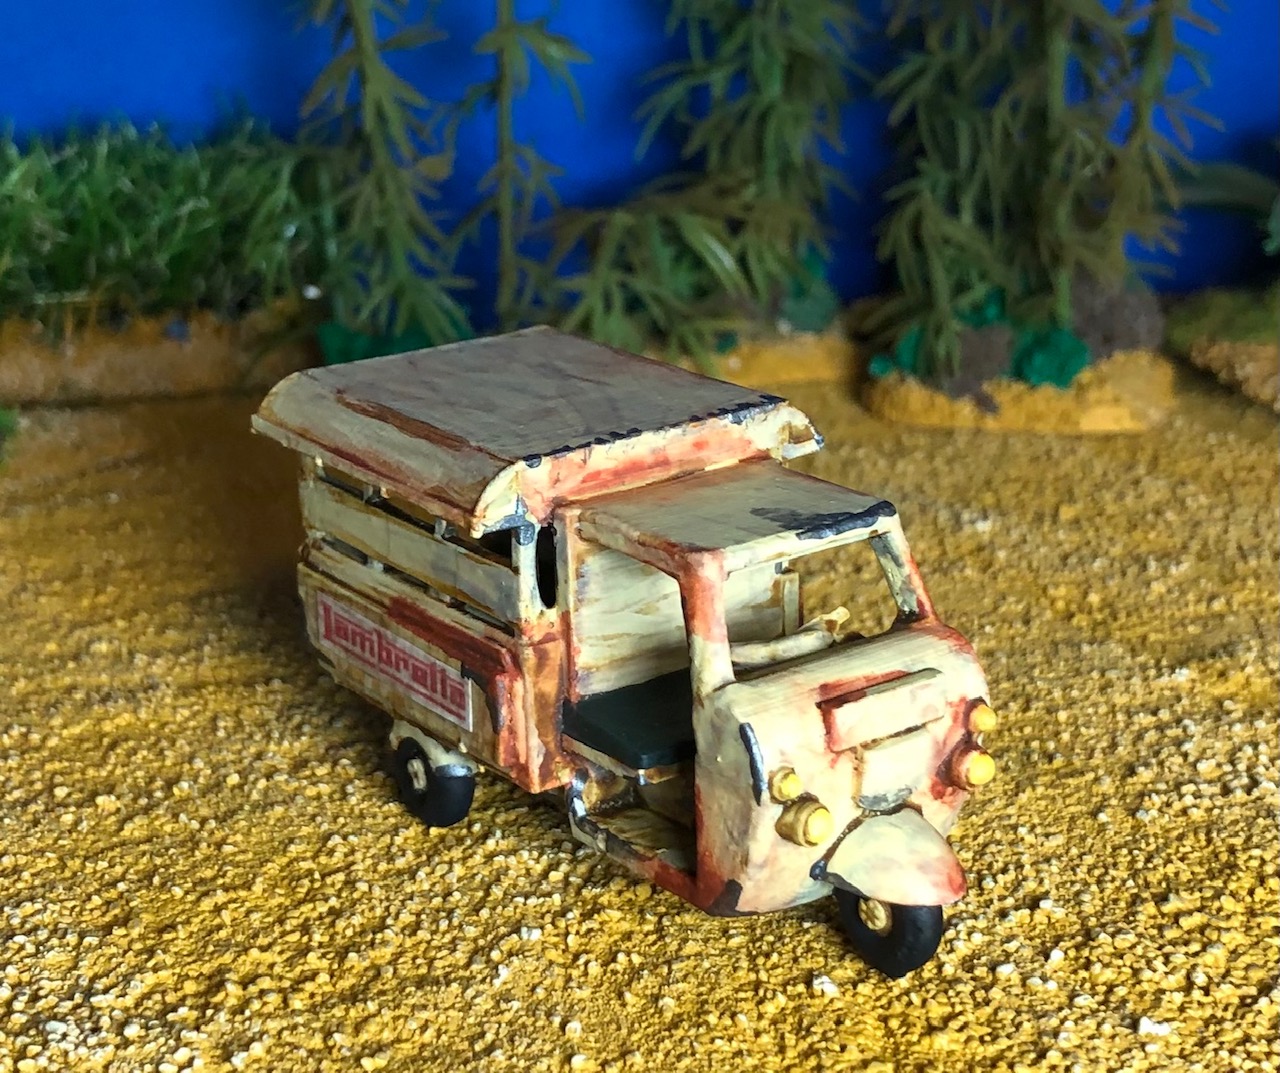
As I am slowly working on my cityscape of Hue, for the Tet 1968 offensive, I needed some of these vehicles. The three wheelers were and are often seen in Vietnam. As taxi, bus or van stand in. I got a 3D file from Wargaming 3d for a 3 wheeler Lambretta bus. This was printed with my Photon resin printer and then painted in the usual manner. I tried the weathering pencils from AK interactive for the rust effect. I think it works quite well.
The Lambretta sign is printed on paper, varnished with an airbrush and then fixed to the vehicle. I think it looks rather battered and old but thats the look I wanted to get. Now a driver or passengers would be nice. Couldn’t source any till now. Next up a cargo version of the Lambretta.
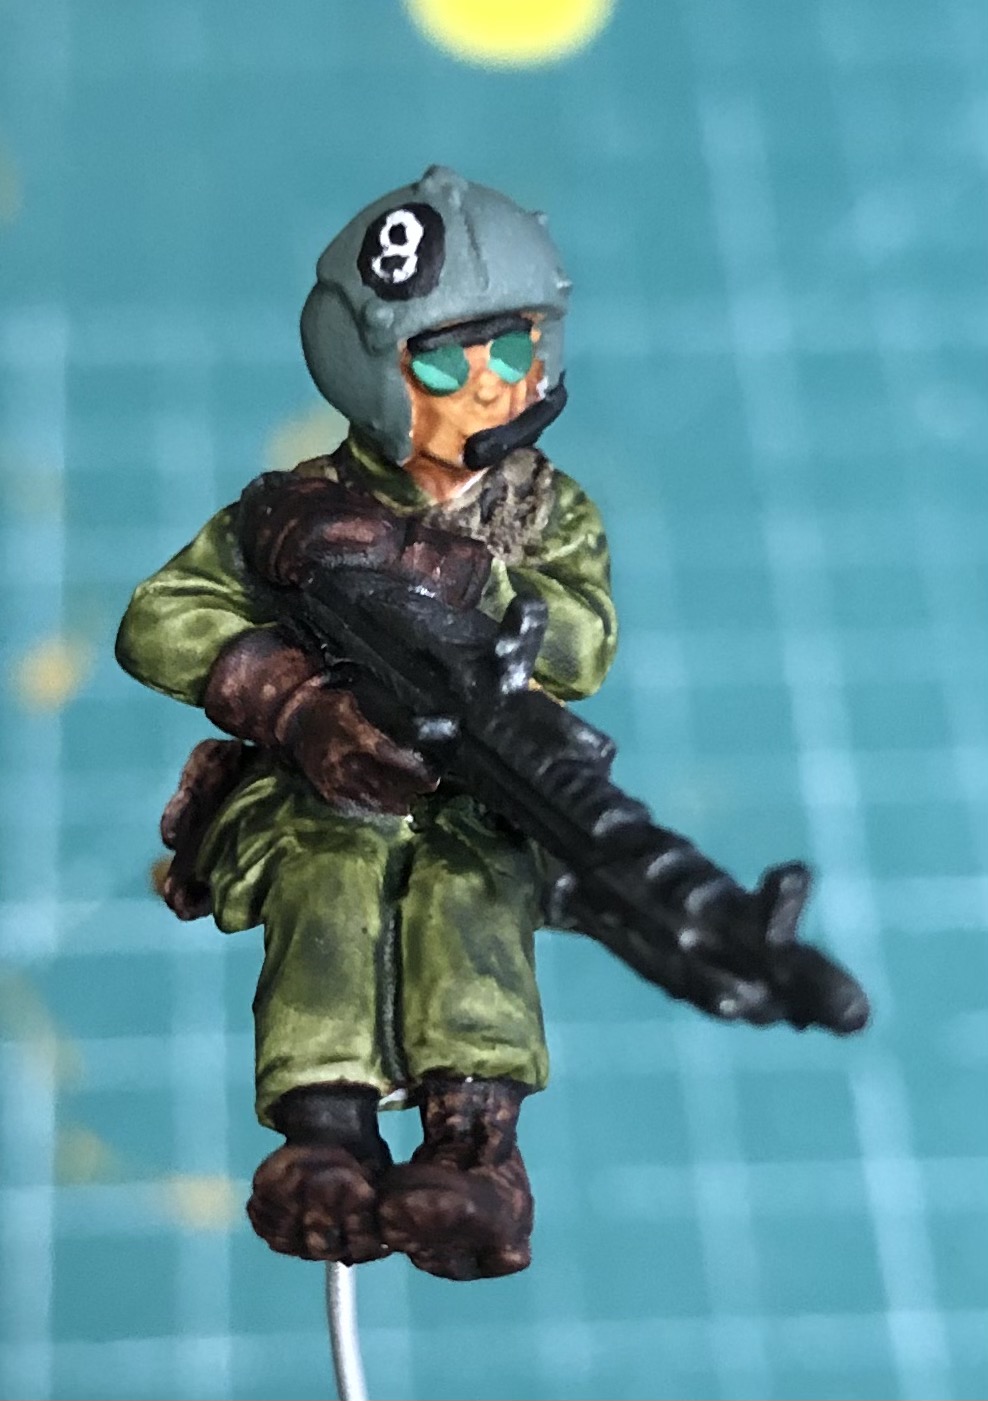
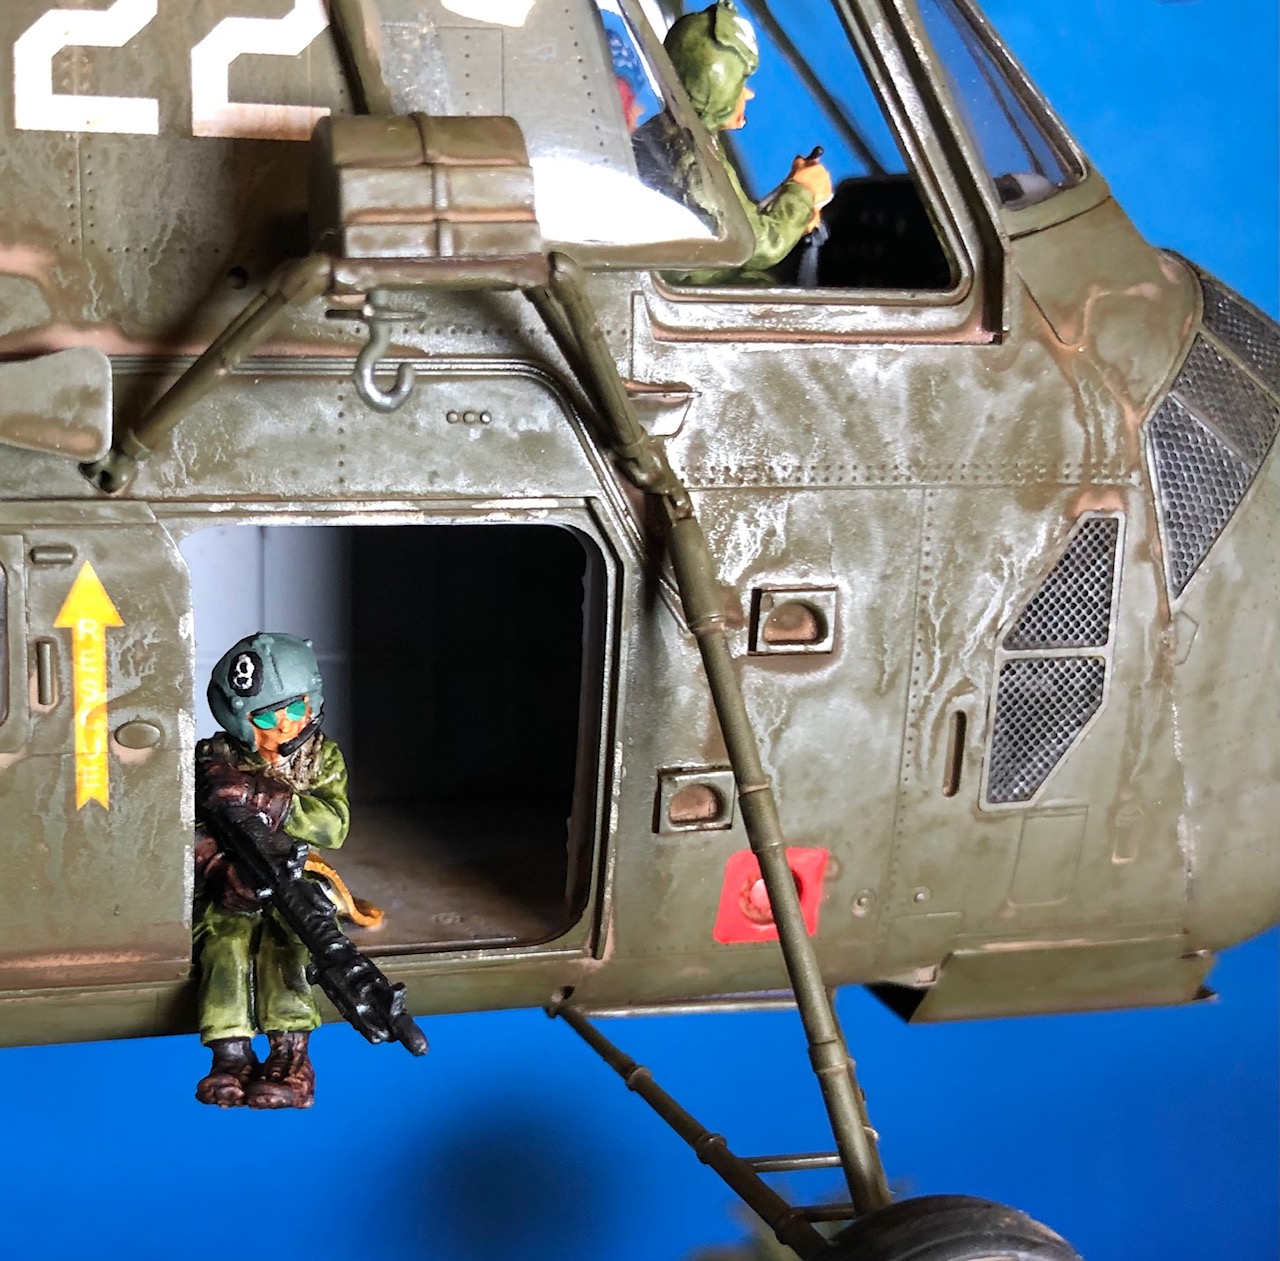
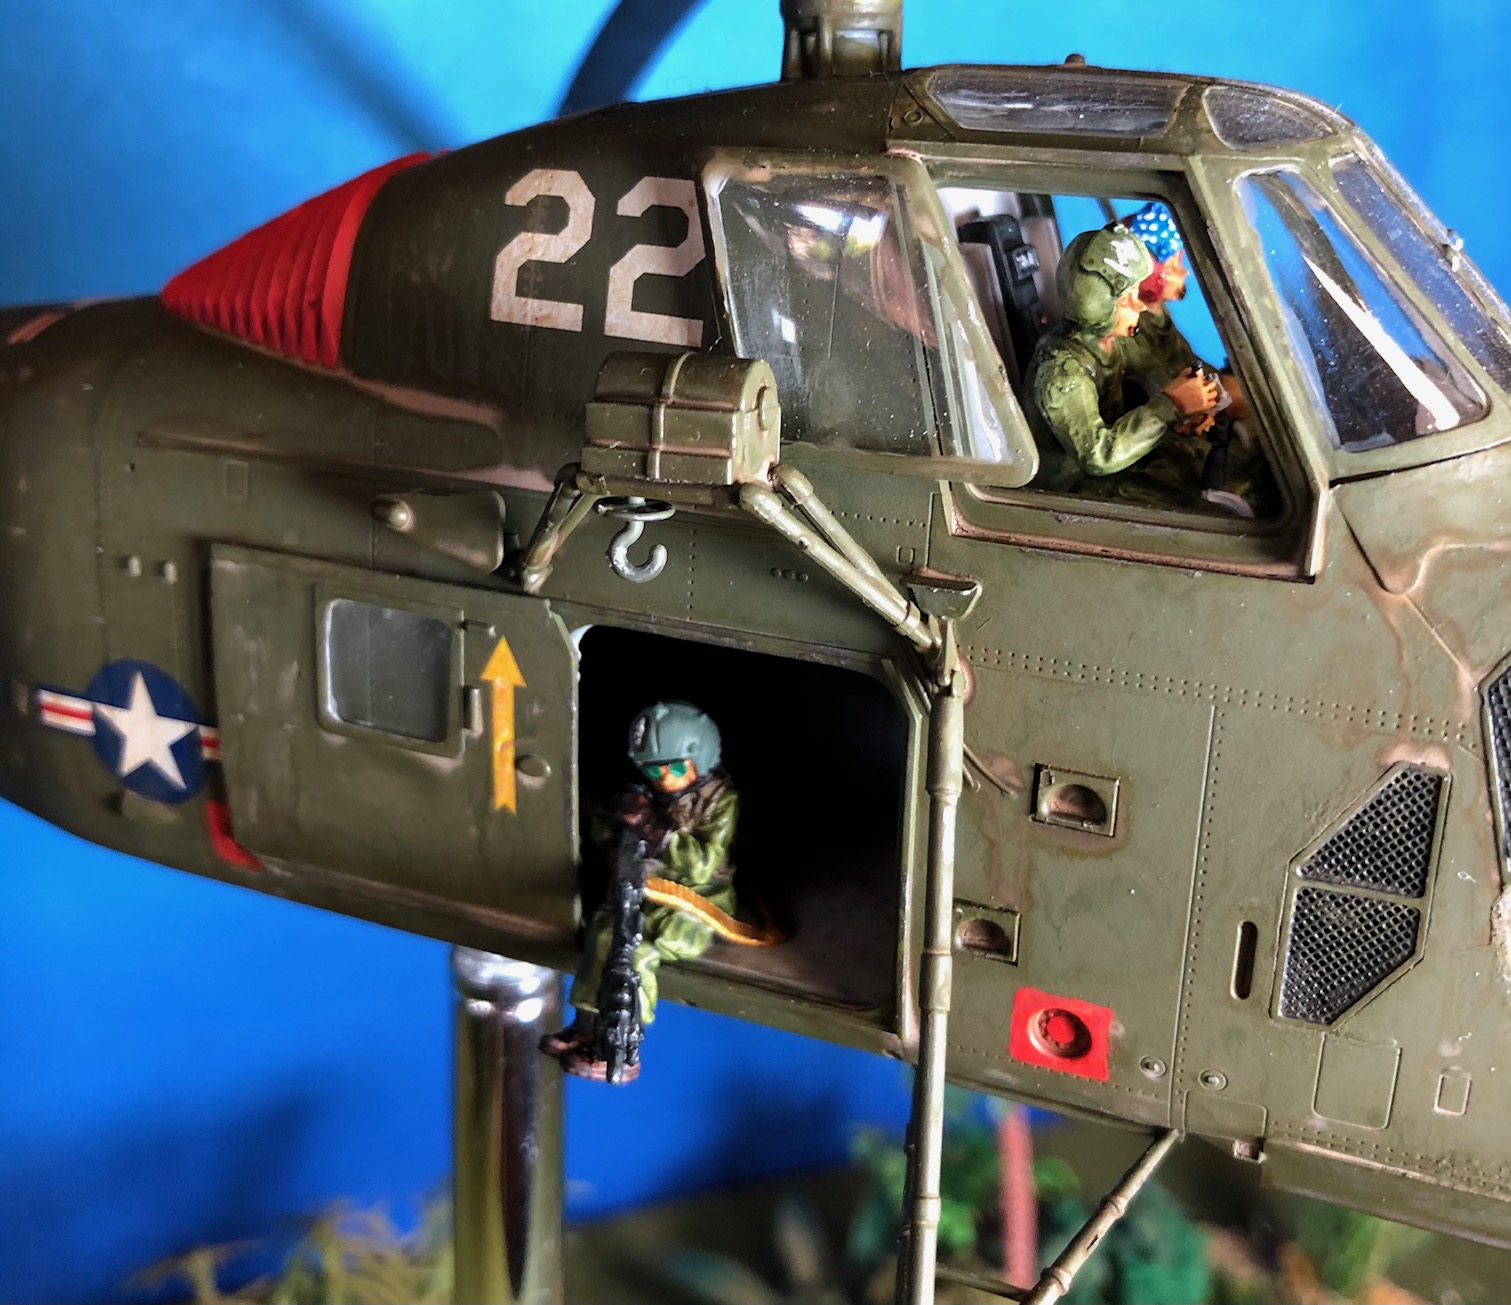
As a brake in between painting lots of ANZACs I painted a crew chief for my Sikorsky H34. You can read more about the chopper model here and here. The crew chief figure is, like the pilots, an Empress Miniature sculpted by Paul Hicks.
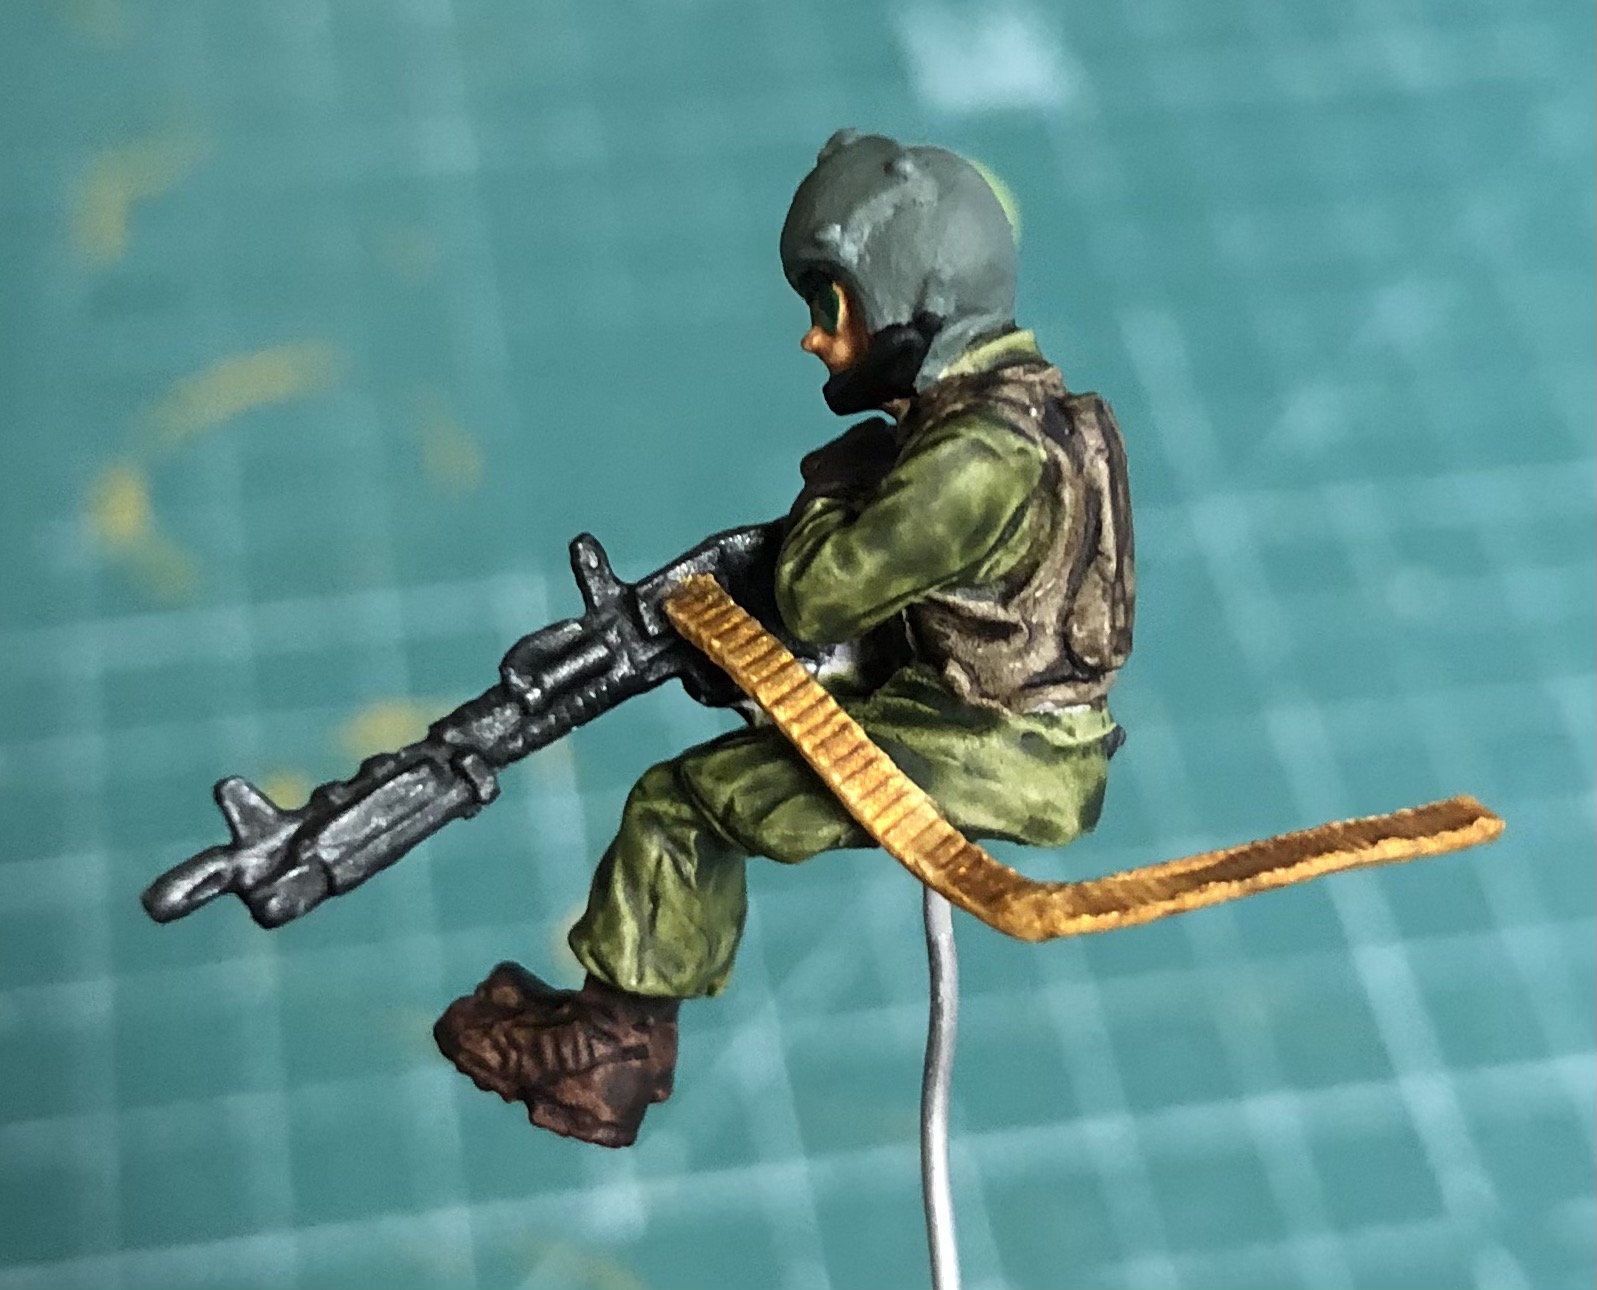
Here is the crew chief before glueing the figure into the chopper:
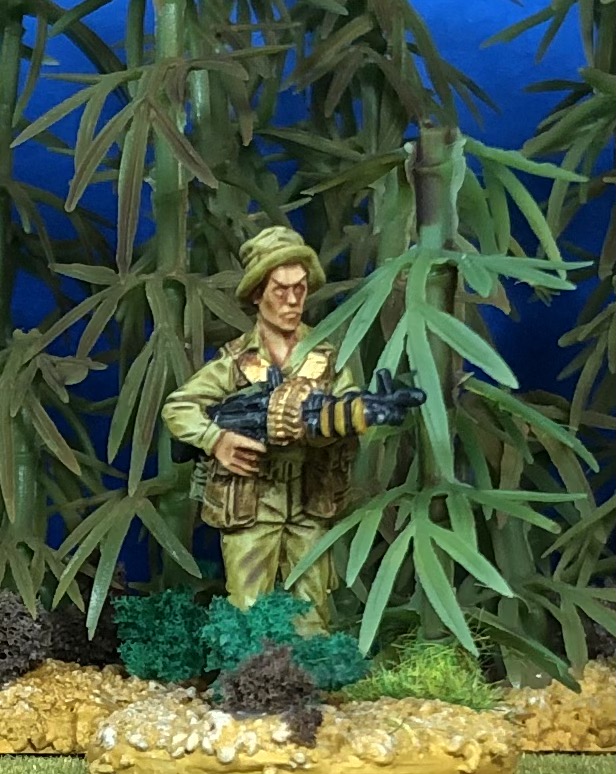
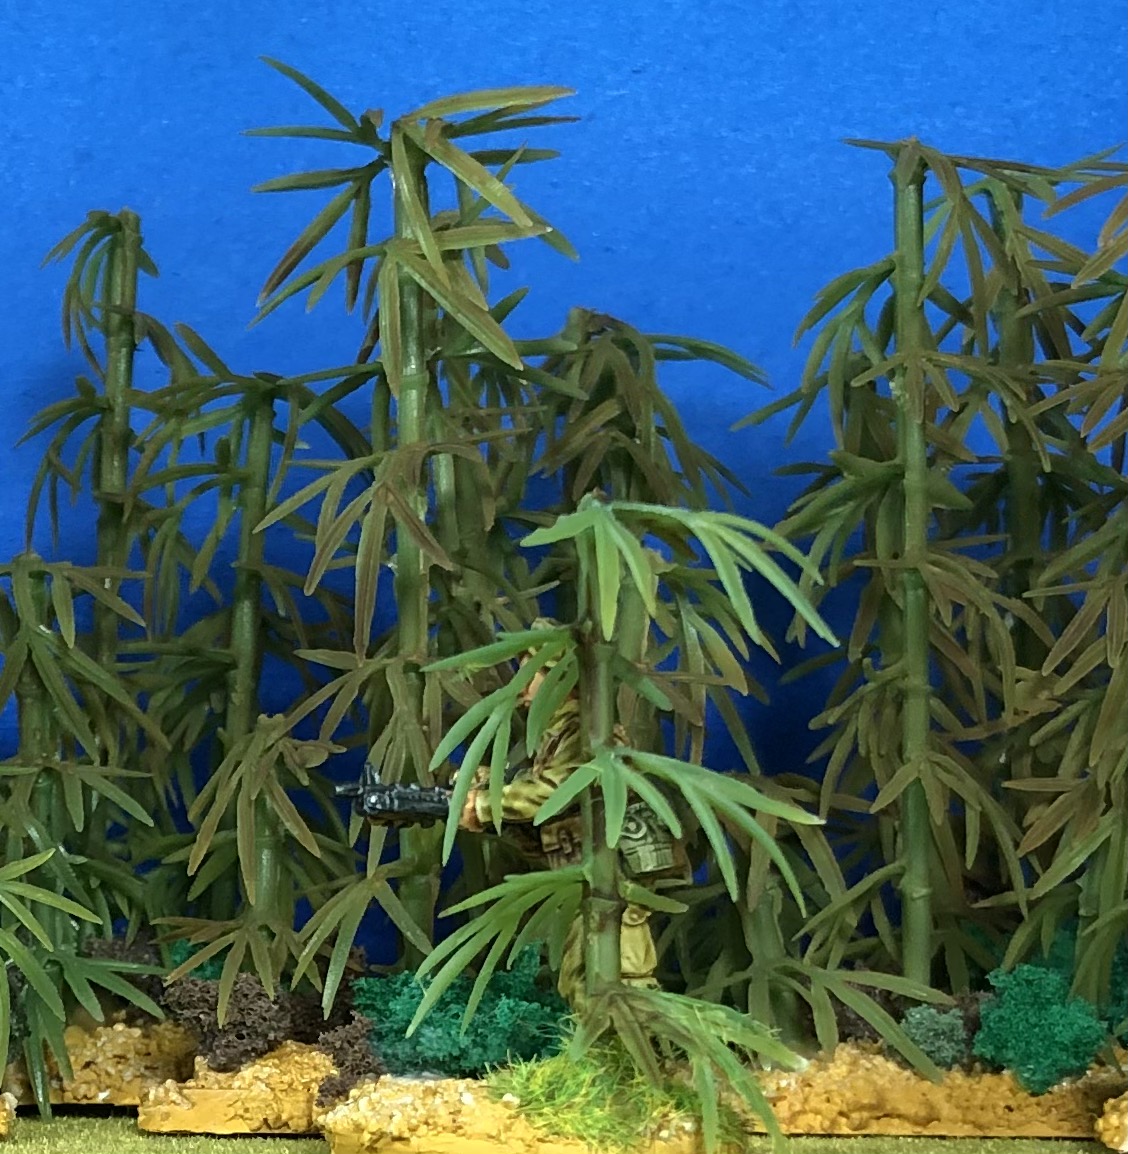
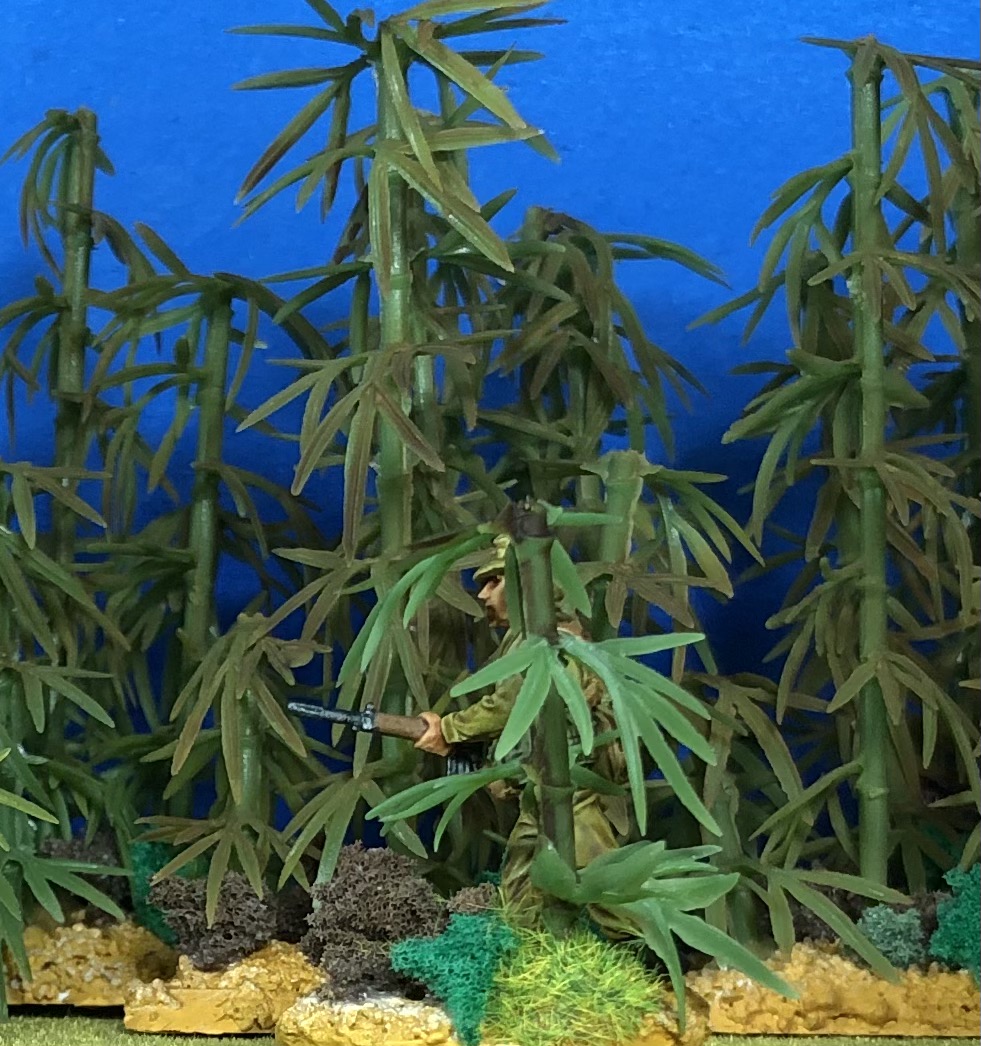
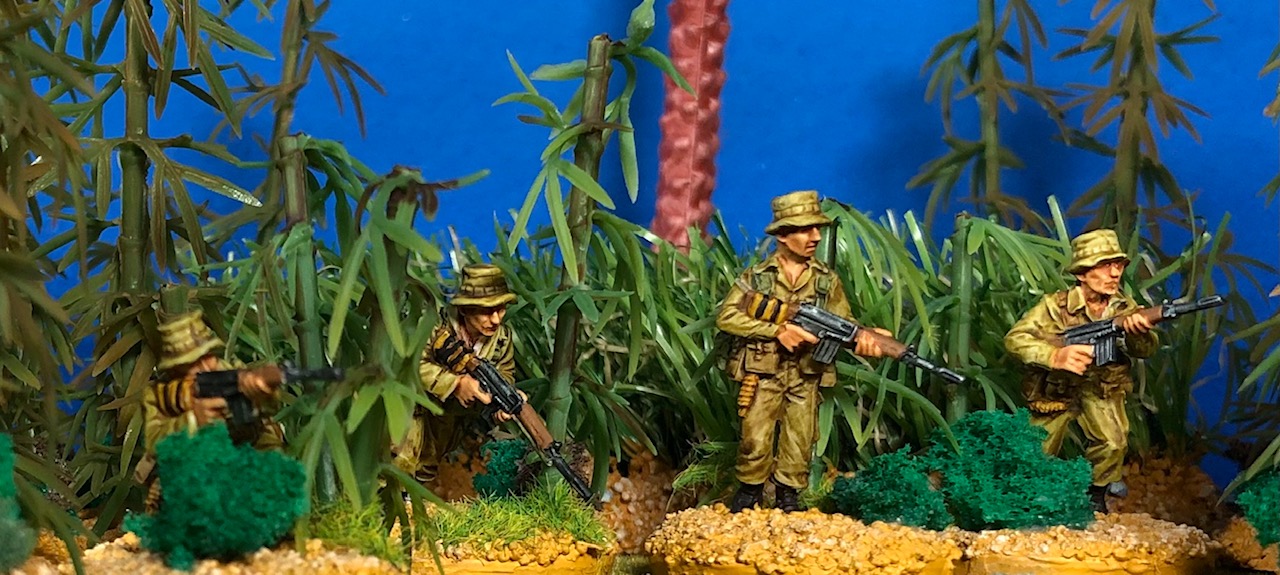
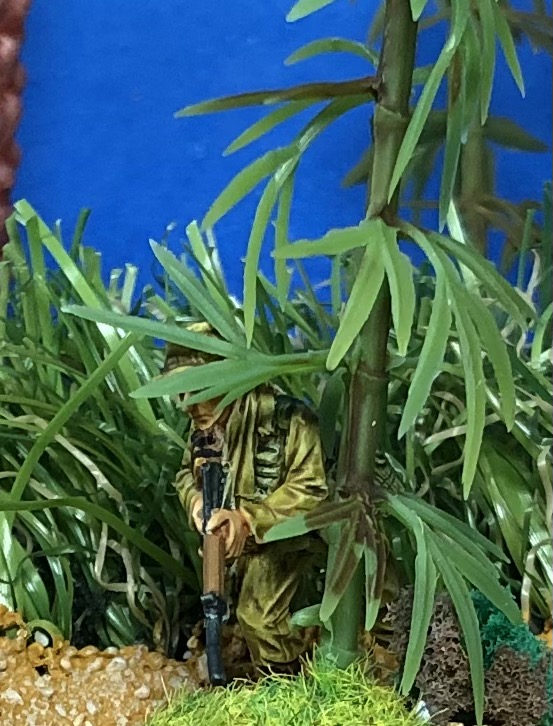
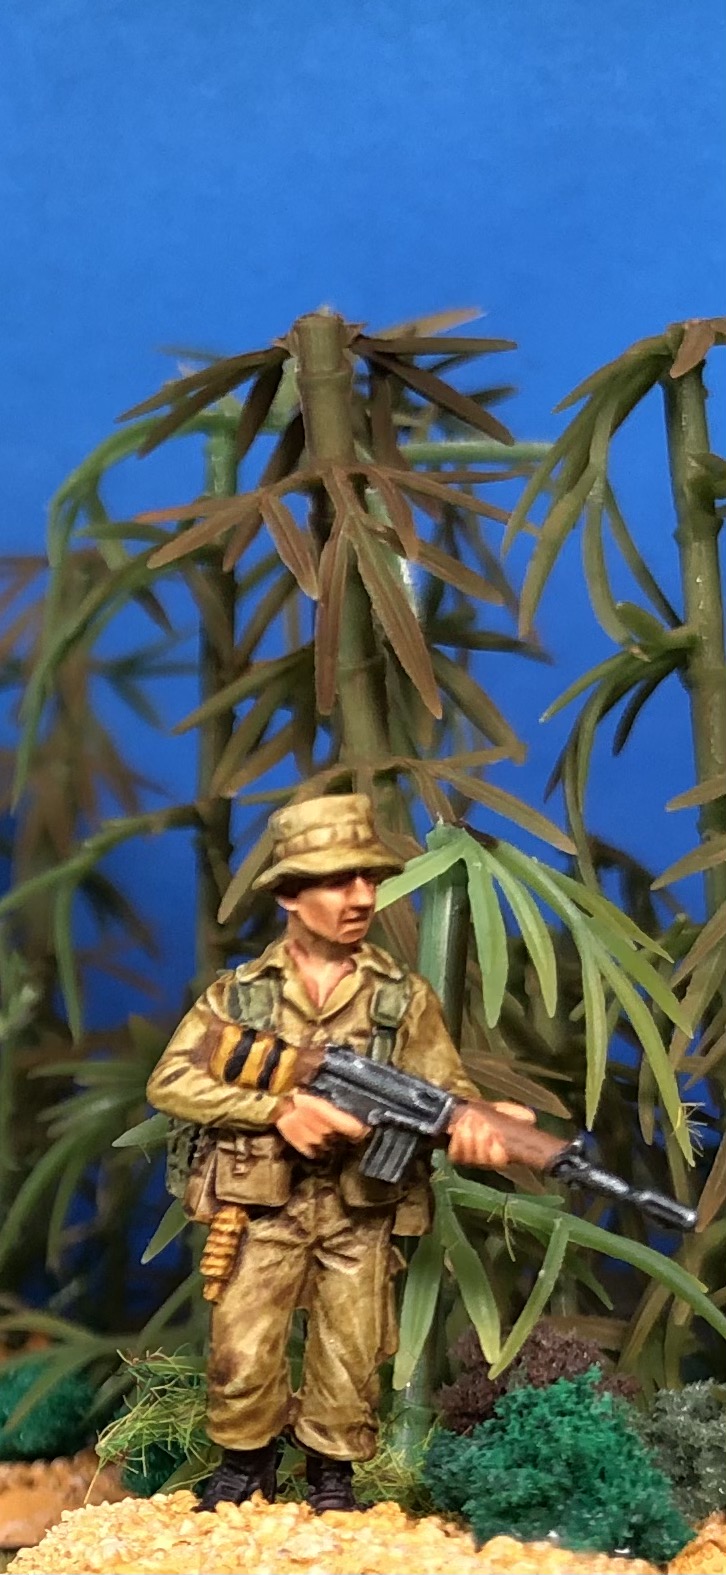
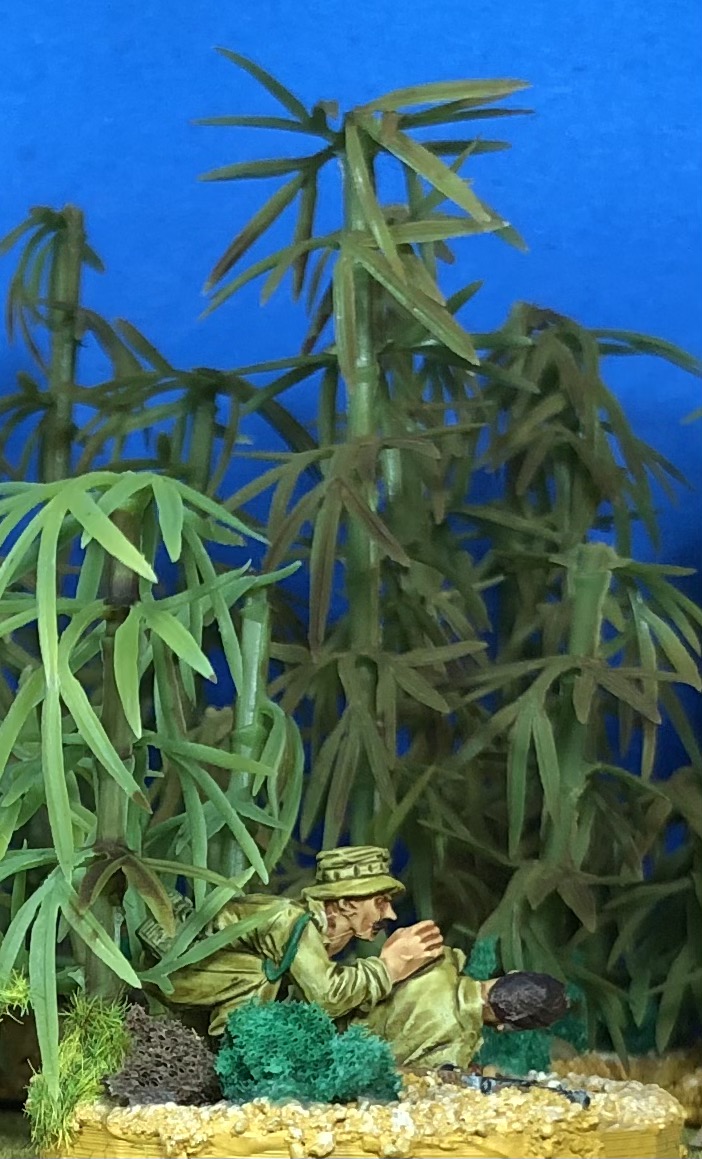
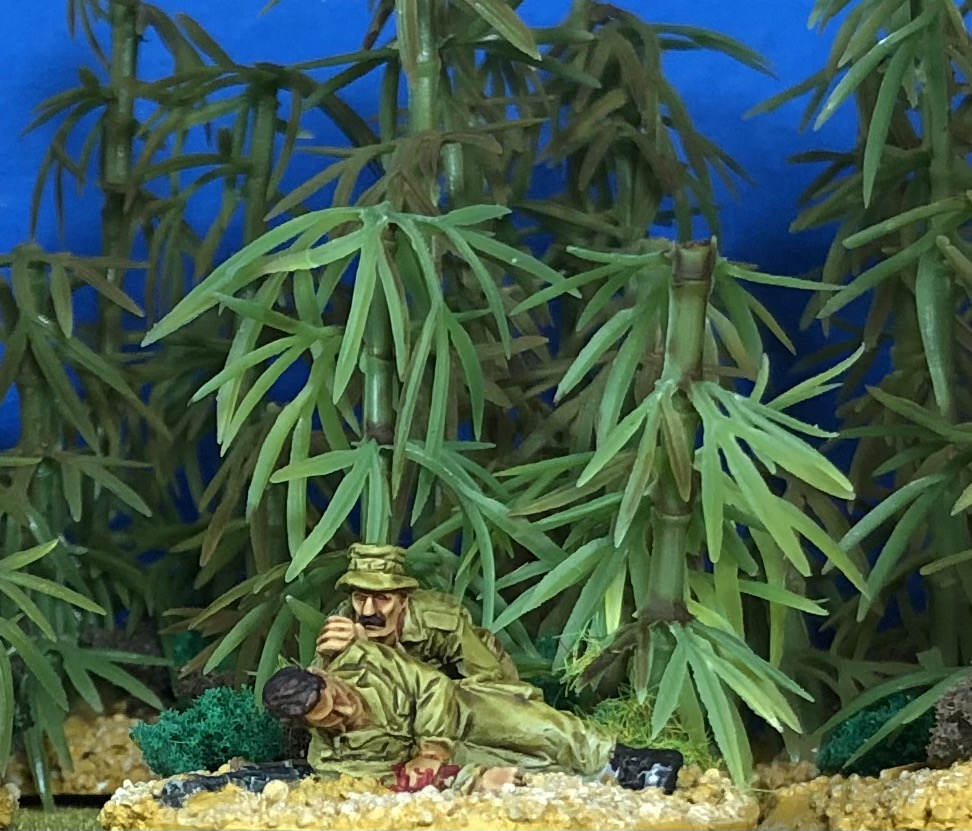
Here is the start of my second rifle group for my ANZAC project. Again an Empress Miniatures figure sculpted by Paul Hicks. Many of you asked about the color palette I use on these. So here it is.
Page from my scrapbook
So above you see how I remember the paints I use. In this case you see a printout of a Flames of war painting advice published for there 15mm figures. I don’t use their color palette but it is easier to write up mine. I don’t do that always like this. So the palette I use. All colors are GW contrast colors. For the uniform it is a mixture of 1 part Skeleton Horde and 3 parts Plagbearer flesh, no contrast medium added. I paint two layers of this. For the skin use Gulliman flesh thinned 50/50 with contrast medium one layer only. For the webbing I use two different colors to get a bit variety into my figures. First is Militarium green without contrast medium added. Second is Agaros Dunes also without adding contrast medium.For the boots I use Cygor Brown. For the rope and the first aid kits I use Nazdreg Yellow. The gun, grenades hair etc I don’t use contrast colors . Instead I use the traditional layering technique with Vallejo paints. For the grenades e.g. I use German Uniform . I hope that helps a bit.
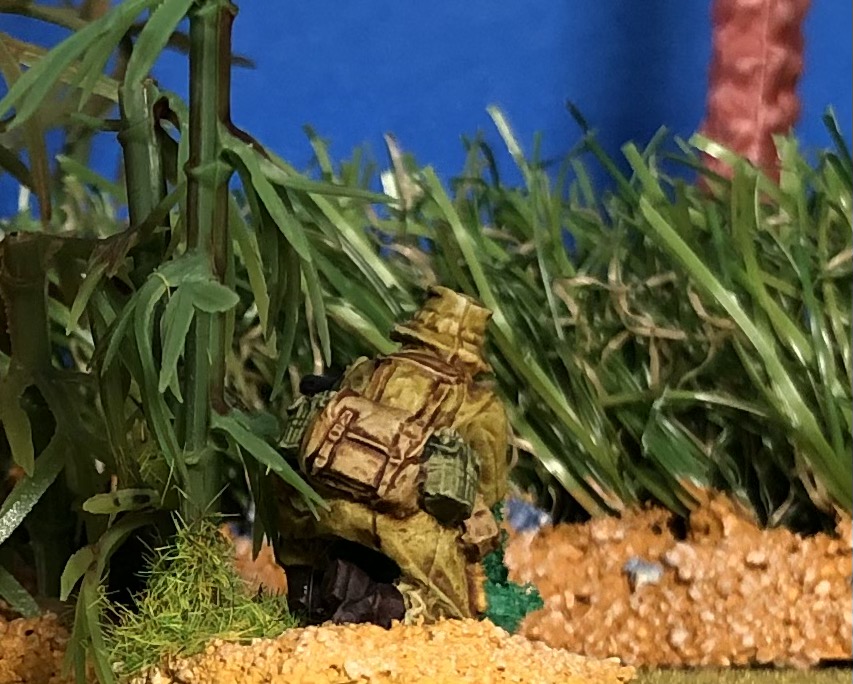
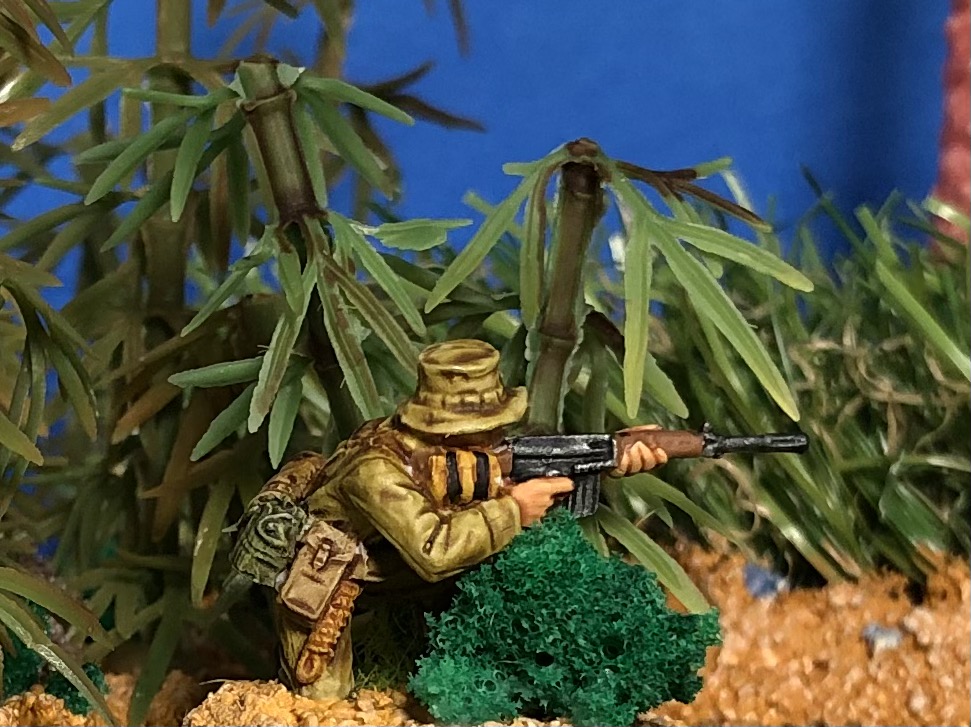
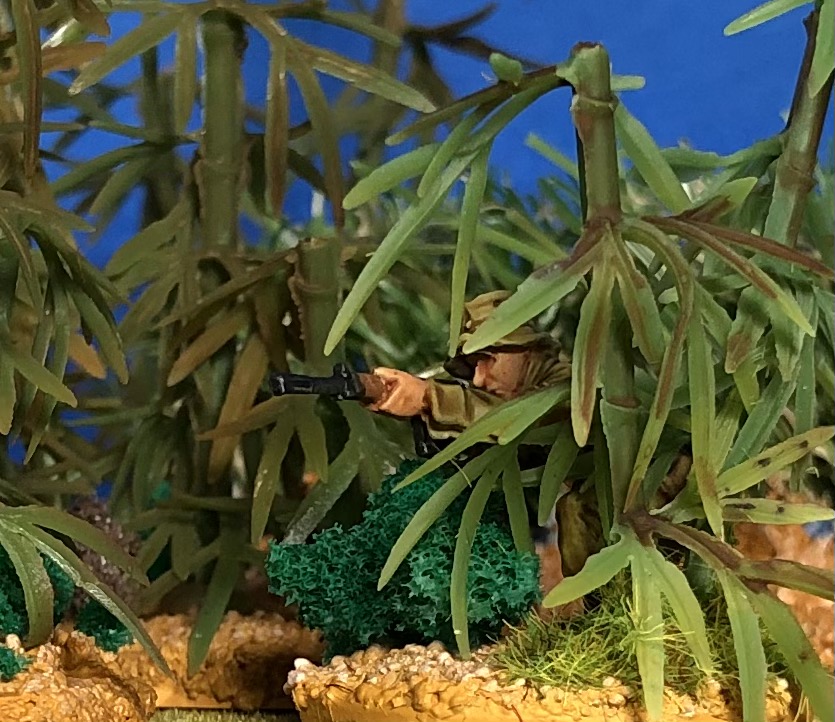
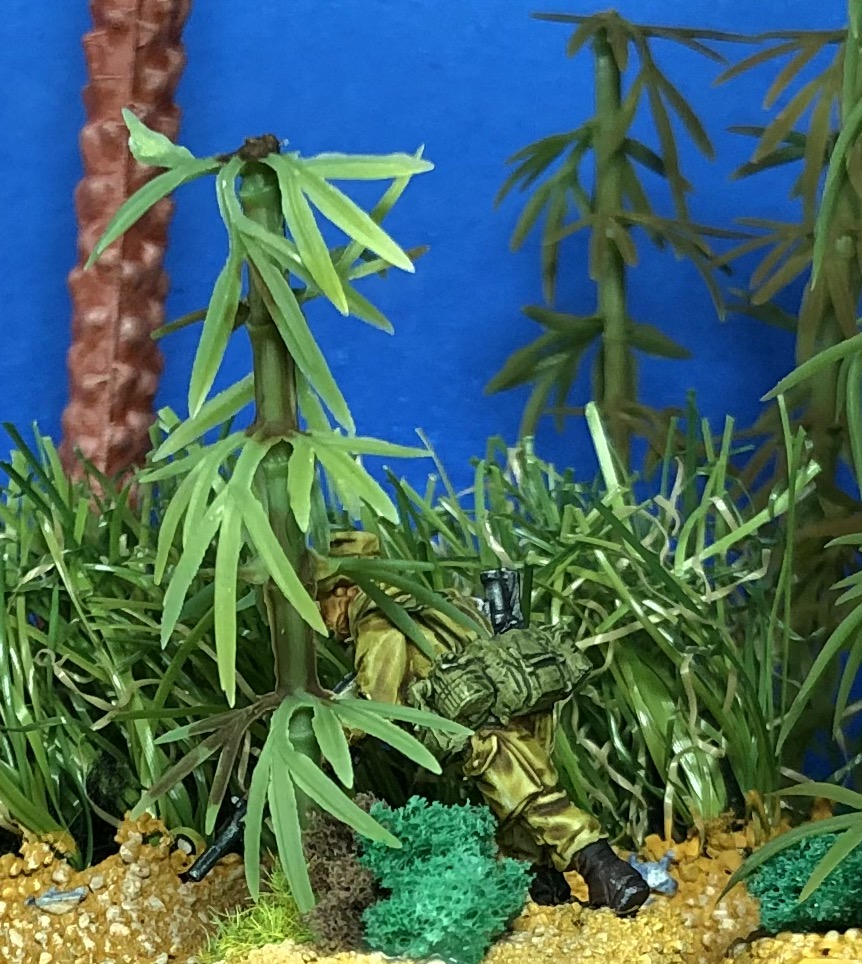
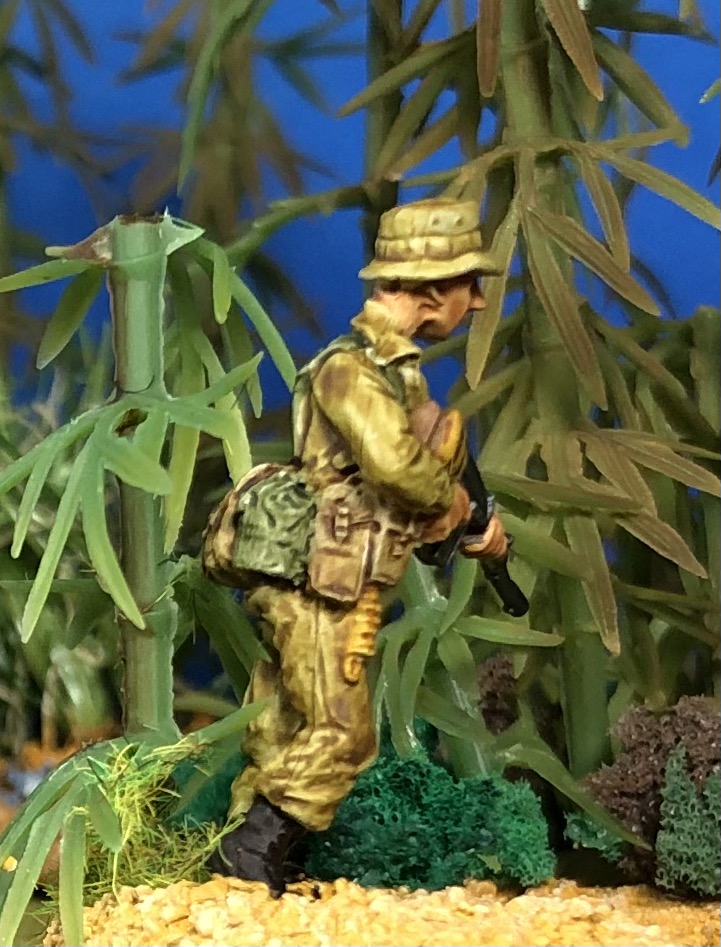
Here are some more pictures of the figure I finished yesterday:
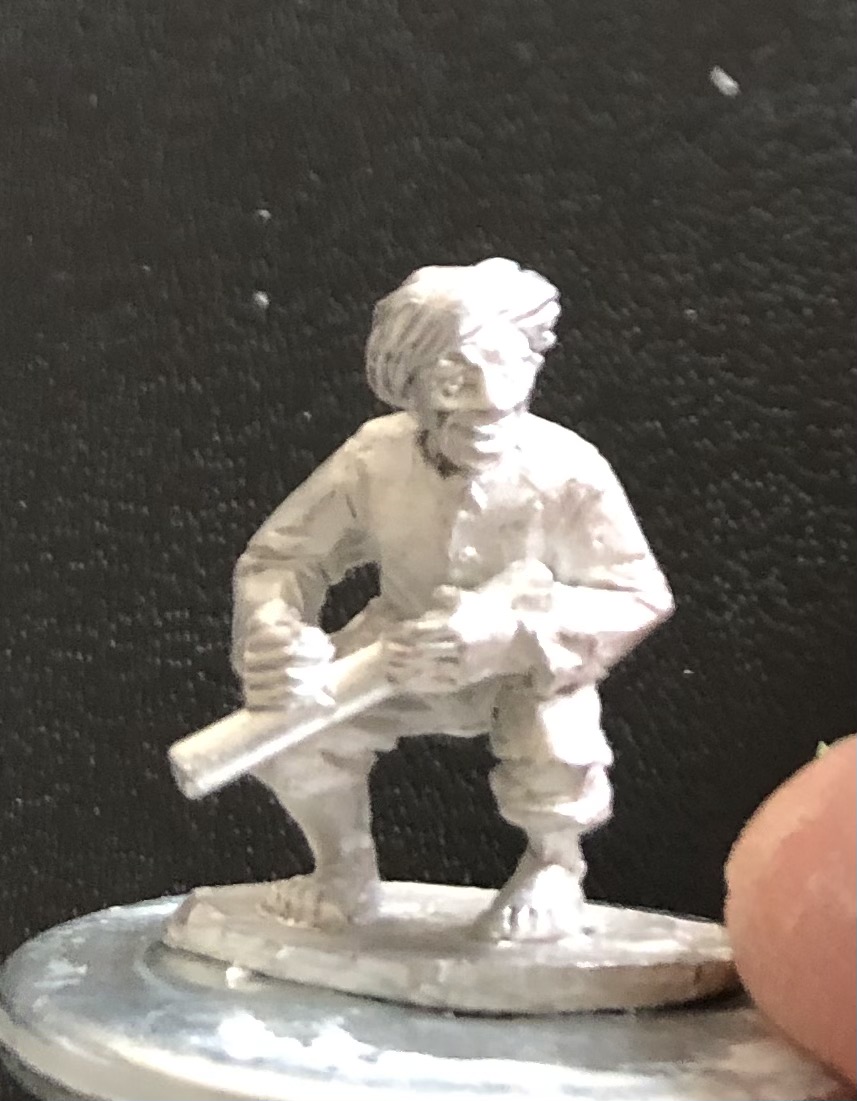
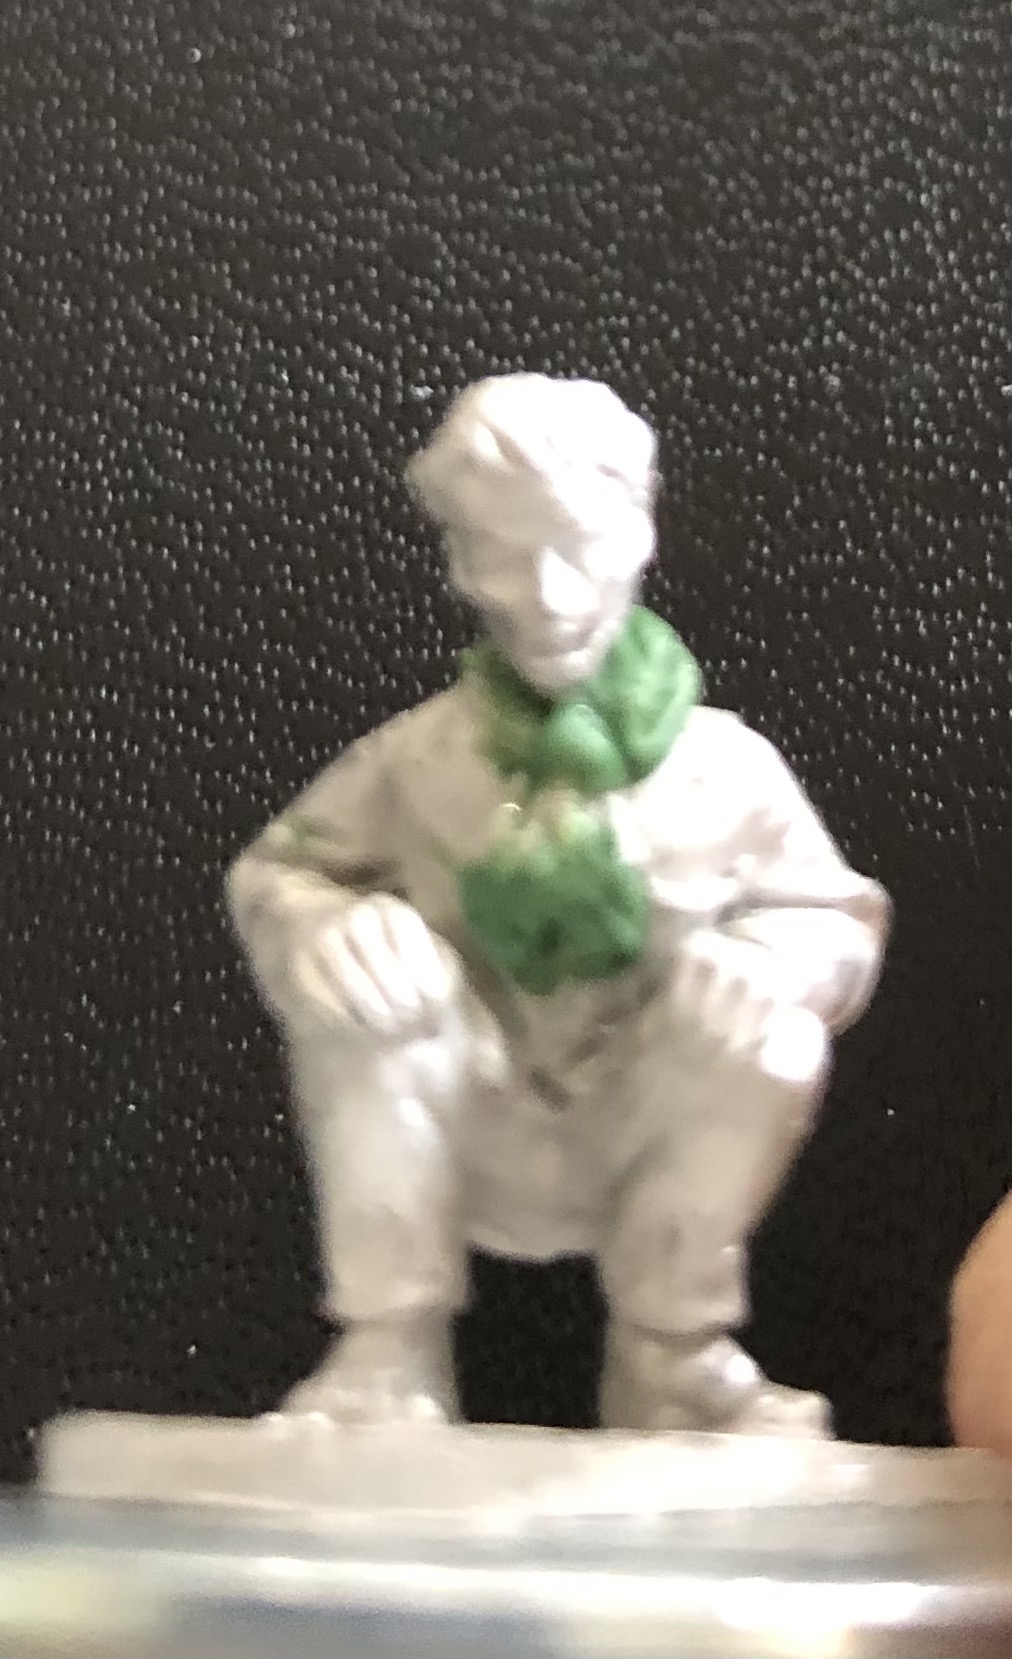
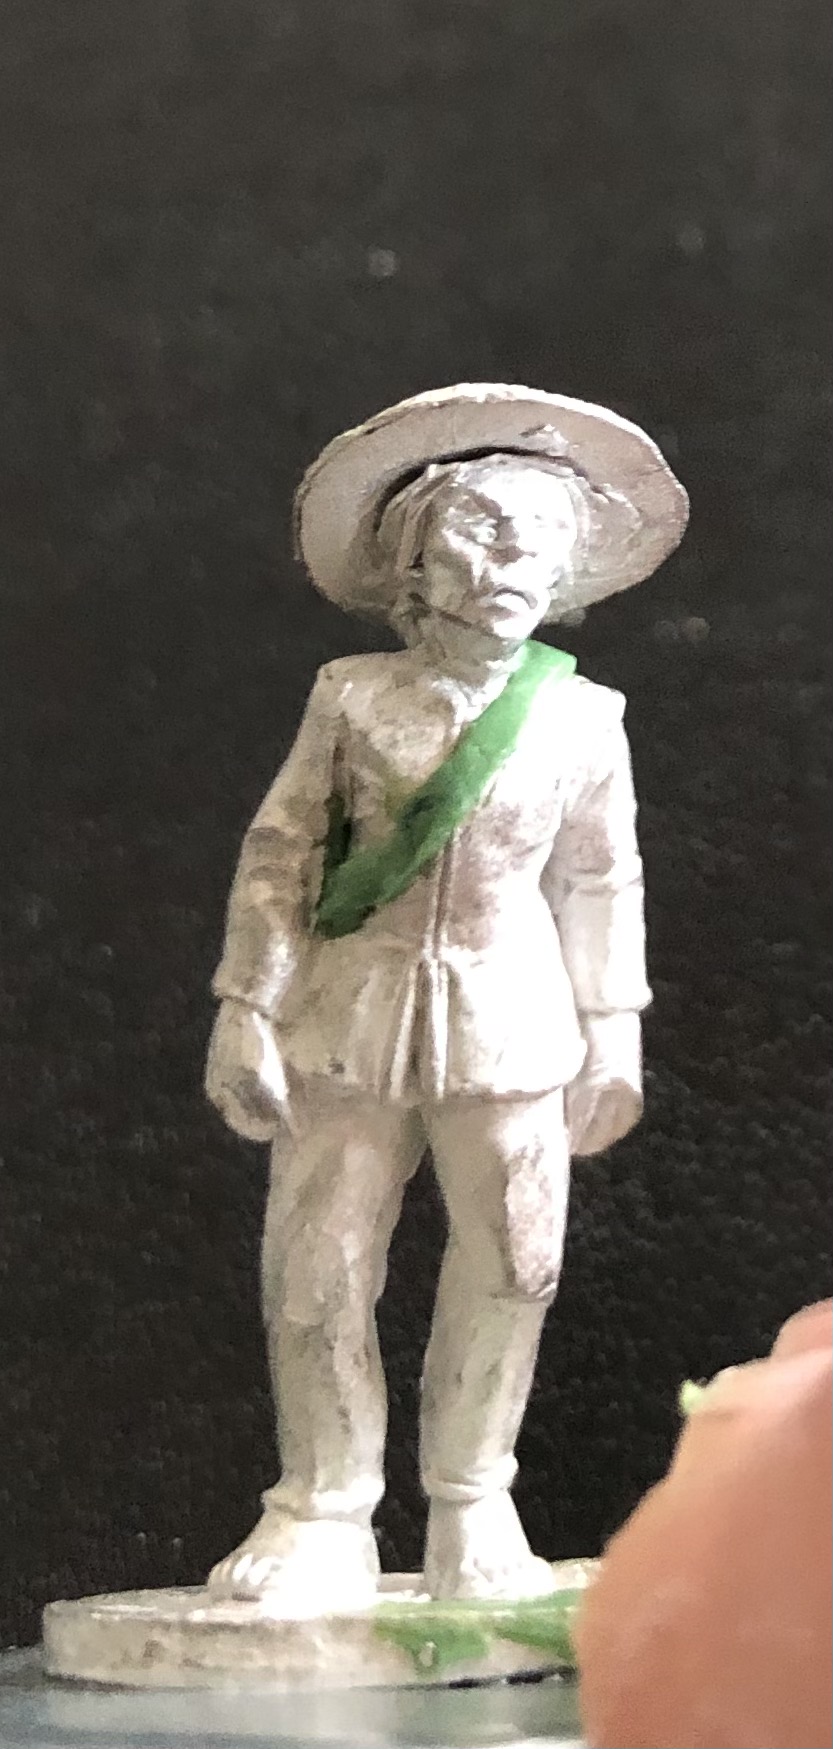
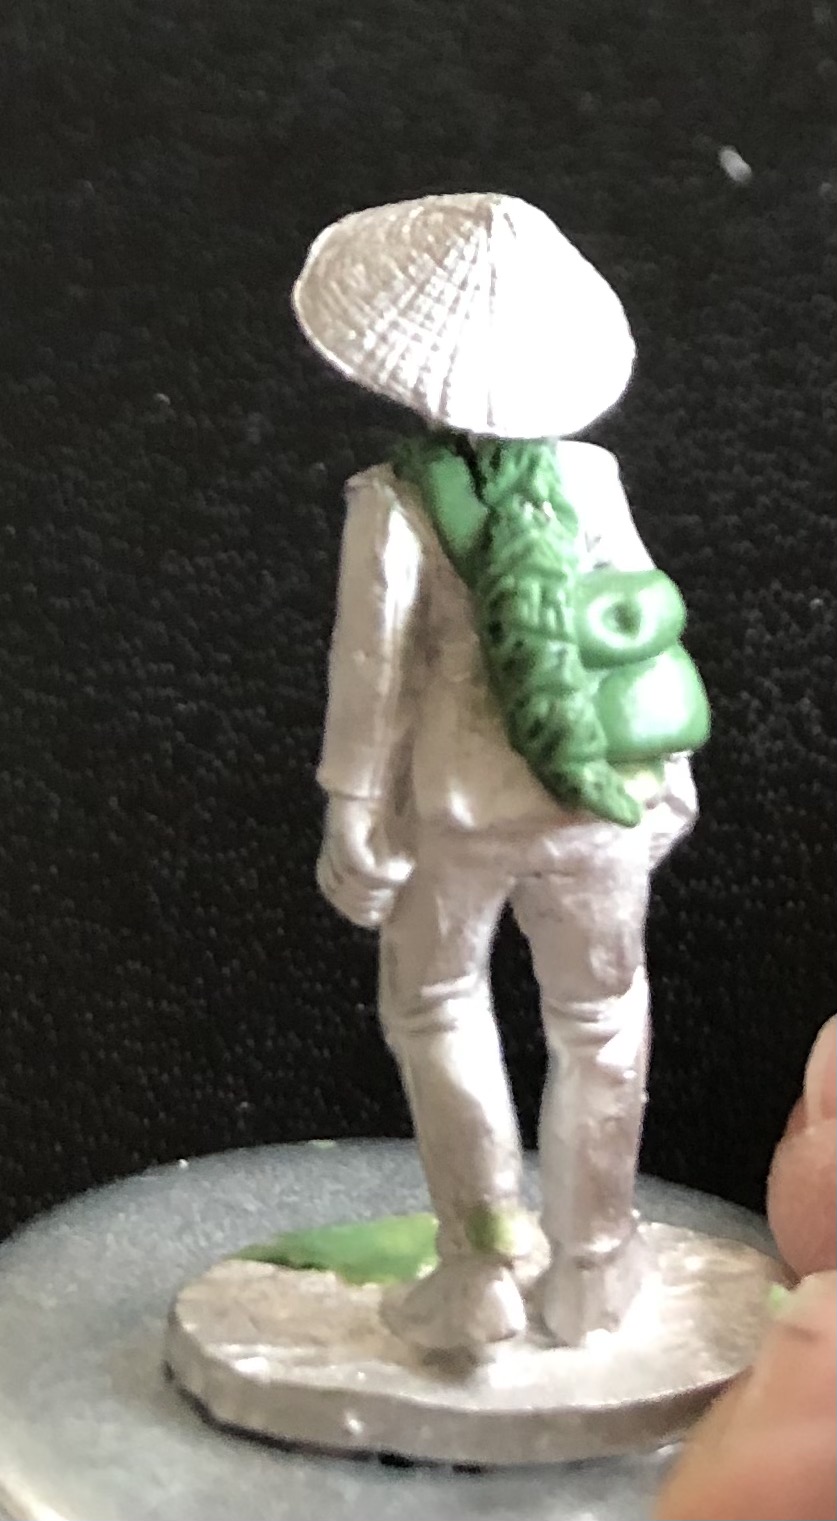
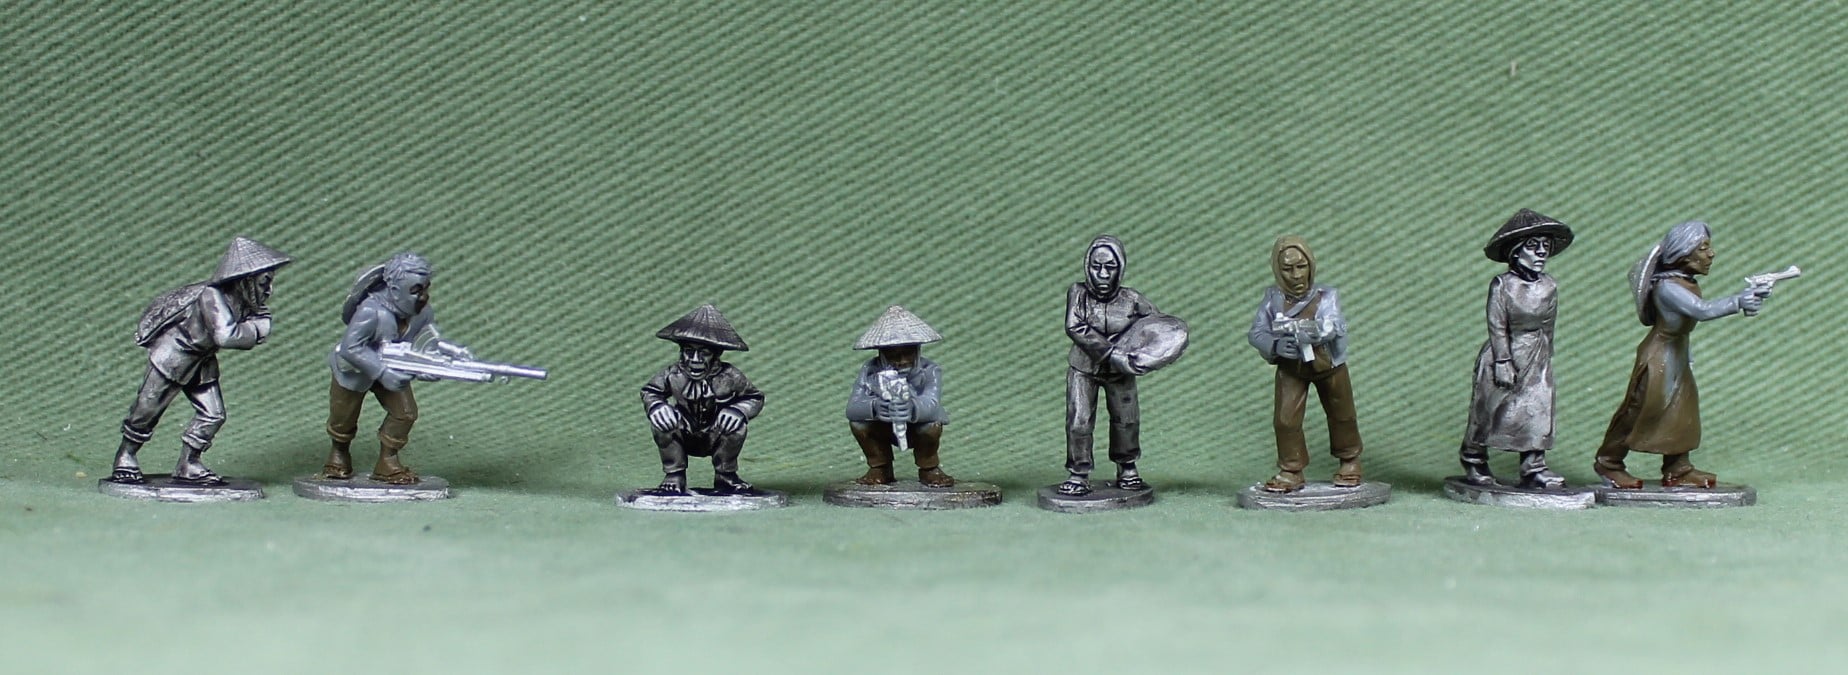
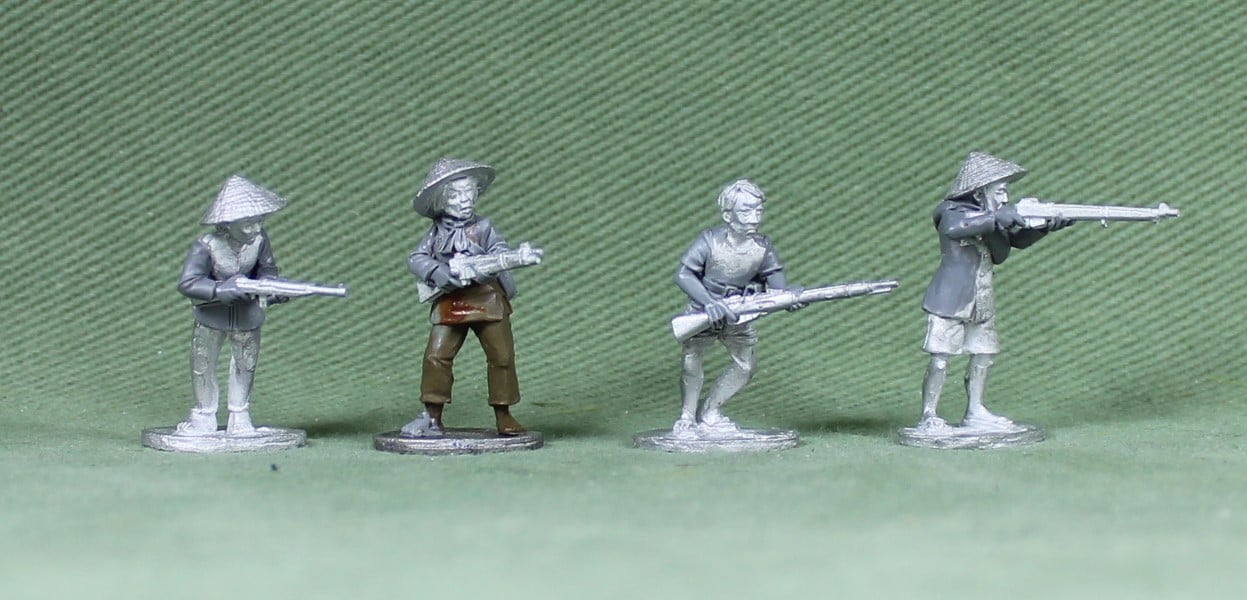
Last week I got the new Vietnamese civilians from Empress sculpted by Paul Hicks. Very nice figures indeed . I ordered each figure twice as I wanted to change one each by swiping heads or adding some green stuff to get an even wider variety of miniatures. So above is a female civilian, the left figure is the original the middle and right pictures show what I did.
Left original right the changed figure
I will paint them up over the next coming weeks . Paul Hicks sculpted the same miniatures with weapons! So you can swop miniatures in your games and turn an innocent villager into a VC!