Full Metal Jacket

Full_Metal_Jacket_poster

Full Metal Jacket is a 1987 war film directed, co-written, and produced by Stanley Kubrick and starring Matthew Modine, R. Lee Ermey, Vincent D’Onofrio and Adam Baldwin. The screenplay by Kubrick, Michael Herr, and Gustav Hasford was based on Hasford’s novel The Short-Timers (1979). The storyline follows a platoon of U.S. Marines through their boot camp training in Marine Corps Recruit Depot Parris Island, South Carolina, primarily focusing on two privates, Joker and Pyle, who struggle under their abusive drill instructor, Gunnery Sergeant Hartman, and the experiences of two of the platoon’s Marines in Vietnamese cities of Da Nang and Huế during the Tet Offensive of the Vietnam War.[5] The film’s title refers to the full metal jacket bullet used by military servicemen. The film was released in the United States on June 26, 1987 ( Wikipedia).

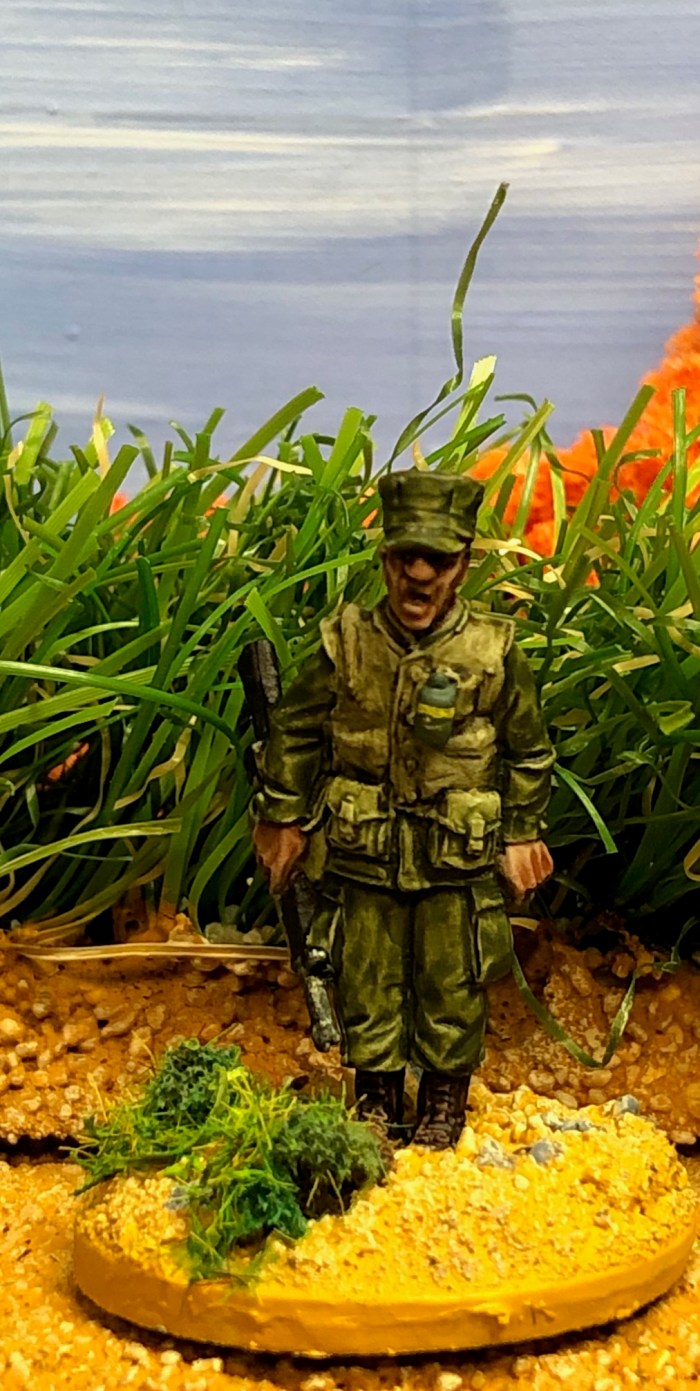
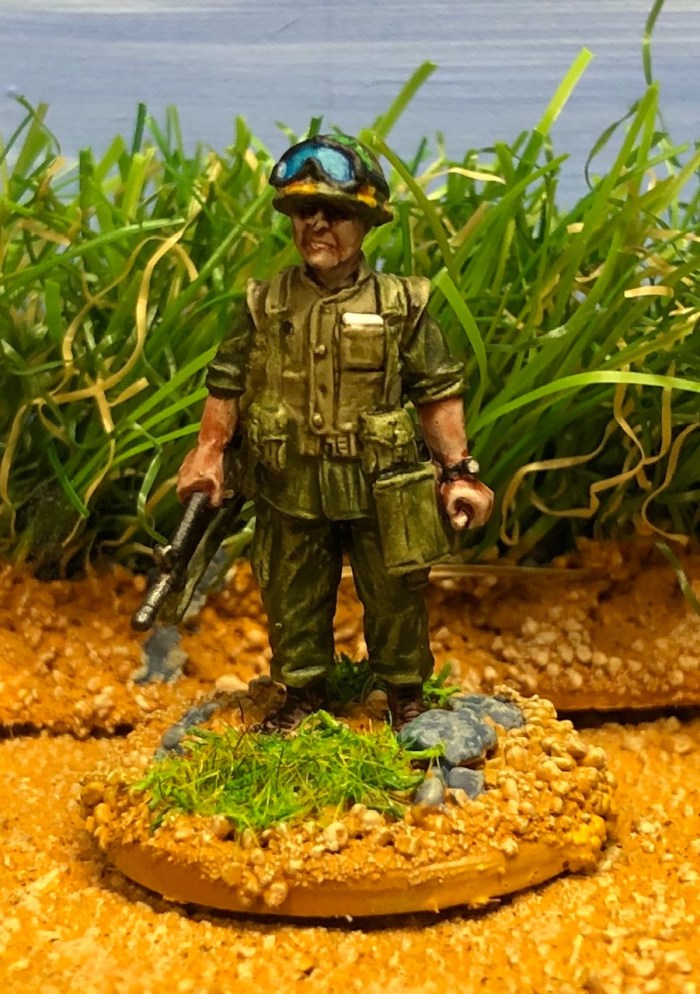
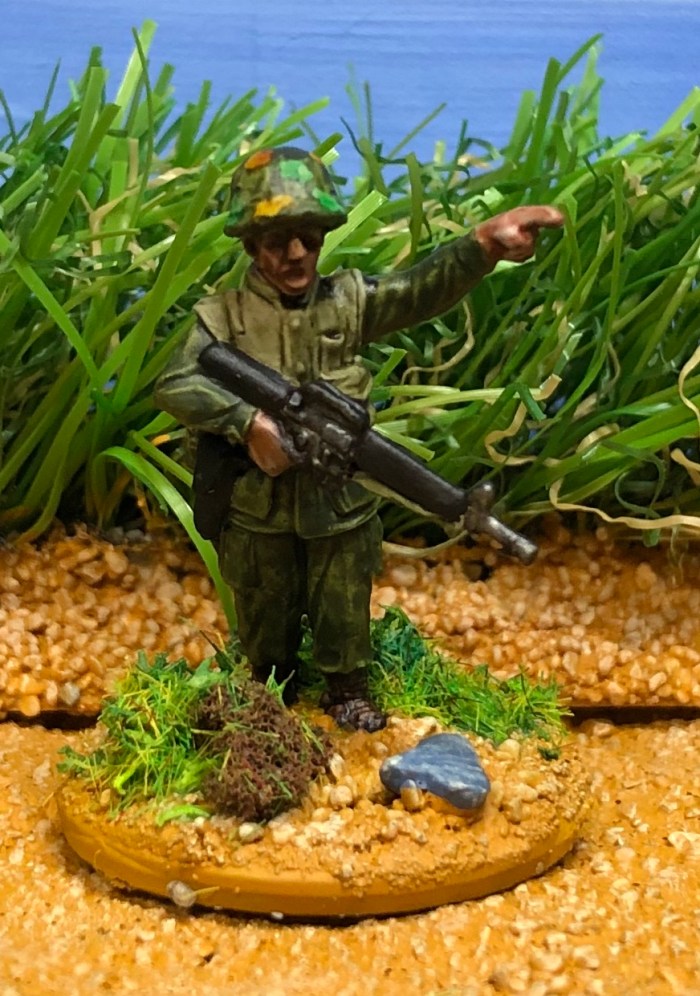
Empress Miniatures released a set of special character miniatures in their Vietnam War range based on the main characters of the movie. Sculpted by Paul Hicks. Here is the first miniature of the set I painted Gunnery Sergeant Hartman:

IMG_5903

IMG_5902

Lt Col. Ernest C. Cheatham ,”Ernie”


IMG_5530

Lt Col. Ernest C. Cheatham (July 27, 1929 – June 14, 2014) who served as the CO of the 2nd Battalion 5th Marine regiment during the battle for Hue in Vietnam. Was a veteran of the Korean War and the Vietnam War, a recipient of the Navy Cross, and American football defensive tackle who played for the Baltimore Colts and the Pittsburgh Steelers.

An Empress Miniature figure sculpted by Paul Hicks.


M60 gunner standing up

IMG_5542

here is the next Marine , this time a M60 gunner standing upright shooting. Would this be possible without supporting the gun on a wall etc for support?

Radio Operator and NCO

Here is the next figure or better group of figures for my US Marines in Vietnam. This is more like a little diorama as I placed two figures on one base. it is a radioman and an NCO using the radio. So they are connected by the Radio handset line and i couldn’t find a way to base them separately. At least convincingly.

First the NCO:

IMG_5661

second the Radioman:

IMG_5664

Notice the wounded hand the ripped trousers and the fag in the mouth of the radio operator . These sculpts are so full of character indeed. I loved to paint the pair.

IMG_5662

Another Prick 25 radio man

IMG_5544

Here is another radio operator . This time i put some more foliage on the base to differentiate the figures a bit more.

Gunny Sergeant Frank Thomas

IMG_5656

This US Marine figure is Gunny Sergeant Frank Thomas who carried the Stars and Stripes in Hue and is seen getting it from inside his flak jacket. I painted the figure a bit different. The flag he is getting out of his flack jacket is painted to represent a map so the figure could be used in different settings ,too.

M60 gunner

IMG_5554

As it is beginning to get boring only to paint NVA, I still have a lot to do, I sprinkle in the occasional US Marine. So today a Marine with a “pig” (M60).


Who is calling in the Arty?

IMG_5648

of course a Prick 25 operator. This is a Empress miniatures US Marine figure sculpted by Paul Hicks. He is carrying a PRC 25, aVHF transceiver, on his back. I made the antenna out of a plastic broom “hair” as I am clumsy and fear to brake the included metal one when gaming.

IMG_5650

Here you see the PRC 25 with5 smoke grenades fixed to it. you can see that the metal frame , the PRC is affixed to goes down to the hip. Beneath the PRC is a role up rain poncho .

As always a treat to paint him.

How to paint a US Marine with Contrast colors

Today I will show you how I paint my US Marines with, mainly, GW Contrast colors. As I have to stay at home this week , because of Corona, I had the time to take a picture after each step.

Step 1:

A base coat of Sky grey.

Step2:

Paint the trousers, shirt helmet cover and all bags water bottles etc Militarium green. This was thinned like all the contrast colors 50/50 with contrast medium. The trousers and shirt and helmet cover got to layers the rest only on. As you can see that gives a subtle different shade.

Step 3:

To paint the flack jacket I use a mixture of 5 drops Sepia shade + 1 drop of Creed camo.

Step 4:

Re base coat everything not jet painted and base coat the camo spots on the helmet cover in Sky Grey.

Step 5:

Paint the boots in Cigar brown.

Step 6:

Paint ca 50% of the camo spots on the Helmet cover with Nazdreg yellow, this time without thinning.

Step 7:

Paint the rest of the spots in Warp lightning again without thinning.

Step 8:

Paint the metal parts of the M16 in Silver.

Step 9:

Paint the plastic parts of the gun in Black.

Step 9:

Here I used paints from the Instar Alpha range . They can be used like the Contrast paints by GW but they are cheaper and give the same effect! Thinned down with their medium , called Water+, 50/50. Paint over the metal parts of the gun.

Step 10:

I painted the base in the color I use for my terrain building.

Step 11:

Paint the stones in grey.

Step 12:

Drybrush the base with Sand.

Now the figure gets a coat of matt varnish , I do this with my airbrush. Afterwards flocking and voila you get this:

IMG_5516

I hope you liked my run trough my painting technique !

Bird down

IMG_4111

As you know, if you follow my blog closely, I build some 3D printed Hueys for my Vietnam wargames. If you haven’t seen them have a look here. As my son dropped one of the models I thought about doing a crashed one.

This is how i found the model:

IMG_4266

Then over on the Lead Adventure Forum the build something 2020 competition started. Theme was something destroyed . So I entered this build. As I dropped out now I can show you the build here , too.

I started with the chopper you see above broken of course.

I build three bases to be able to use them in my games. I added some bulletholes in the windscreen and the engine. After all there must be a reason why the bird crashed.

I finished the bases with sand and added scratch marks of the skids etc.

IMG_4705

I did my own decal sheet from white decal paper. This means that all the white parts of the decals stay white when transferred unto the model instead of the clear decal sheets were the white parts stay clear.

Here are the pictures from the competition:

And some pictures together with other parts of my collection:

IMG_4919