A Leman Russ battle tank by my son Fynn

So this is something completely different from the last things I posted. My son is into Warhammer 40000. He came home for the easter holidays and brought a Leman Russ tank home. He wanted me to apply a coat of matt varnish to protect it. He has no airbrush so he always comes back home for this. I think it is quite nice what he did to the model.

USMC Recon squad

A few month back Empress miniatures released a 6 figure USMC Recon pack. I just started painting these. I thought it might be difficult to paint the camouflage uniform, but i think i found a way to paint it quite easily and quickly. It took me about 1 hour to finish this miniature.

IMG_7046

The Marine is armed with an M16 and a sawn of shotgun.

I painted the uniform like I do all my marines. You can see the stages here.

After that I used Vallejo sky grey again to ad the camp stripes:

IMG_7007

Then I added dark brown ( Snakebite leather ) and bright green ( Warp lightning) on the sky grey patches.

IMG_7008

The rest was done as in above mentioned link described. Now just the the missing 5 figures to do.

How to paint a US Marine with Contrast colors

Today I will show you how I paint my US Marines with, mainly, GW Contrast colors. As I have to stay at home this week , because of Corona, I had the time to take a picture after each step.

Step 1:

A base coat of Sky grey.

Step2:

Paint the trousers, shirt helmet cover and all bags water bottles etc Militarium green. This was thinned like all the contrast colors 50/50 with contrast medium. The trousers and shirt and helmet cover got to layers the rest only on. As you can see that gives a subtle different shade.

Step 3:

To paint the flack jacket I use a mixture of 5 drops Sepia shade + 1 drop of Creed camo.

Step 4:

Re base coat everything not jet painted and base coat the camo spots on the helmet cover in Sky Grey.

Step 5:

Paint the boots in Cigar brown.

Step 6:

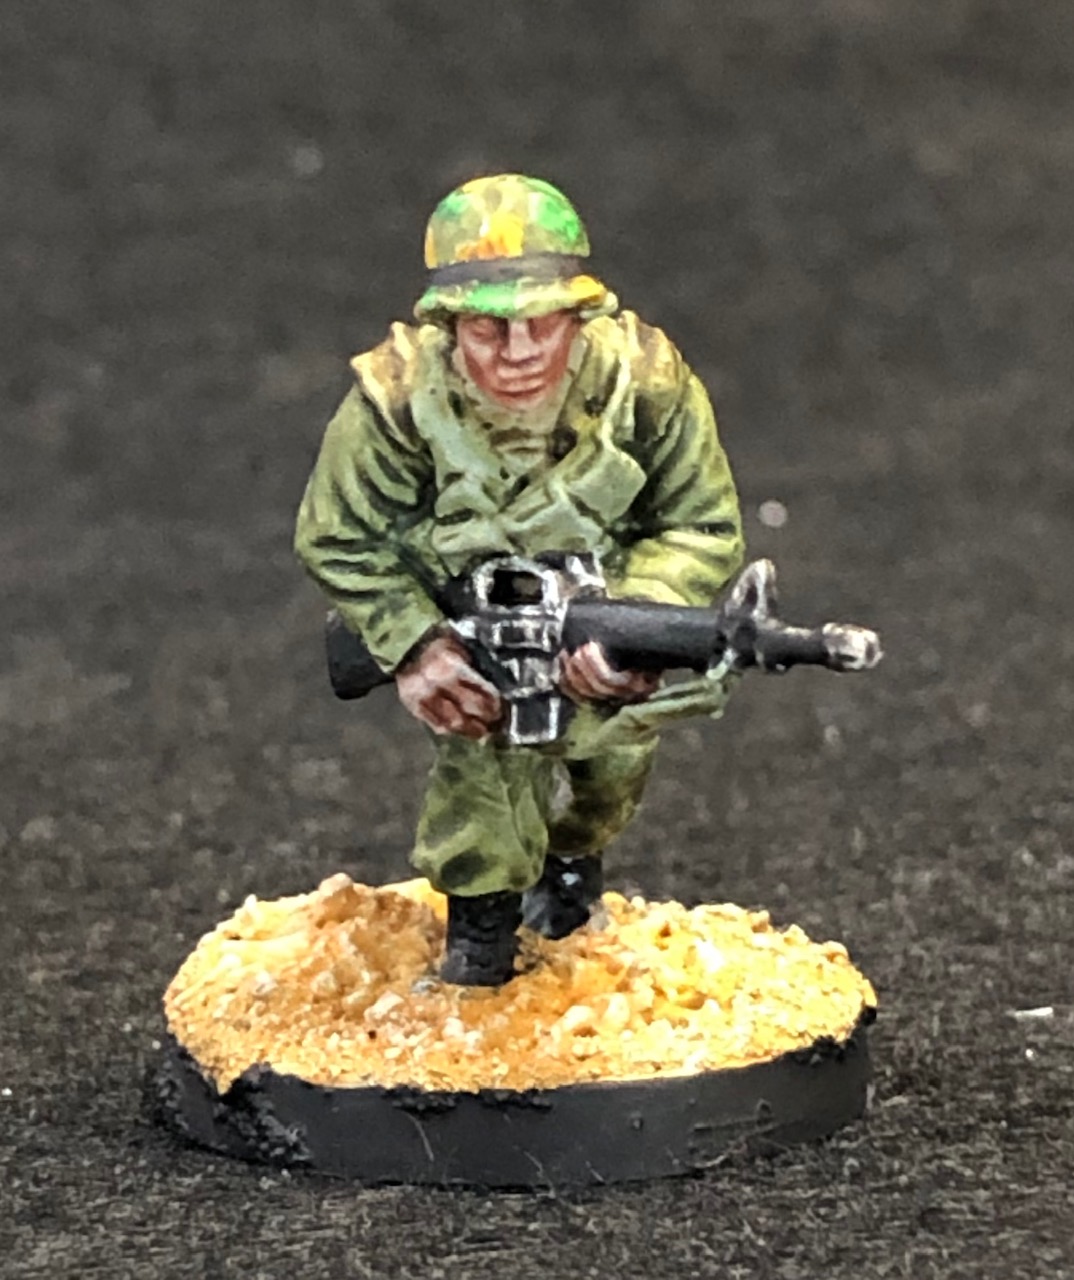
Paint ca 50% of the camo spots on the Helmet cover with Nazdreg yellow, this time without thinning.

Step 7:

Paint the rest of the spots in Warp lightning again without thinning.

Step 8:

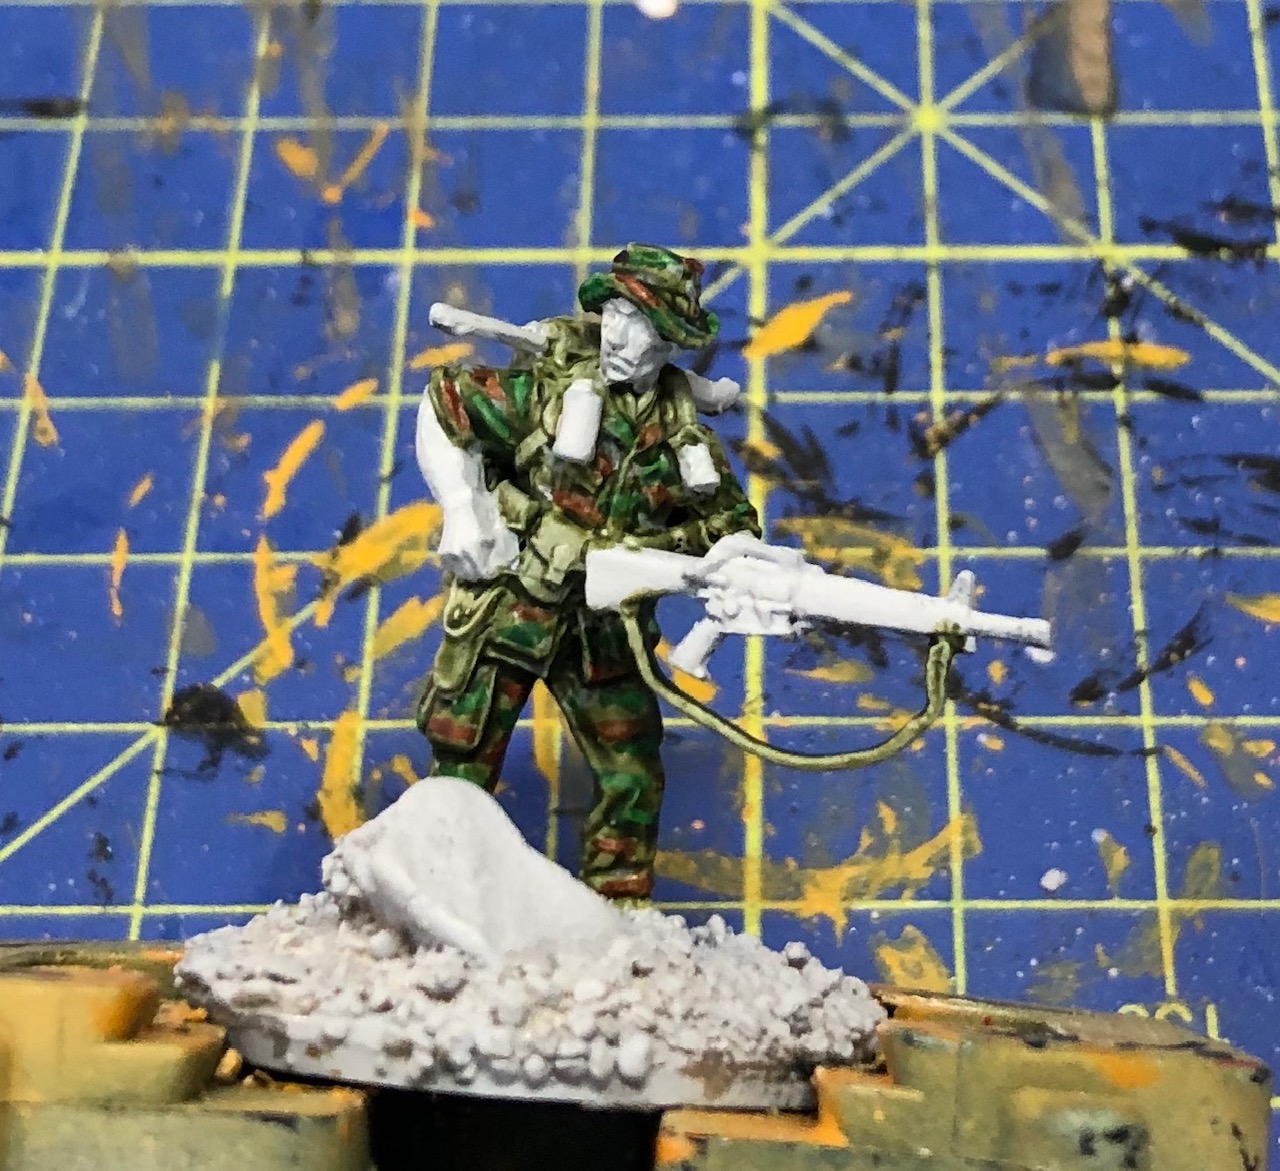
Paint the metal parts of the M16 in Silver.

Step 9:

Paint the plastic parts of the gun in Black.

Step 9:

Here I used paints from the Instar Alpha range . They can be used like the Contrast paints by GW but they are cheaper and give the same effect! Thinned down with their medium , called Water+, 50/50. Paint over the metal parts of the gun.

Step 10:

I painted the base in the color I use for my terrain building.

Step 11:

Paint the stones in grey.

Step 12:

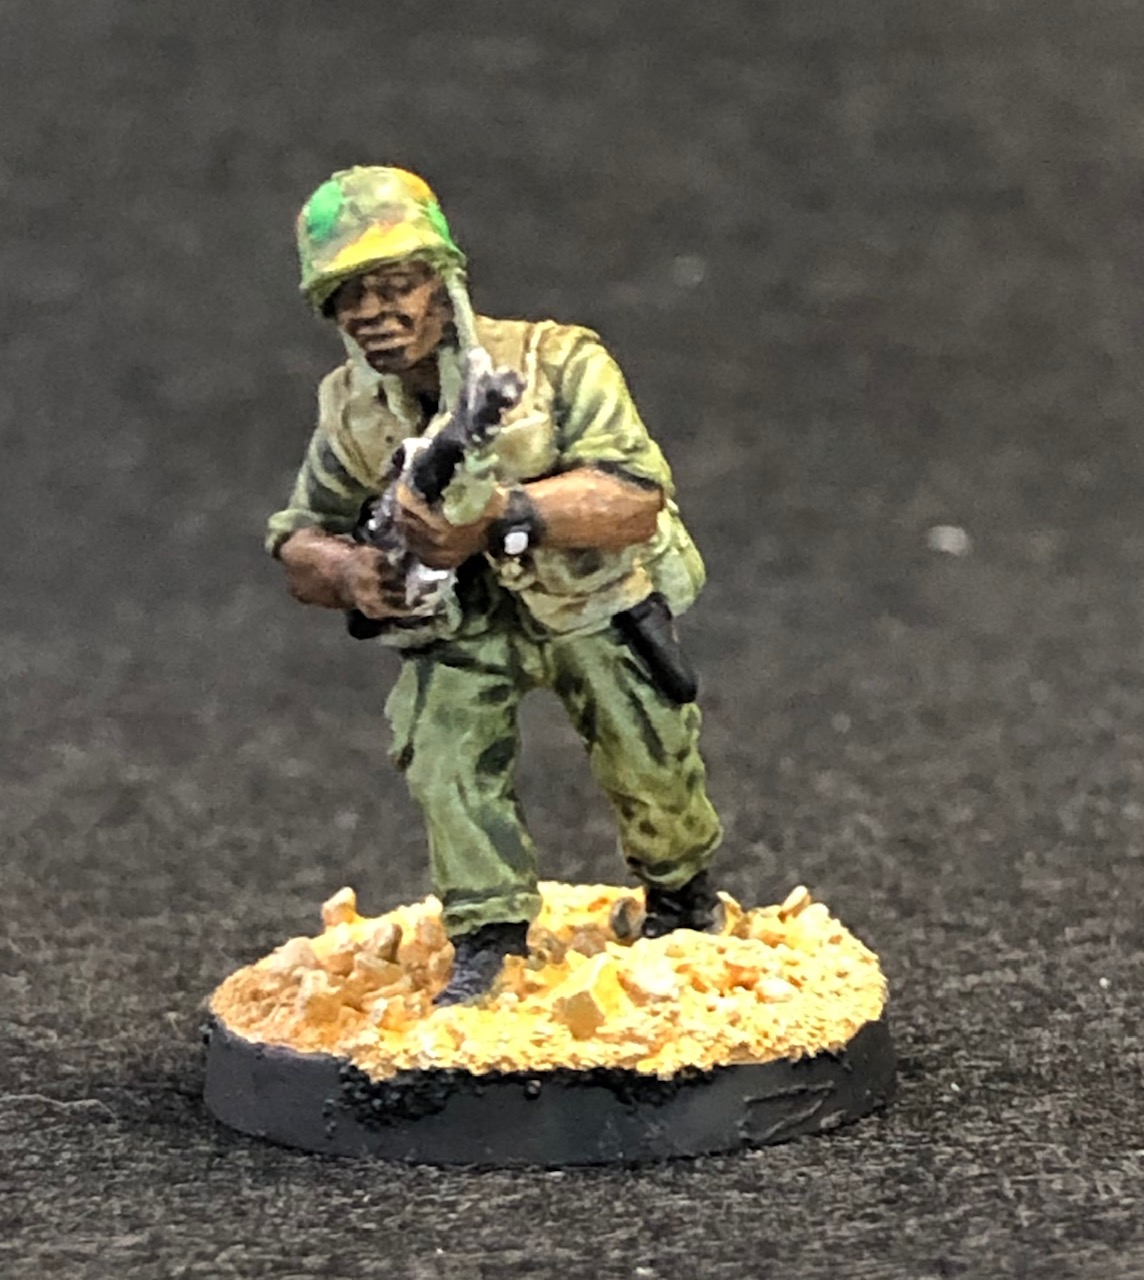
Drybrush the base with Sand.

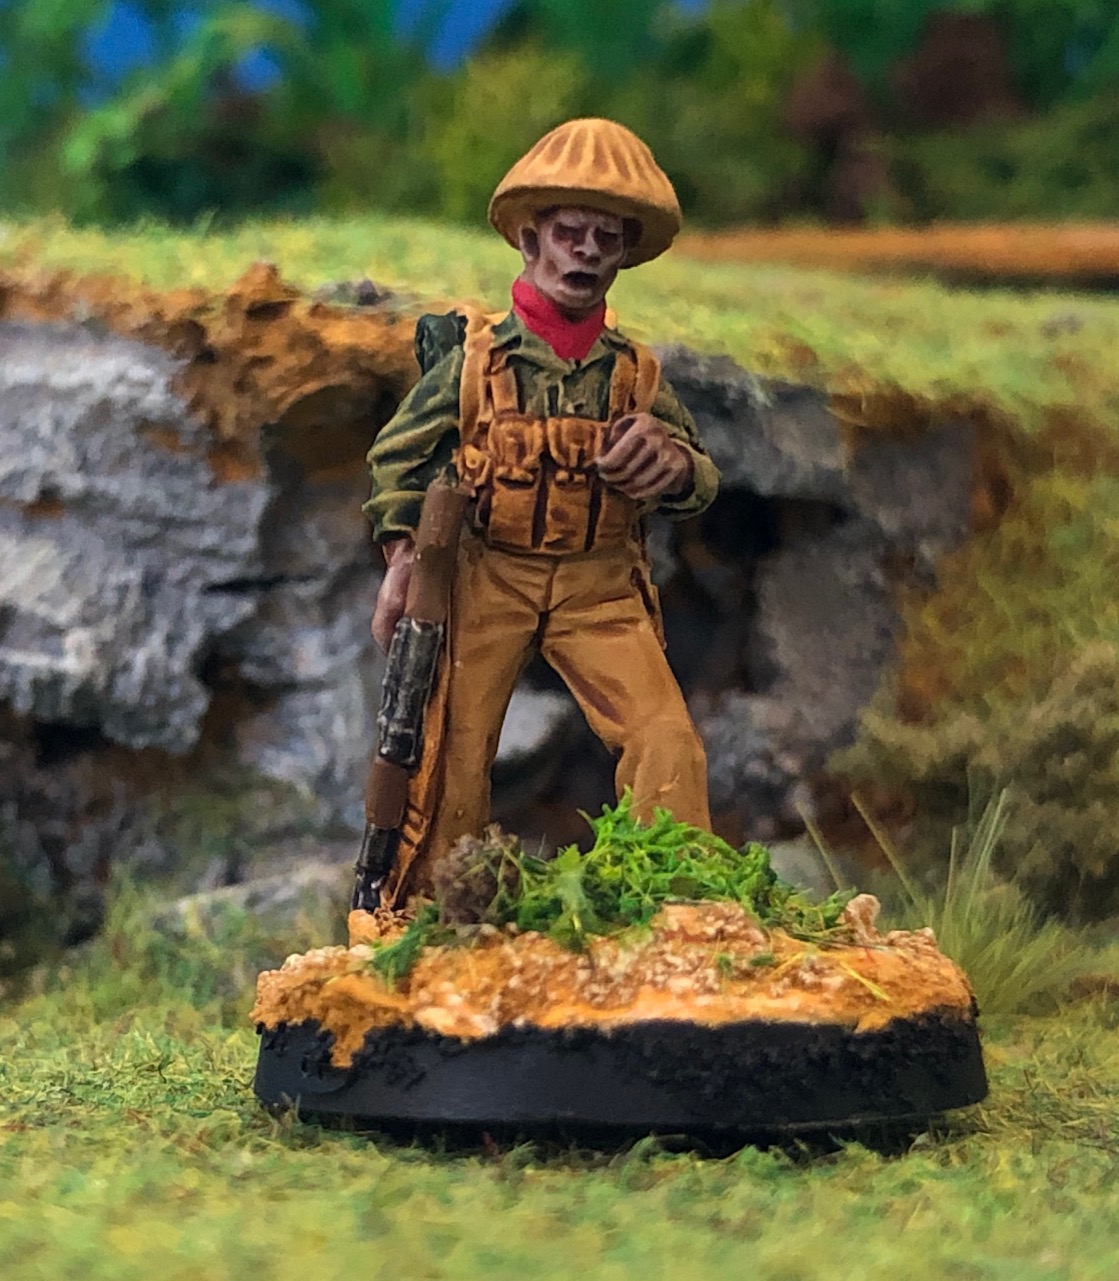
Now the figure gets a coat of matt varnish , I do this with my airbrush. Afterwards flocking and voila you get this:

IMG_5516

I hope you liked my run trough my painting technique !

Something different

Today I will show something completely different. I finished the first miniature of the other side of the Vietnam war . Here is the first NVA Soldier. An Empress miniatures figure sculpted by Paul Hicks. I did a head swap as when I purchased the figures there were only 2 different packs available but since then the range has grown considerably and is still doing so. I painted the figure with Contrast colors by GW.

IMG_2304

There will be many more following this one!

todays Grunt

Here is the next Grunt for my growing Vietnam war collection.

IMG_2067

This time it is a figure by Gringo 40 miniatures. An afro-american ( hope that is the political correct designation) GI. These are wonderfull sculpts and are only slightly bigger then the Empress miniatures . They get along quite well so that I will mix both ranges in my american force.

Painted again with Contrast paint from games workshop.

I got my plastic rainforest vegetation in the post yesterday so will start on some scatter scenery shortly.

Citadel Contrast colours, a test

I got some of the new Vietnam War US Marines by Gringo 40 and by Empress.

Both wonderful 28mm sculpts. You can use both ranges together. the Gringo 40 ones are a tat larger so I cut the metal base of . Then they fit quite good.

Now to the test. I not only got those new miniatures but also a few of the new Games Workshop Contrast colours.

Bildschirmfoto 2019-07-04 um 07.47.20

I wanted to test these on one of my new miniatures. The contrast colors are not really colours in the pure sense they are more like a heavy wash. A bit like the vallejo washes. The difference is that you get more shades. They seem to have more pigments then the washes i am used to. So what I did I used vallejo sky grey as a base coat and applied the washes as they are without thinning them .

Here I painted one of the green contrast paints on. The photo is taken right after application of the color so still a bit wet.

Added a skin tone  ( Gulliman flesh) quite dark. This is only one coat. Next time I would thin it down a bit. By the way you shouldn’t use water for thinning these contrast colours. There is a medium to thin them available at Games workshop too. I haven’t tried the wash medium i normally use to do my washes with on these colors.

The flack vest done in another green. As you can see after drying completely they are still a bit shiny. I will do the pouches etc in jet another green and at in the details with vallejo colors in the next days.

I will show the finished miniature then.

Don’t fear my Cruel seas friends there will be more ships in the future , too!