Basecoat is on

The build is finished and the basecoat is on:

IMG_9955

As you can see, after base coating the contraption , you can’t tell that it is made from polystyrene. The only telltale is the wight when you lift it. So from now on no more pictures as long as I am not dropped out of the build something contest. I will take pictures of the painting process but will post them after the contest ended.

Building of the stage complete

I finished building the stage yesterday. Here are pictures of the changes and additions I did:

IMG_9889

I added a sign on top of the speakers. This will display the name of the band in ork glyphs   then I added cabling for the speakers , the guitars and the microphone of the singer.

IMG_9895

Here you see the cabling on the singer figure.

Then I added bolts, rivets and nuts to the stage:

IMG_9901

And thats what the stage with band looks like at the moment:

IMG_9909

I will post pictures of the base coated model in a few days. Then there will be a hiatus as we are not supposed to show pictures of the painted models before the contest is finished.

The orkification starts

Now, after finishing the Leman Russ, the building of the ork parts of the rolling stage starts. Here are pictures of the beginning of the stage:

IMG_9726

The mast will carry the sound system eventually, or at least part of it. as you can see there are 4 spaces for the members of the Band left free. Here are pictures of a test fit of the original miniatures the singer ( Eardrumsplitta) , guitarist and the Bass man. The drummer has to be done from scratch.

Here is a picture of the beginning of the drummer:

IMG_9727

And the beginning of the sound system:

IMG_9725

Complete with equalizer. Next will be the fitting of the sound system and the proper build of the drummer

The Leman Russ tank finished

I finished the Leman Russ tank by detailing the tracks

and adding the last rivets and other detail to the sides

This finishes the build of the tank. Now i will start to build the stage for the band. I started with building the supporting iron beams:

IMG_9688

These were build from 3mm thin polystyrene parts glued to form a I beam. I cut the strips with a special gadget for my polystyrenecutter :

IMG_9686

this device helps in cutting ultra thin polystyrene boards . The thinnest I can manage is 1mm.

More to come. what I still have to do is the stage the sound system, the drum set and some ork decorations like a board displaying the name of the band.


Started to put rivets and other detail on

I started to put rivets and other small detail onto the Leman Russ:

IMG_9660

The rivets were made with a rivet mould from greenstuffworld .

Next will be more detailing of the tracks and the sides of the tank so many more rivets to add.


Further progress with the ‘build something’ contest 2018

IMG_9498

I did some more work on the Leman Russ tank. The tank will be without turret as it will be used as a rolling stage for a Ork Rock band. So instead of the turret there will be a stage complete with speakers etc. I added some more detail to the tank . Next step will be adding the tracks and the track guards.

Any comments welcome.

Start of my entry to the build something contest on Lead adventure forum

I will participate in the build something contest over on Lead adventure forum. You can find the contest here. Feel free to vote once the voting commences .

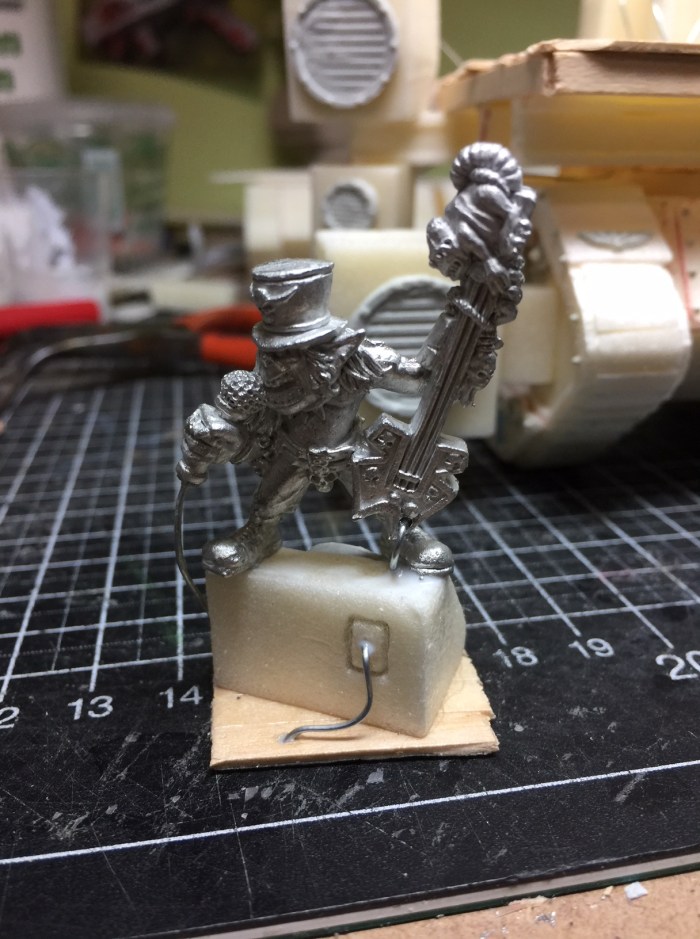
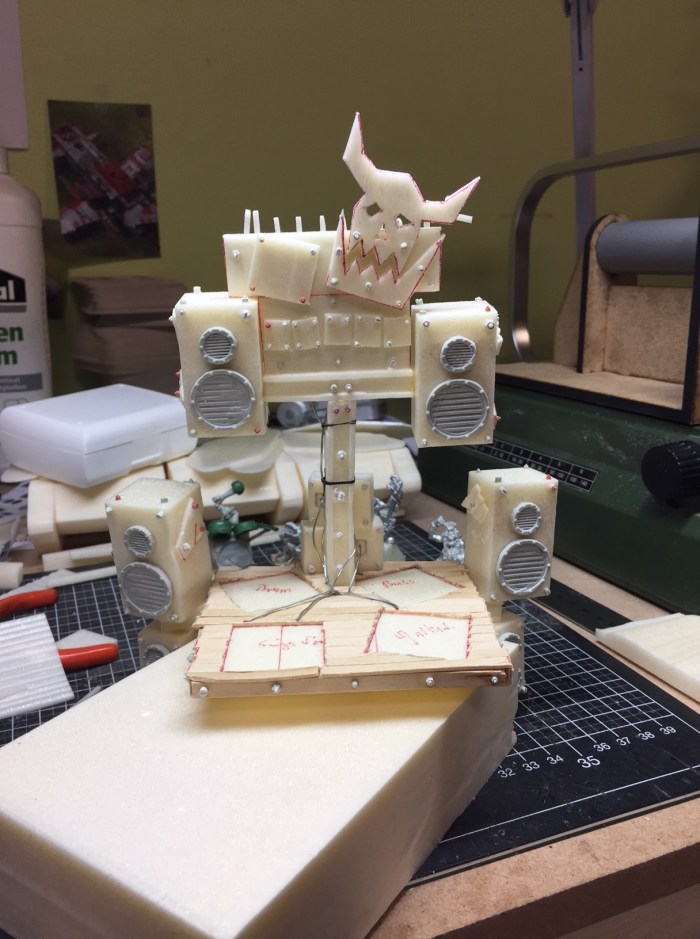
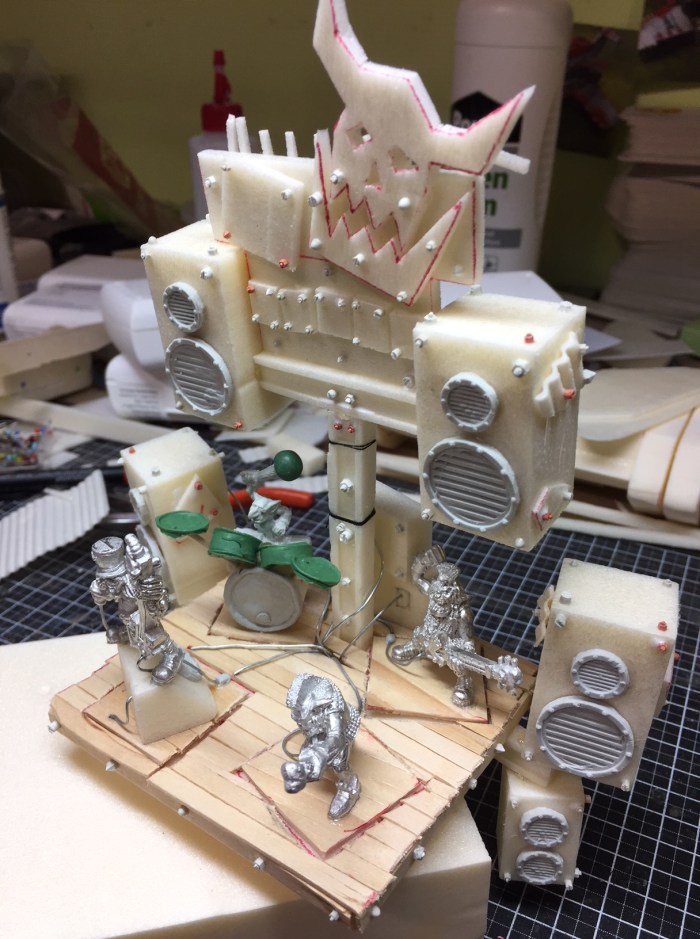
My entry will be a Ork Goff Rock band for my Ork Warhammer 40000 army. They will get a moving stage in the form of a looted Leman Russ tank. The tank will be a scratch build version to the so called Ruhr pattern. A pattern of Leman Russ as build on the forge world Ruhr in the Germania sector.

I used the paper templates of Patrochloch which you can find here. Here is an example of a printed out template:

IMG_9477

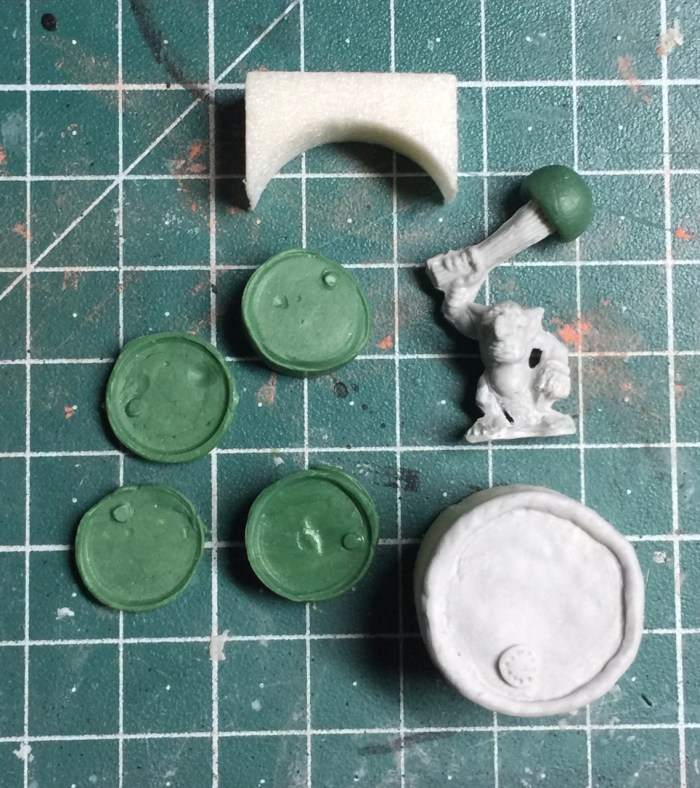
The space marine is there to compare scale. I won’t build the Leman Russ out of paper though. To make it more resilient for the battlefield I will use extruded Polystyrene. Like I did with my Thunderhawk which you can find here.

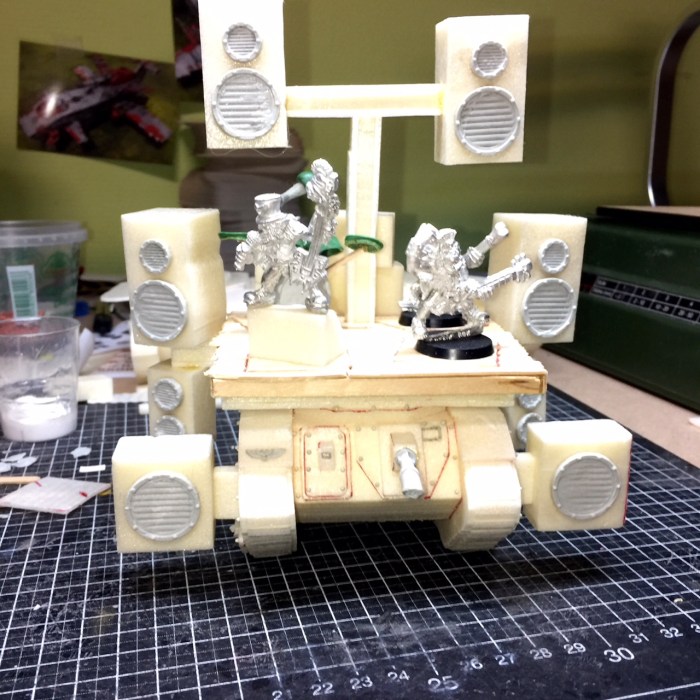
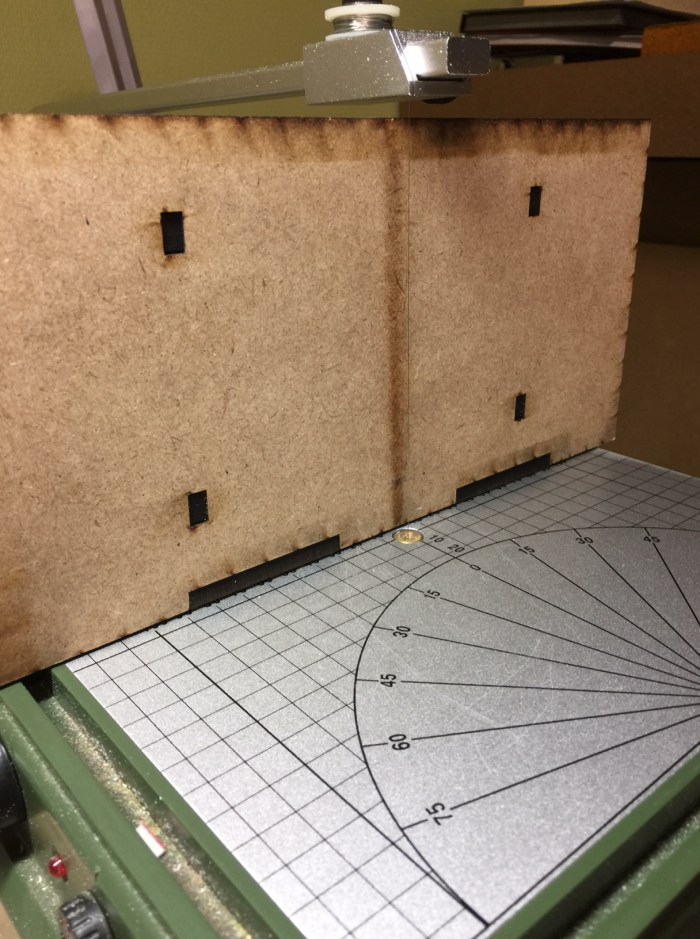
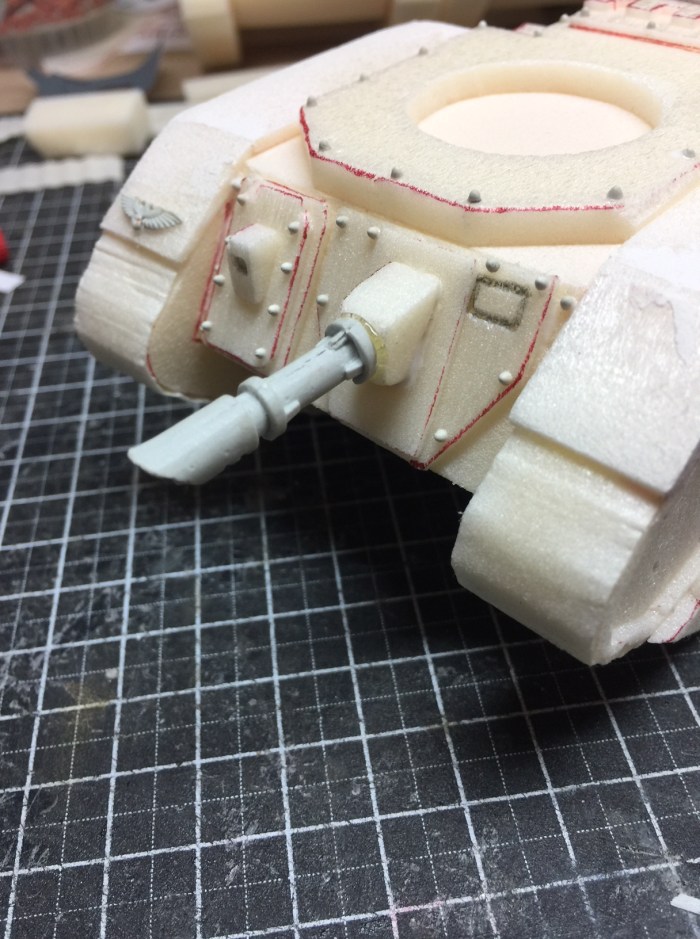
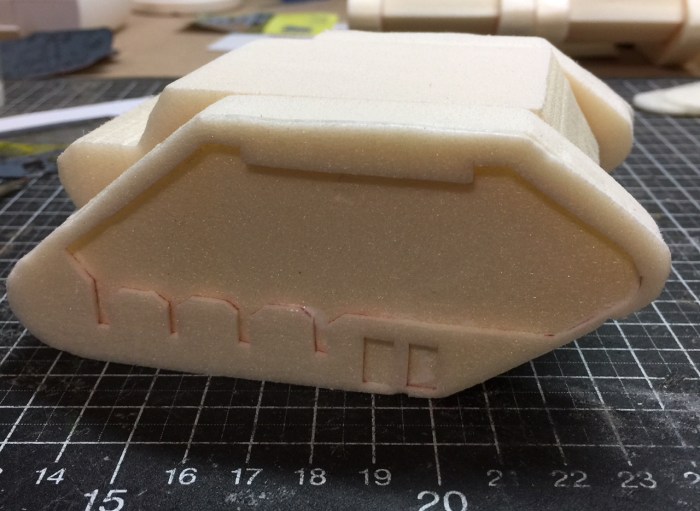
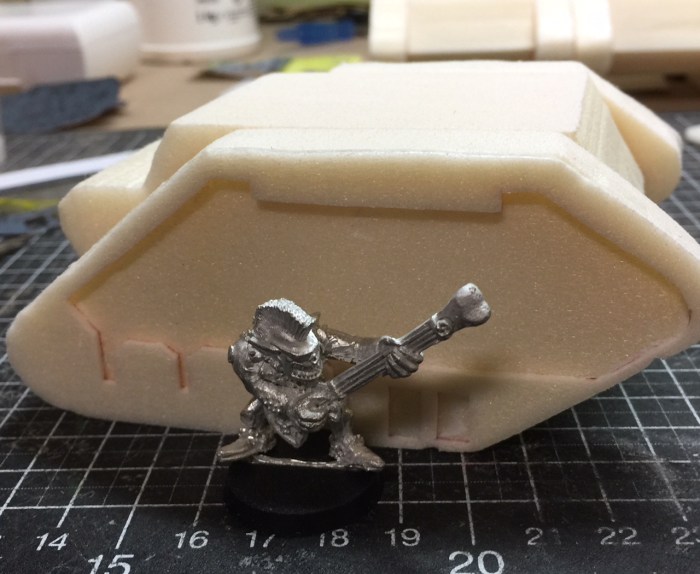
Here are pictures of the three main parts before cutting with the hot wire cutter and after basic assembly with a hot glue gun:

IMG_9481

More to follow in the next days and weeks.