The Completed Avenger!

The Avenger Strike Fighter is completed. Here are the pictures of the model. I will right up a complete article with all the steps from the beginning to completion of the Avenger on the Airbrush painting page. So here are the pictures:

FullSizeRender 9

If you like what you see feel free to leave a comment!

The nearly finished Avenger

Here are Pictures of the upper side of the Avenger Strike Fighter. My son wanted the model to appear very used and dirty. So I had to use quite a lot of pigments to achieve this look. As the army is based on a red planet like Mars the dirt had to be red in tone . Here is what it looks like now after pigments and several coats of varnish as fixative for the pigments as it is, after all, a gaming model:

FullSizeRender 37


Next will be the bottom of the plane and the windows of the cockpit then it is finished. Fell free to leave a comment if you like.


I did a bit more work on my sons Avenger

The first thing I did was to remove all the masking tape and newspaper. This is always a very exciting step as you see the color combination you chose for the first time. Look for yourself:

FullSizeRender 17

The next steps are done with a brush again. I blocked in all the other colors like on the Lenses:

The engines:

The armament:

Then I started the aging and weathering step by painting in Scratches . This step isn’t finished yet as the number I on the fuselage is still missing (remember this Avenger is red I).

This is what it look like at the moment. A lot more to do before it is finished! Watch this space for coming updates!

FullSizeRender 34


Avenger next step

The next step was to mask of all areas on the model which have to stay grey, as the next painting step is to airbrush all parts which get another color, like the wings , fuselage and wingtips.

The wings will be dark blue as that is the main color of my sons adeptus mechanicus army as will the fuselage. The wing tips will be red as a squadron designation ( like in Star Wars red I or redII etc).

This afternoon I will unmask the complete model again and begin to paint the engines and all the other detail like Guns and rockets. After that filtering and weathering will commence .


Avenger Strike Fighter

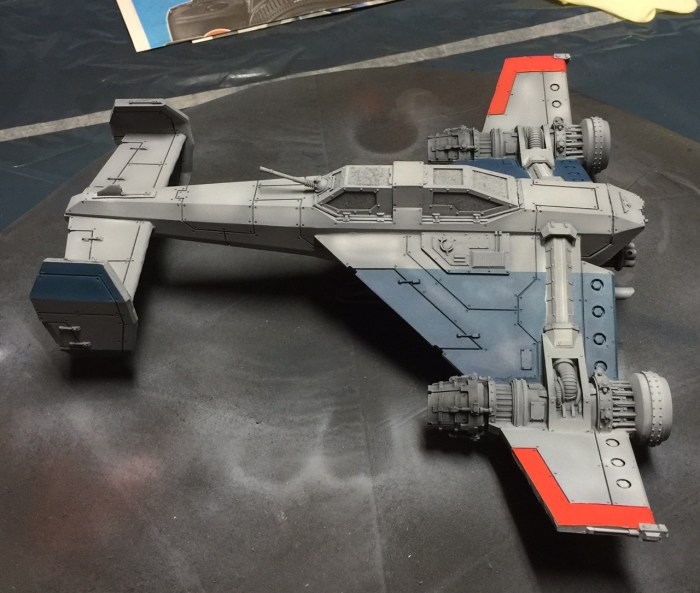
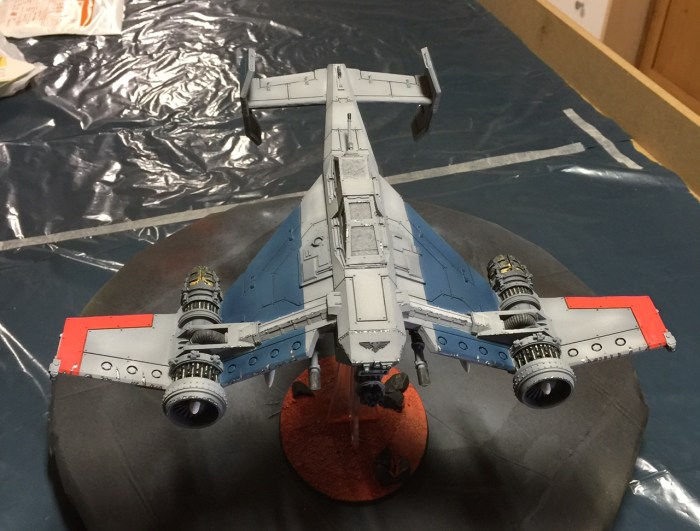
I started painting an Avenger Strike Fighter for my Son. He does’t like to paint with an airbrush so I have to do that for him. He started to paint the model a while ago by base coating it black. Now it has collected so much dust that I had to clean it first.

On to the model:

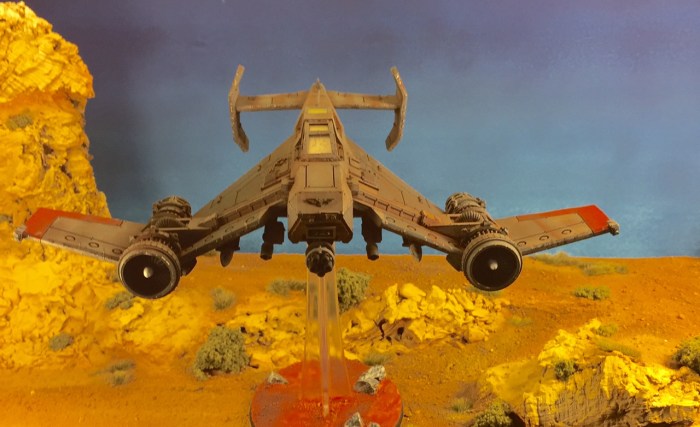
The Avenger is a dedicated strike fighter, intended to conduct high-speed, low-level attacks on ground targets, with armoured vehicle formations and high-value strategic assets such as munitions dumps forming its principal prey. The Avenger Strike Fighter boasts firepower that exceeds most other Imperial aircraft of its size, and its particular reputation as a tank-killer is due to the Avenger bolt cannon it carries.

I have to paint it so that it fits to my sons Adeptus Mechanicus army. Pictures of the army will follow once the Avenger is completed.

Here are pictures showing the masking of the cockpit windows:

On the right picture you can see how I applied the masking tape. I cut the shape of the window out of the masking Tape with a very sharp scalpel blade fig. 11.

The first step was then applying a black new undercoat after dusting the model:

In the pictures the undercoat isn’t dry yet but you can see at the tail of the plane that it will be matt after drying.

Next step was to apply primary highlights by applying white to the parts which have to be highlighted later. I forgot to take a picture of the top side of the Avenger sorry:

FullSizeRender 4

FullSizeRender 3

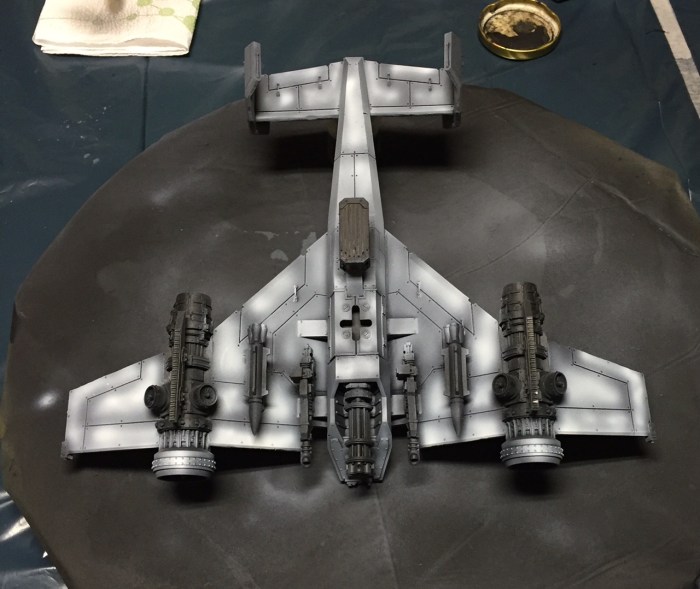
After drying time I applied a very thin coat of Vallejo neutral grey ( the base color of the plane):

FullSizeRender

FullSizeRender 2

Thats all I did for now. I will show more when I did a little bit more work on it.